1. Введение
This manual provides essential information for the safe and effective operation of your ZENTALITY Mini Projector A10 PLUS. Please read this manual thoroughly before using the product and retain it for future reference.
Продукт болееview
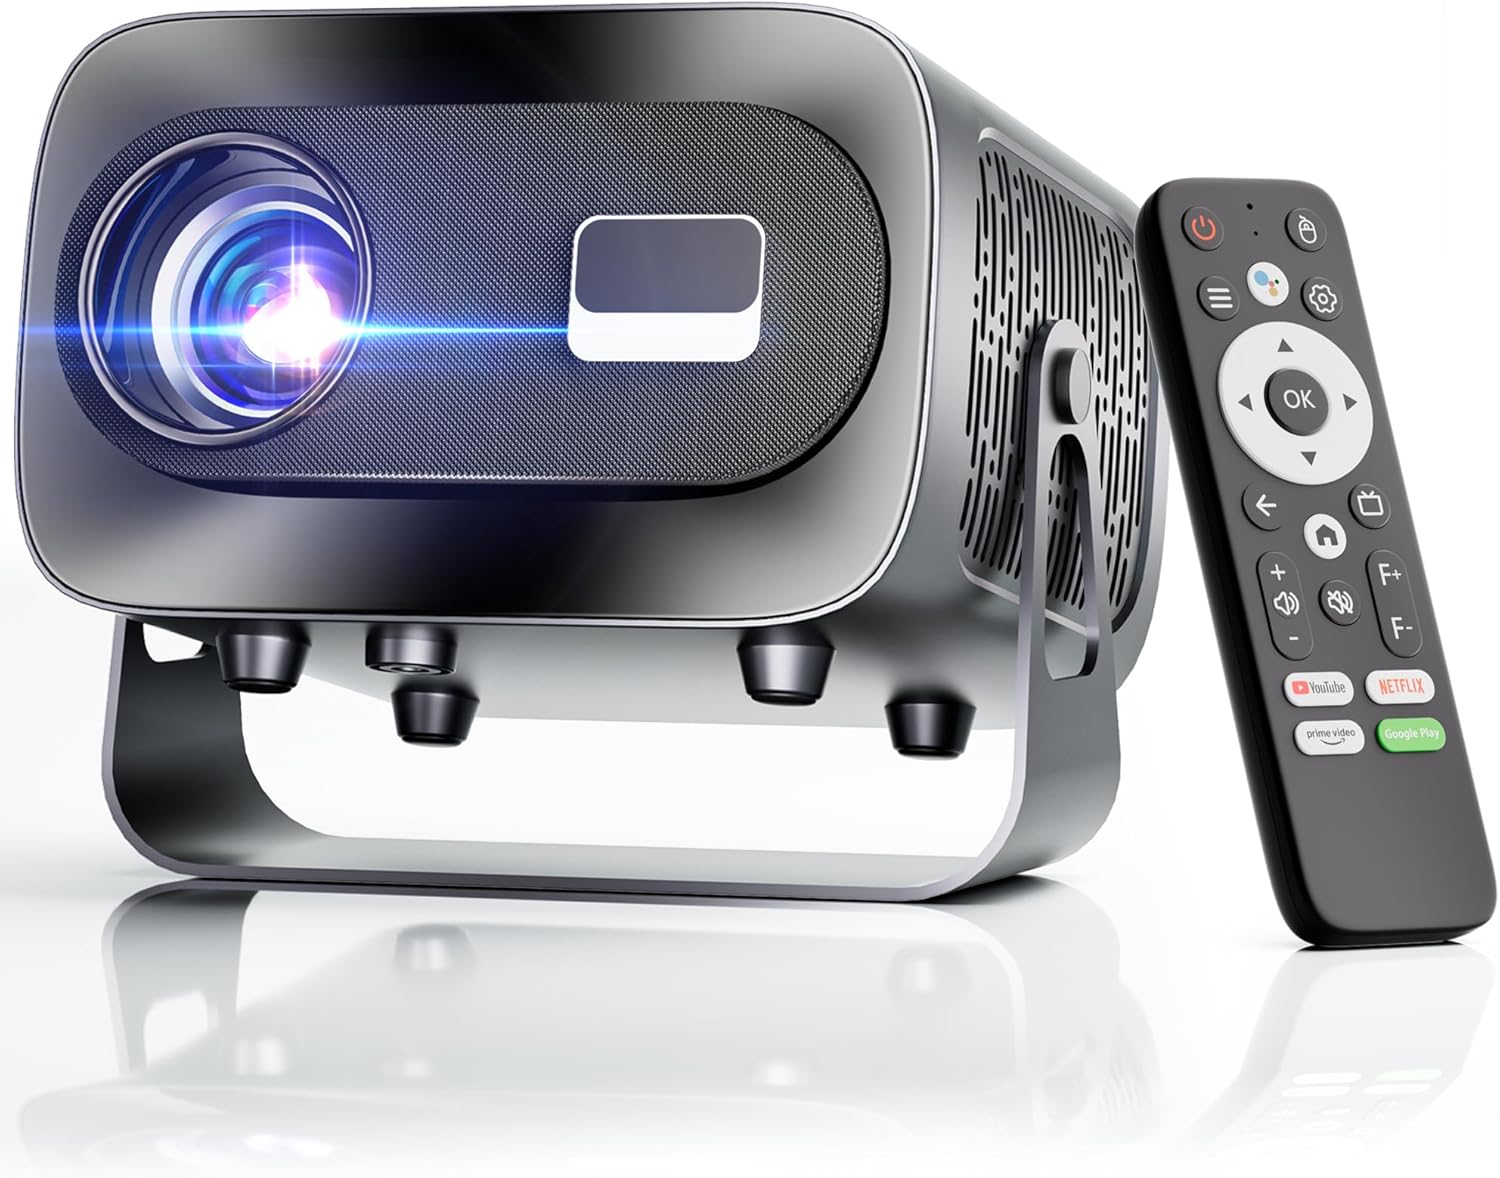
The ZENTALITY Mini Projector A10 PLUS is a smart projector featuring Android 13, designed for versatile home and outdoor entertainment. It supports 4K and 1080P HD content, offers electric focus, auto vertical keystone correction, and includes dual-band WiFi 6 and Bluetooth 5.1 connectivity. Its compact design and multiple input options make it suitable for various applications.
Что в коробке?
- ZENTALITY Mini Projector A10 PLUS
- HDMI-кабель
- Адаптер питания
- Дистанционное управление
- Руководство пользователя (этот документ)
2. Информация по технике безопасности
Пожалуйста, соблюдайте следующие меры предосторожности, чтобы предотвратить повреждение проектора и обеспечить безопасность пользователя:
- Не закрывайте вентиляционные отверстия. Обеспечьте достаточную циркуляцию воздуха вокруг проектора, чтобы предотвратить перегрев.
- Avoid direct exposure to the projector lens light. The bright light can cause eye strain or damage.
- Use only the provided power adapter. Using an incompatible adapter may cause fire, electric shock, or damage.
- Держите проектор подальше от воды или других жидкостей. Не используйте его в условиях повышенной влажности.amp среды.
- Не пытайтесь разбирать или ремонтировать проектор самостоятельно. Доверьте все работы по обслуживанию квалифицированному персоналу.
- Установите проектор на устойчивую, ровную поверхность, чтобы предотвратить его падение.
- Хранить в недоступном для детей месте.
3. Компоненты продукта и порты
Familiarize yourself with the projector's physical features and connectivity options.

Доступные порты:
- USB (x2): For connecting USB drives, external storage, or other USB-compatible devices.
- HDMI: For connecting devices such as laptops, gaming consoles, or TV sticks.
- Аудиовыход (разъем 3.5 мм): Для подключения внешних динамиков или наушников.
- Потребляемая мощность: Для подключения адаптера питания.
4. Начальная настройка
4.1 Подключение питания
- Подключите адаптер питания к входному разъему питания проектора.
- Подключите адаптер питания к розетке.
- Нажмите кнопку питания на проекторе или пульте дистанционного управления, чтобы включить его.
4.2 Сопряжение с дистанционным управлением
Important: The remote control must be paired via Bluetooth before it can operate smoothly within 1-3 meters.
- Убедитесь, что проектор включен.
- Navigate to the projector's Bluetooth settings (usually found in the 'Settings' menu).
- Select 'Pair new device' or similar option.
- On the remote control, press and hold the designated pairing button (refer to the remote's specific instructions if available, often a combination of 'OK' and 'Volume Down' or a dedicated Bluetooth button).
- Once the remote appears in the projector's Bluetooth device list, select it to complete pairing.

4.3 Размещение и настройка экрана
The projector offers automatic and electric adjustments for optimal image clarity and alignment.
- Электрический фокус: The projector features electric focus for instant clarity. Use the 'F+' and 'F-' buttons on the remote control to fine-tune the image sharpness.
- Автоматическая коррекция вертикальных трапецеидальных искажений: The projector automatically corrects vertical image distortion up to ±15°. This ensures a rectangular image even if the projector is not perfectly perpendicular to the screen.
- Функция масштабирования: Adjust the image size from 50% to 100% without moving the projector. This is useful for fitting the projection to your screen size.


5. Инструкция по эксплуатации
5.1 Android 13 Interface and App Access
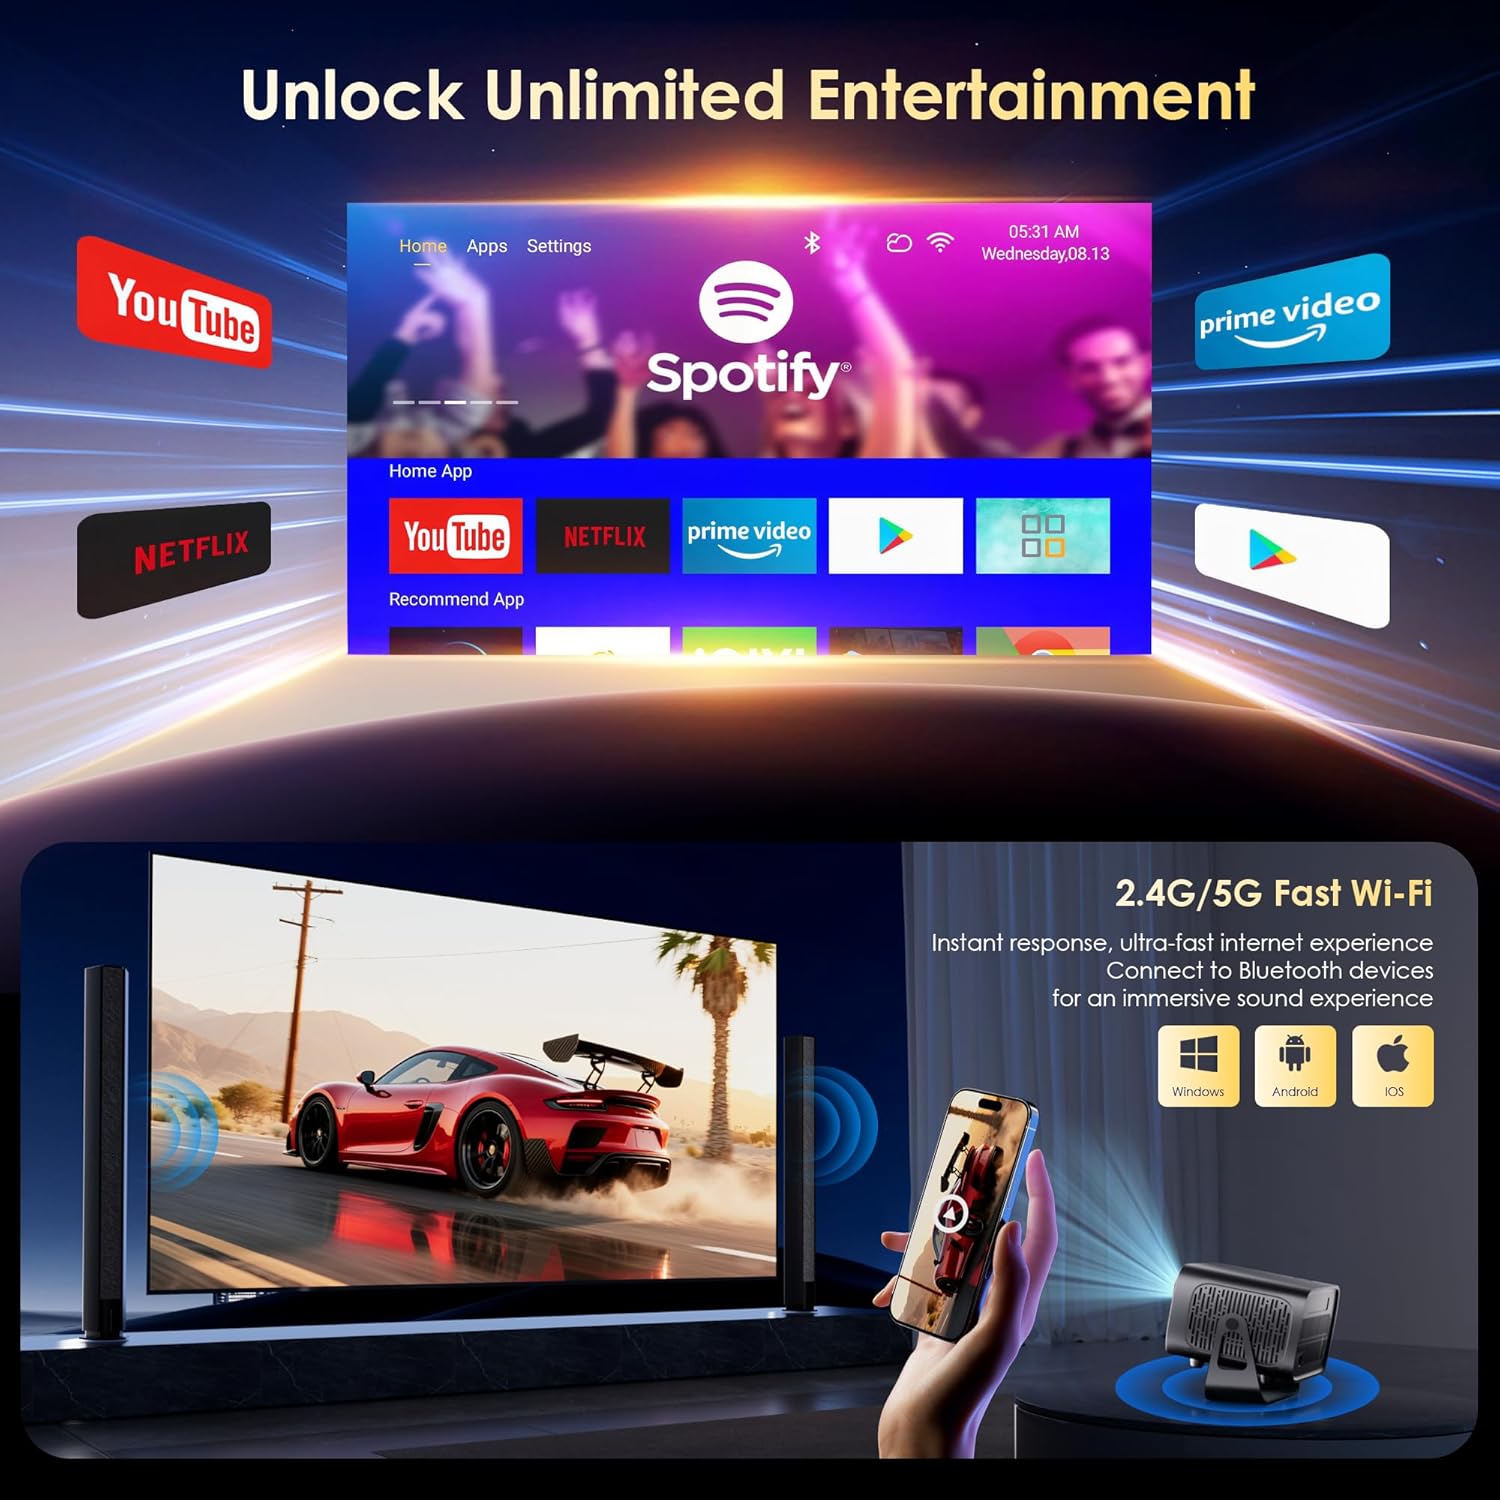
The projector runs on Android 13, providing access to a wide range of streaming applications.
- Upon startup, the home screen will display pre-installed applications like Netflix, Prime Video, and YouTube.
- Для навигации используйте навигационную кнопку пульта дистанционного управления и кнопку «ОК».
- Access the built-in app store (e.g., Google Play Store) to download additional applications.
- Use the voice assistant feature on the remote control for quick app launching or content search.

5.2 Подключение по Wi-Fi
The projector supports dual-band 5G/2.4G WiFi 6 for stable internet access and screen mirroring.
- Перейдите в раздел «Настройки» на главном экране.
- Выберите «Сеть и Интернет».
- Включите Wi-Fi и выберите нужную сеть из списка.
- При необходимости введите пароль и подключитесь.
Note: WiFi is required for the first setup or online apps. If you prefer not to connect to WiFi, you can use the projector offline by connecting external devices via the included HDMI cable or the USB port.

5.3. Bluetooth-подключение
The projector features Bluetooth 5.1 for audio streaming.
- Перейдите в раздел «Настройки» на главном экране.
- Выберите «Подключенные устройства» или «Bluetooth».
- Включите Bluetooth и выполните поиск доступных устройств.
- Select your Bluetooth speaker, headphones, or soundbar from the list to pair.
Note: Bluetooth supports audio output only, not video transmission.
5.4 Подключение внешних устройств
The projector supports various external devices via its HDMI and USB ports.
- HDMI: Connect your laptop, gaming console, or TV stick using an HDMI cable. The projector will automatically detect the input or you may need to select the HDMI source from the input menu.
- USB: Вставьте USB-накопитель для воспроизведения медиафайлов. files directly. The projector's media player will typically launch automatically or can be accessed from the home screen.
5.5 Режимы проецирования
The projector can be used in various orientations:
- Проекция на рабочий стол: Установите проектор на ровную поверхность перед экраном.
- Проекция на потолок: Mount the projector upside down on the ceiling. Adjust the projection settings in the menu to flip the image.
- Крепление штатива: Use the 1/4'' screw hole at the bottom to mount the projector on a tripod for flexible positioning.

6. Техническое обслуживание
6.1 Очистка
- Объектив: Используйте мягкую безворсовую ткань, специально предназначенную для оптических линз. Не используйте абразивные чистящие средства или салфетки.
- Экстерьер: Протрите корпус проектора мягкой сухой тканью. Для удаления стойких загрязнений используйте слегка сухую ткань.amp можно использовать ткань, а затем вытереть насухо.
- Вентиляционные отверстия: Periodically check and gently clean the ventilation openings to ensure they are free from dust and debris. Use a soft brush or compressed air.
6.2 Система охлаждения
The projector features an advanced dual-fan cooling system designed for low noise and efficient heat dissipation. To ensure its longevity and stable performance:
- Always ensure the projector has adequate space around its ventilation openings.
- Avoid placing the projector on soft surfaces (e.g., blankets, carpets) that might block airflow.
- Operating the projector in extremely hot or humid environments may affect its performance and lifespan.
7. Поиск Неисправностей
Если у вас возникли проблемы с проектором, ознакомьтесь со следующими распространенными проблемами и решениями:
| Проблема | Возможная причина | Решение |
|---|---|---|
| No power/Projector won't turn on | Кабель питания не подключен; розетка неисправна. | Проверьте подключение кабеля питания. Попробуйте использовать другую розетку. |
| No image/Blank screen | Неправильный источник входного сигнала; устройство подключено неправильно. | Select correct input source (HDMI, USB); Reconnect external device |
| Изображение размытое/не в фокусе | Фокус не настроен | Use the 'F+' and 'F-' buttons on the remote for electric focus adjustment |
| Image distorted/Trapezoid shape | Проблема с Keystone не решена. | The projector has auto vertical keystone correction. Ensure it's on or manually adjust if needed. |
| Пульт дистанционного управления не работает | Not paired via Bluetooth; Low battery | Pair the remote control via Bluetooth (Section 4.2); Replace remote batteries |
| Нет звука | Слишком низкий уровень громкости; Некорректный вывод звука; Bluetooth не подключен | Increase volume; Check audio output settings; Ensure Bluetooth speaker is paired |
| Проблемы с подключением к Wi-Fi | Неверный пароль; Проблемы с маршрутизатором; Выход за пределы зоны действия | Verify WiFi password; Restart router; Move projector closer to router |
8. Технические характеристики
Detailed technical specifications for the ZENTALITY Mini Projector A10 PLUS:
- Бренд: ЗЕНТАЛИТИ
- Номер модели: А10 ПЛЮС
- Вес товара: 3.1 фунта
- Размеры продукта: 7.4 x 6.22 x 4.8 дюйма
- Операционная система: Андроид 13
- Разрешение экрана: 1920 x 1080 (нативное разрешение 1080p Full HD)
- Поддержка 4K: Да
- Яркость: 350 ANSI Lumens
- Коэффициент контрастности: 10,000:1
- Технологии подключения: 3.5mm Jack, Bluetooth 5.1, HDMI, USB (x2), Wi-Fi 6 (2.4G/5G)
- Особые характеристики: Built-In Media Player, Built-In Speaker, Electric Focus, Portable, Wi-Fi Ready, Auto Vertical Keystone Correction
- Рекомендуемое применение: Бизнес, Образование, Игры, Домашний кинотеатр
- Lamp Продолжительность жизни: До 100,000 часов

9. Гарантия и поддержка
ZENTALITY is committed to providing quality products and customer satisfaction.
- Гарантия качества: 360-Day Quality Guarantee.
- Возврат: 180-Day Free Returns.
- Техническая поддержка: Пожизненная техническая поддержка.
- Обслуживание клиентов: 24/7 Fast Customer Service.
For support inquiries, please refer to the contact information provided on the ZENTALITY official webсайт или платформа для покупок.


