Введение
This manual provides comprehensive instructions for the setup, operation, and maintenance of your V7 Dual Bay Docking Station USB 3.0. This device is designed to provide convenient access to 2.5-inch and 3.5-inch SATA hard disk drives (HDDs) and solid-state drives (SSDs), offering high-speed data transfer and a standalone cloning function.
Перед использованием изделия внимательно ознакомьтесь с данным руководством, чтобы обеспечить его правильную работу и предотвратить повреждения.
Содержимое упаковки

Image: The side of the V7 Dual Bay Docking Station packaging, detailing the included items.
Убедитесь, что в вашей посылке присутствуют все перечисленные ниже предметы:
- 1x V7 Dual Bay Docking Station
- 1x USB 3.0 A to B Cable
- 1x DC 12V/3A Power Adapter
- 1x Руководство пользователя (этот документ)
Продукт болееview
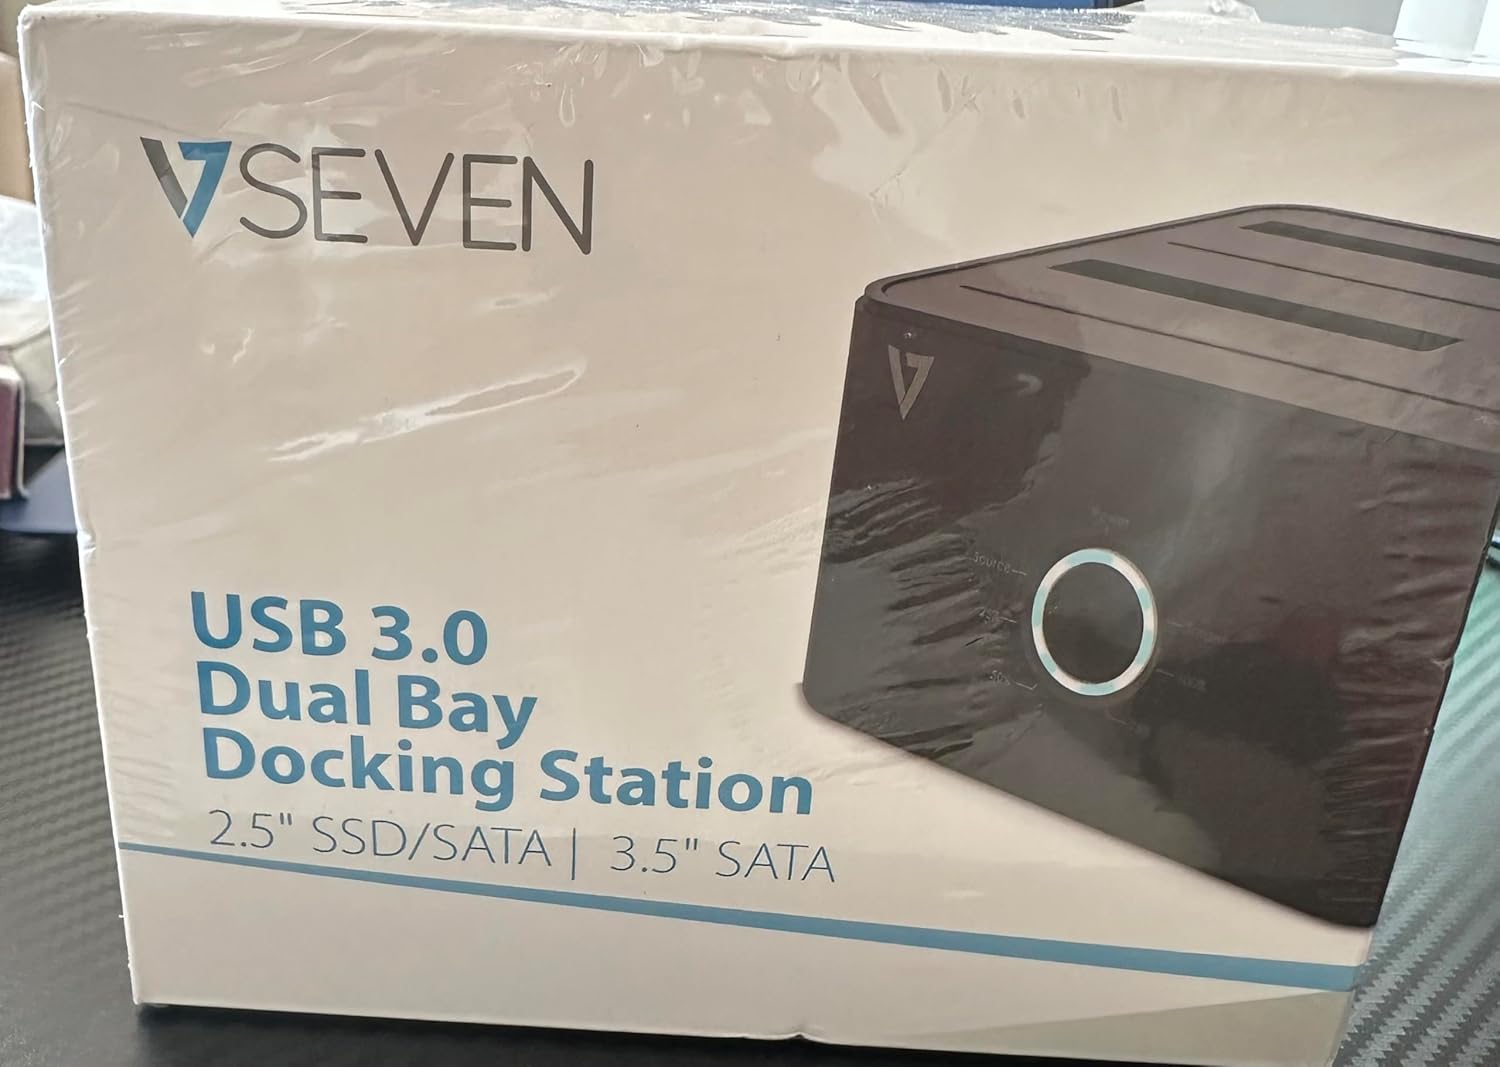
Image: The front of the V7 Dual Bay Docking Station packaging, displaying the product and its name.
The V7 Dual Bay Docking Station provides a versatile solution for managing your 2.5-inch and 3.5-inch SATA drives. Key features include:
- USB 3.0 Super-Speed Data Transfer: Achieves speeds up to 5 Gbps, significantly faster than USB 2.0.
- Двухсекционная конструкция: Supports two SATA I/II/III HDDs or SSDs simultaneously.
- Standalone Clone Function: Allows direct cloning of one drive to another without requiring a computer.
- Светодиодный дисплей: Provides status indication during operation, especially for cloning.
- Переработанные материалы: Constructed with recycled materials, contributing to environmental sustainability.

Image: The back of the V7 Dual Bay Docking Station packaging, illustrating key features and benefits, including the use of recycled materials.
Порты и индикаторы:
- USB-B Port (1x): Подключает док-станцию к компьютеру.
- SATA Drive Bays (2x): For inserting 2.5-inch or 3.5-inch SATA HDDs/SSDs.
- DC Power Input (1x): For connecting the 12V/3A power adapter.
- Power Button/LED: Controls power and indicates operational status.
- Clone Button/LEDs: Initiates the cloning process and indicates progress.
Настраивать
- Подключите питание: Insert the DC 12V/3A power adapter into the "DC Power Input" port on the docking station, then plug the adapter into a wall outlet.
- Вставьте приводы:
- Gently slide your 2.5-inch or 3.5-inch SATA HDD/SSD into the drive bay(s) until it is securely seated. Ensure the SATA connector aligns correctly.
- For cloning, insert the source drive into Bay 1 (Source) and the target drive into Bay 2 (Target). The target drive must be equal to or larger in capacity than the source drive.
- Подключитесь к компьютеру (для передачи данных): If you intend to use the docking station for data transfer with a computer, connect one end of the USB 3.0 A to B cable to the USB-B port on the docking station and the other end to an available USB 3.0 port on your computer.
- Включение питания: Press the power button on the docking station. The power LED should illuminate.
Инструкция по эксплуатации
А. Режим передачи данных (подключение к компьютеру)
- Убедитесь, что док-станция включена и подключена к компьютеру с помощью кабеля USB 3.0.
- Insert one or two SATA drives into the bays.
- Your operating system should detect the drives as external storage. You may need to initialize and format new drives through Disk Management (Windows) or Disk Utility (macOS) before use.
- You can now access, read, and write data to the inserted drives as you would with any external storage device.
- Always safely eject the drives from your operating system before powering off the docking station or removing the drives.
B. Standalone Clone Function (Without Computer)
The clone function allows you to duplicate a source drive to a target drive without a computer connection. The target drive must have a capacity equal to or greater than the source drive.
- Подготовка:
- Ensure the docking station is disconnected from any computer.
- Вставьте Исходный диск (диск, с которого вы хотите скопировать) в Отсек 1.
- Вставьте Целевой привод (диск, на который вы хотите скопировать) в Отсек 2.
- Warning: All data on the target drive will be erased during the cloning process. Back up any important data on the target drive before proceeding.
- Инициировать клон:
- Включите док-станцию.
- Press and hold the "Clone" button for approximately 3-5 seconds until the clone progress LEDs begin to flash.
- Подтвердите клонирование:
- Release the "Clone" button. The 25% progress LED should start blinking.
- Press the "Clone" button again briefly to confirm and start the cloning process.
- Мониторинг прогресса: The progress LEDs (25%, 50%, 75%, 100%) will illuminate sequentially to indicate the cloning status.
- Завершение: When the 100% LED remains solid, the cloning process is complete.
- Выключите питание и извлеките: Перед извлечением накопителей выключите док-станцию.
Обслуживание
- Содержите док-станцию в чистоте и не допускайте попадания пыли. Для чистки используйте мягкую сухую ткань.
- Не подвергайте устройство воздействию экстремальных температур, влажности или прямых солнечных лучей.
- Не пытайтесь разбирать или ремонтировать устройство самостоятельно. Это аннулирует гарантию.
- Обеспечьте надлежащую вентиляцию вокруг устройства во время работы.
Поиск неисправностей
| Проблема | Возможная причина | Решение |
|---|---|---|
| Устройство не включается. | Адаптер питания не подключен или неисправен. | Ensure the power adapter is securely connected to both the docking station and a working power outlet. Try a different outlet. |
| Drives not detected by computer. | USB cable not connected properly; drive not seated correctly; drive uninitialized/unformatted. | Check USB cable connection. Re-seat the drive(s). For new drives, initialize and format them via Disk Management (Windows) or Disk Utility (macOS). Try a different USB port on your computer. |
| Clone function not starting. | Incorrect drive placement; target drive too small; clone button not held long enough. | Ensure source drive is in Bay 1 and target drive in Bay 2. Verify target drive capacity is equal to or larger than source. Hold the clone button for 3-5 seconds until LEDs flash. |
| Низкая скорость передачи данных. | Connected to USB 2.0 port; faulty USB cable. | Ensure the docking station is connected to a USB 3.0 port on your computer. Try a different USB 3.0 cable. |
Технические характеристики
- Модель: 9UDBBS-BLK
- Аппаратный интерфейс: USB 3.0 (обратная совместимость с USB 2.0)
- Скорость передачи данных: Up to 5 Gbps (USB 3.0 Super-Speed)
- Совместимость с дисками: 2.5" and 3.5" SATA I/II/III HDDs and SSDs
- Отсеки для дисков: 2
- Порты: 1x USB-B (Host), 2x SATA (Internal), 1x DC Power Input
- Потребляемая мощность: DC 12V/3A (12 Watts)
- СКП: 662919116557
- Производитель: Инграм Микро Инк.
- Материал: Made from Recycled Materials
Гарантия и поддержка
For warranty information and technical support, please refer to the official V7 webна сайте или обратитесь к продавцу. Сохраните чек о покупке для предъявления гарантийных претензий.
Для получения дополнительной помощи посетите: www.v7world.com/support (Бывшийampссылка (фактическое название может отличаться)