Введение
This manual provides detailed instructions for the setup, operation, and maintenance of your Ratakee Digital Alarm Clock Radio H249. Please read this manual thoroughly before using the device to ensure proper functionality and to maximize your user experience. This device features a large LED display, dual alarms, AM/FM radio with presets, adjustable alarm volume, sleep timer, and display dimmer.

Изображение: Спереди view of the Ratakee Digital Alarm Clock Radio H249, displaying the time 12:00 PM in blue LED digits.
Особенности продуктаview
- Большой светодиодный дисплей: 6.6-inch screen with 1.6-inch blue LED numbers for clear visibility.
- Двойные будильники: Set two independent alarms with options for beep or radio wake-up.
- AM/FM-радио: Digital tuning with frequency ranges FM 87.5-108MHz and AM 520-1710KHz.
- Предустановленные станции: Save up to 20 AM and 20 FM stations for quick access.
- Регулируемая громкость будильника: Alarm volume can be set from levels 5 to 15.
- Таймер сна: Program the radio to turn off automatically after 10-90 minutes.
- Диммер дисплея: Four brightness levels for the LED display.
- Функция повтора: Обеспечивает дополнительные 9 минут сна.
- Запасная батарея: 2 AAA batteries (not included) preserve time and alarm settings during power outagес.
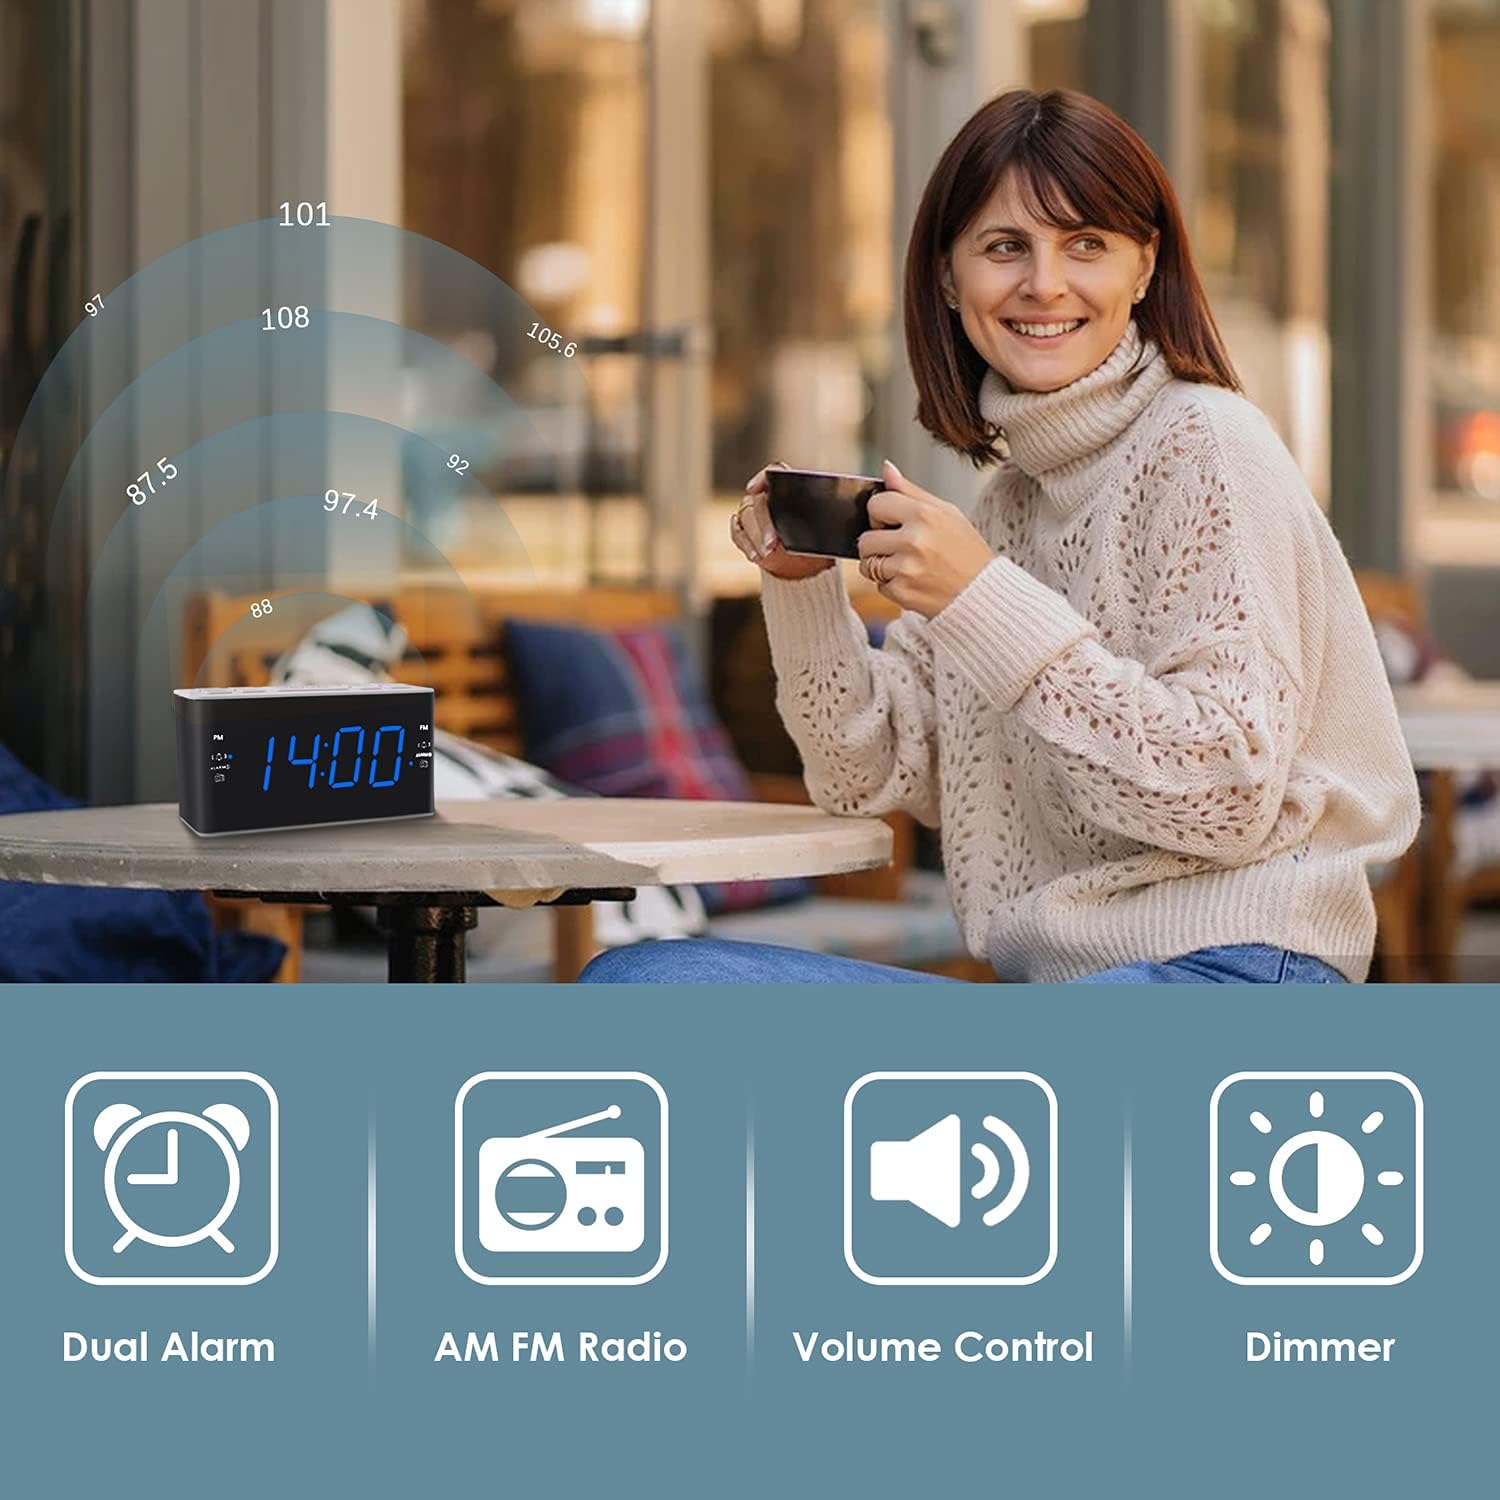
Image: Visual representation of the alarm clock's main features: Dual Alarm, AM FM Radio, Volume Control, and Dimmer, with a woman enjoying music in the background.
Настраивать
1. Подключение питания
The Ratakee H249 operates on AC power. Connect the provided power cord to the clock radio and then plug it into a standard AC 120V 60Hz wall outlet. The display will illuminate once power is supplied.
2. Установка резервной батареи
For battery backup, insert two (2) AAA batteries (not included) into the battery compartment located on the bottom of the unit. The battery backup maintains time and alarm settings during a power interruption but does not power the clock display or radio functions.
3. Начальная установка времени
- Нажмите и удерживайте УСТАНОВЛЕННОЕ ВРЕМЯ Кнопка. Цифры, обозначающие часы, начнут мигать.
- Используйте ГРОМКОСТЬ+ or VOL- buttons to adjust the hour. Pay attention to the PM indicator if setting a PM time.
- Нажмите УСТАНОВЛЕННОЕ ВРЕМЯ Нажмите кнопку ещё раз. Цифры минут начнут мигать.
- Используйте ГРОМКОСТЬ+ or VOL- кнопки для настройки минут.
- Нажмите УСТАНОВЛЕННОЕ ВРЕМЯ нажмите кнопку еще раз для подтверждения и выхода из режима установки времени.
Инструкция по эксплуатации
1. Настройка сигналов тревоги (сигнал тревоги 1 и сигнал тревоги 2)
The clock radio features two independent alarms. The process is identical for both.
- Нажмите и удерживайте ALARM1 (или ALARM2Кнопка ). Цифры, отображающие время будильника, начнут мигать.
- Используйте ГРОМКОСТЬ+ or VOL- buttons to set the desired alarm hour. Observe the PM indicator.
- Нажмите ALARM1 (или ALARM2) button again. The alarm minute digits will flash.
- Используйте ГРОМКОСТЬ+ or VOL- кнопки для установки желаемого количества минут будильника.
- Нажмите ALARM1 (или ALARM2Нажмите кнопку еще раз, чтобы выбрать источник сигнала тревоги:
- Звуковой сигнал: A standard alarm tone.
- Радио: Wakes you up to the last tuned radio station.
- Нажмите ALARM1 (или ALARM2) button one more time to confirm and activate the alarm. An alarm icon will appear on the display.
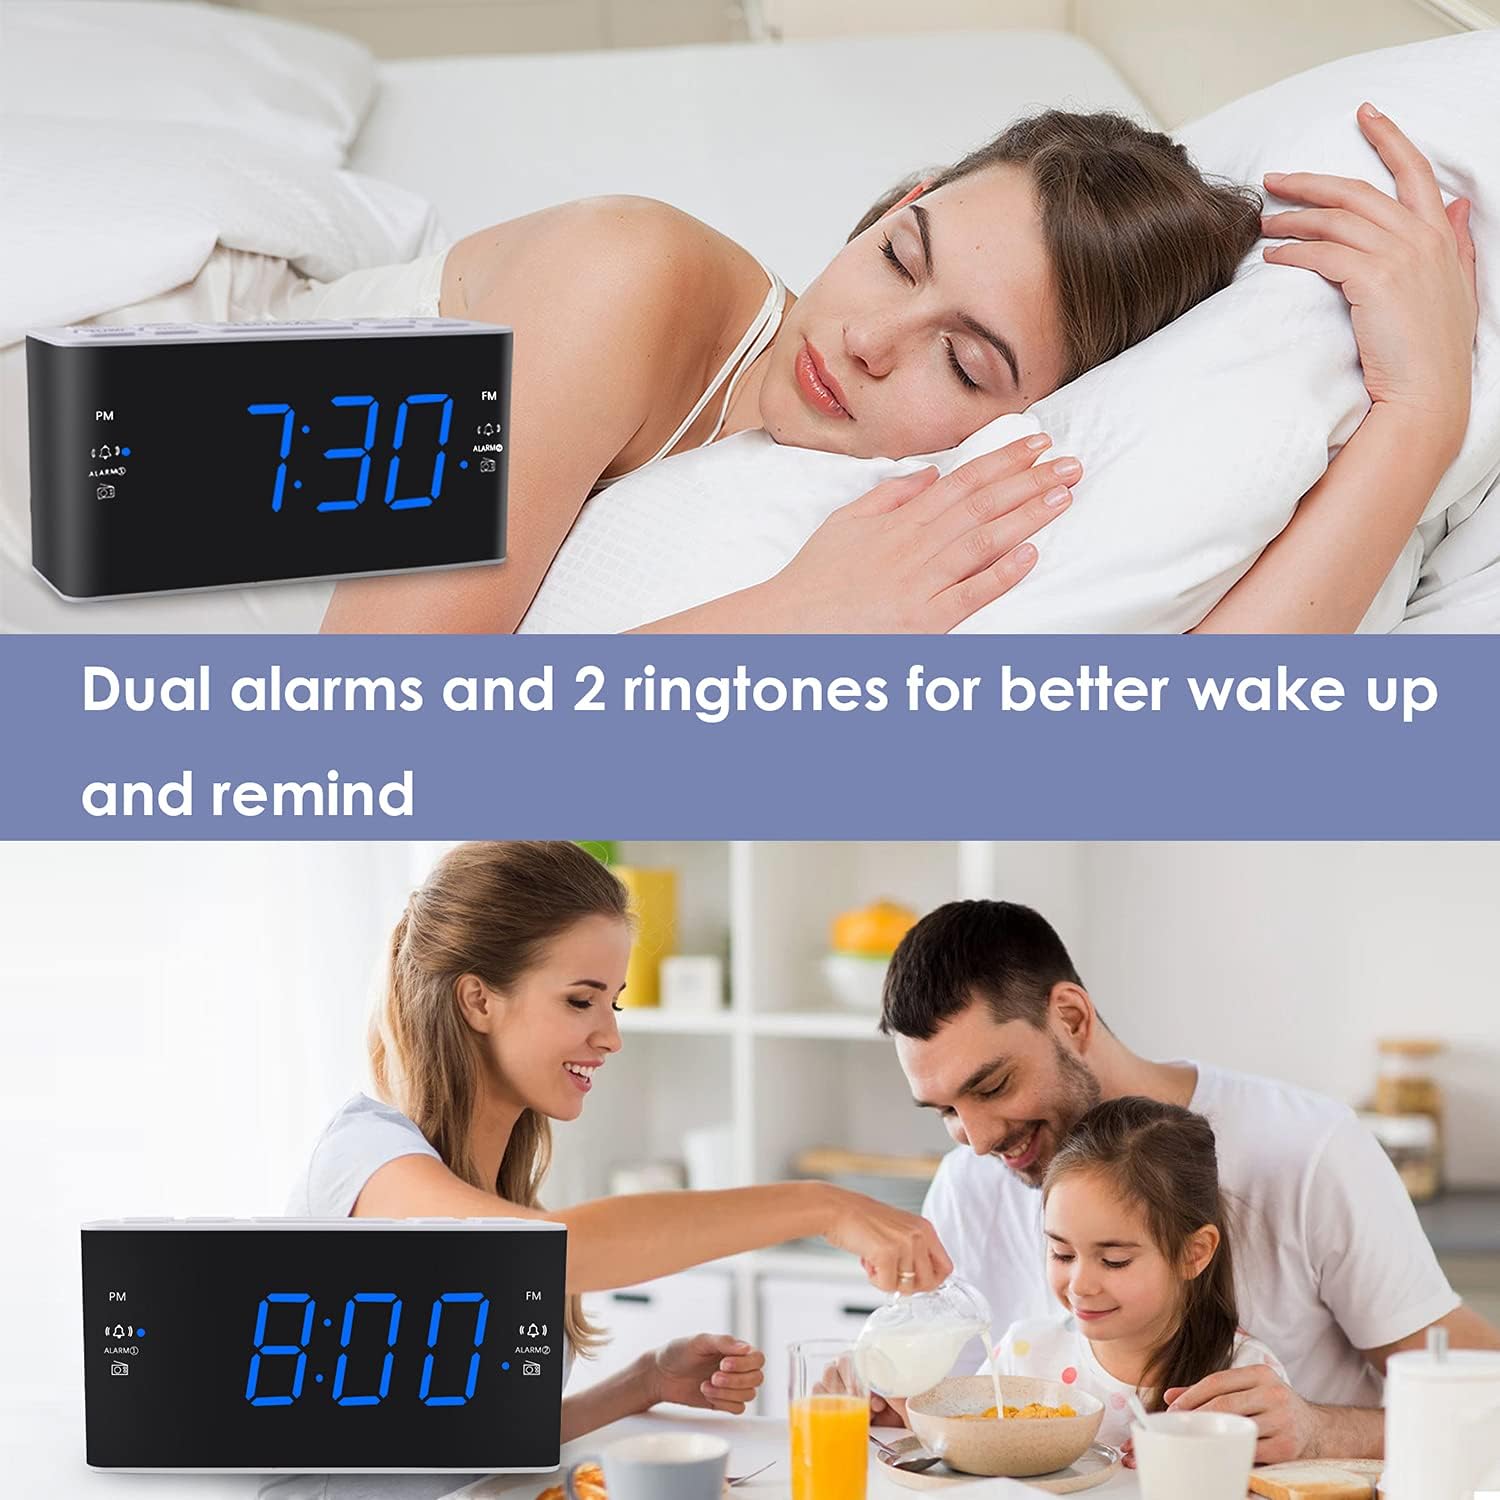
Image: The alarm clock displaying 7:30, with icons indicating dual alarms are set, positioned on a bedside table next to a person waking up.
2. Регулировка громкости будильника
When an alarm is sounding, use the ГРОМКОСТЬ+ or VOL- buttons to adjust the alarm volume between levels 5 and 15.
3. Функция повтора сигнала
Когда прозвучит сигнал тревоги, нажмите на большую кнопку. SNOOZE / DIMMER button to temporarily silence the alarm for 9 minutes. The alarm will sound again after 9 minutes. This can be repeated up to 5 times. To cancel the alarm completely, press any other button (e.g., ALARM1, ALARM2, RADIO).

Image: A hand reaching to press the SNOOZE button on the alarm clock, which shows 8:30, illustrating the snooze function.
4. Работа радио AM/FM
- Нажмите РАДИО кнопка включения или выключения радио.
- To tune, press the ГРОМКОСТЬ+ or VOL- buttons to manually adjust the frequency. Press and hold these buttons for automatic scanning to the next available station.
- Настройки пресетов: While listening to a desired station, press and hold the ПРЕДУСТАНОВКА Кнопка. Номер предустановленной настройки начнет мигать. Используйте ГРОМКОСТЬ+ or VOL- to select a preset slot (P01-P20 for AM/FM). Press ПРЕДУСТАНОВКА снова, чтобы сэкономить.
- Вызов предустановок: Кратковременно нажмите кнопку ПРЕДУСТАНОВКА кнопка для переключения между сохраненными станциями.
- Adjusting Radio Volume: Используйте ГРОМКОСТЬ+ or VOL- buttons when the radio is on to adjust the listening volume.
5. Таймер сна
Таймер сна позволяет радиоприемнику воспроизводить музыку в течение заданного времени, после чего он автоматически выключается.
- Во время воспроизведения радио нажмите кнопку СПАТЬ button (if available, otherwise use a combination like SNOOZE + RADIO, or refer to specific button if different).
- Несколько раз нажмите кнопку СПАТЬ button to cycle through available sleep times (e.g., 10, 20, 30, 60, 90 minutes).
- Радио автоматически выключится по истечении выбранного времени.
6. Регулятор яркости дисплея
Для регулировки яркости светодиодного дисплея нажмите кнопку SNOOZE / DIMMER button (when the alarm is not sounding). Each press will cycle through the four available brightness levels (High, Medium, Low, Off).

Image: The alarm clock displaying 20:00 (8 PM) with a dimmed blue LED display, illustrating the dimmer function for nighttime use.
Обслуживание
1. Уборка
To clean the clock radio, gently wipe the surface with a soft, dry cloth. Do not use abrasive cleaners, waxes, or solvents as these can damage the finish. Ensure the device is unplugged before cleaning.
2. Battery Replacement (Backup)
Если настройки времени и будильника не сохраняются при отключении питанияtage, the AAA backup batteries may need to be replaced. Open the battery compartment, remove the old batteries, and insert two new AAA batteries, observing the correct polarity (+/-). Close the compartment securely.
Поиск неисправностей
| Проблема | Возможная причина | Решение |
|---|---|---|
| Отображение времени выключено или не работает. | Нет питания от сети переменного тока; питание отключеноtage; display dimmer set to 'Off'. | Ensure the power cord is securely plugged into a live outlet. Check for power outages. Press the SNOOZE / DIMMER кнопка для регулировки яркости дисплея. |
| Time/Alarm settings are lost after a power outage. | Резервные батареи разряжены или не установлены. | Install two fresh AAA batteries or replace existing ones in the battery compartment. |
| Сигнализация не срабатывает. | Alarm is not activated; alarm volume is too low; incorrect alarm time. | Ensure the alarm icon is visible on the display. Re-check alarm time and source. Adjust alarm volume (levels 5-15). |
| Плохой радиоприем. | Антенна не выдвинута; помехи; слабый сигнал. | Fully extend the FM wire antenna. Reposition the clock radio to improve reception. Avoid placing near electronic devices that may cause interference. |
| Radio presets are not saved. | Incorrect saving procedure; power interruption without backup. | Убедитесь, что вы нажали и удерживаете кнопку. ПРЕДУСТАНОВКА button to save, then press again to confirm. Ensure backup batteries are installed and functional to retain settings during power loss. |
Технические характеристики
| Особенность | Деталь |
|---|---|
| Бренд | Ратаки |
| Номер модели | H249 |
| Тип дисплея | Цифровой светодиод (синий) |
| Источник питания | Сетевой электрический (переменный ток 120 В, 60 Гц) |
| Резервная батарея | 2 AAA batteries (not included) for settings retention |
| Размеры продукта | 6.14 дюйма (Ш) x 3.15 дюйма (В) x 2.17 дюйма (Г) |
| Вес товара | 4 унции (0.25 фунта) |
| Радиочастота (FM) | 87.5-108 МГц |
| Radio Frequency (AM) | 520-1710 кГц |
| Особые возможности | Adjustable Brightness, Adjustable Volume, Dual Alarms, Radio, Sleep Timer |
| Материал | Пластик |

Image: Dimensional drawing of the alarm clock, indicating its width (6.14in), height (3.15in), and depth (2.17in).
Гарантия и поддержка
Информация о гарантии
This Ratakee Digital Alarm Clock Radio H249 comes with a Ограниченная гарантия сроком на 1 год с даты покупки. Кроме того, 90-дневная гарантия возврата денег is offered. This warranty covers manufacturing defects and malfunctions under normal use. It does not cover damage caused by misuse, accidents, unauthorized modifications, or external factors.
Поддержка клиентов
For technical assistance, troubleshooting not covered in this manual, or warranty claims, please contact Ratakee customer support through the retailer's platform or the contact information provided with your purchase. Please have your model number (H249) and purchase date available when contacting support.


