1. Введение
This manual provides essential information for the safe and efficient operation of your Anern 4200W Hybrid Solar Inverter. Please read this manual thoroughly before installation and use. Keep it for future reference.
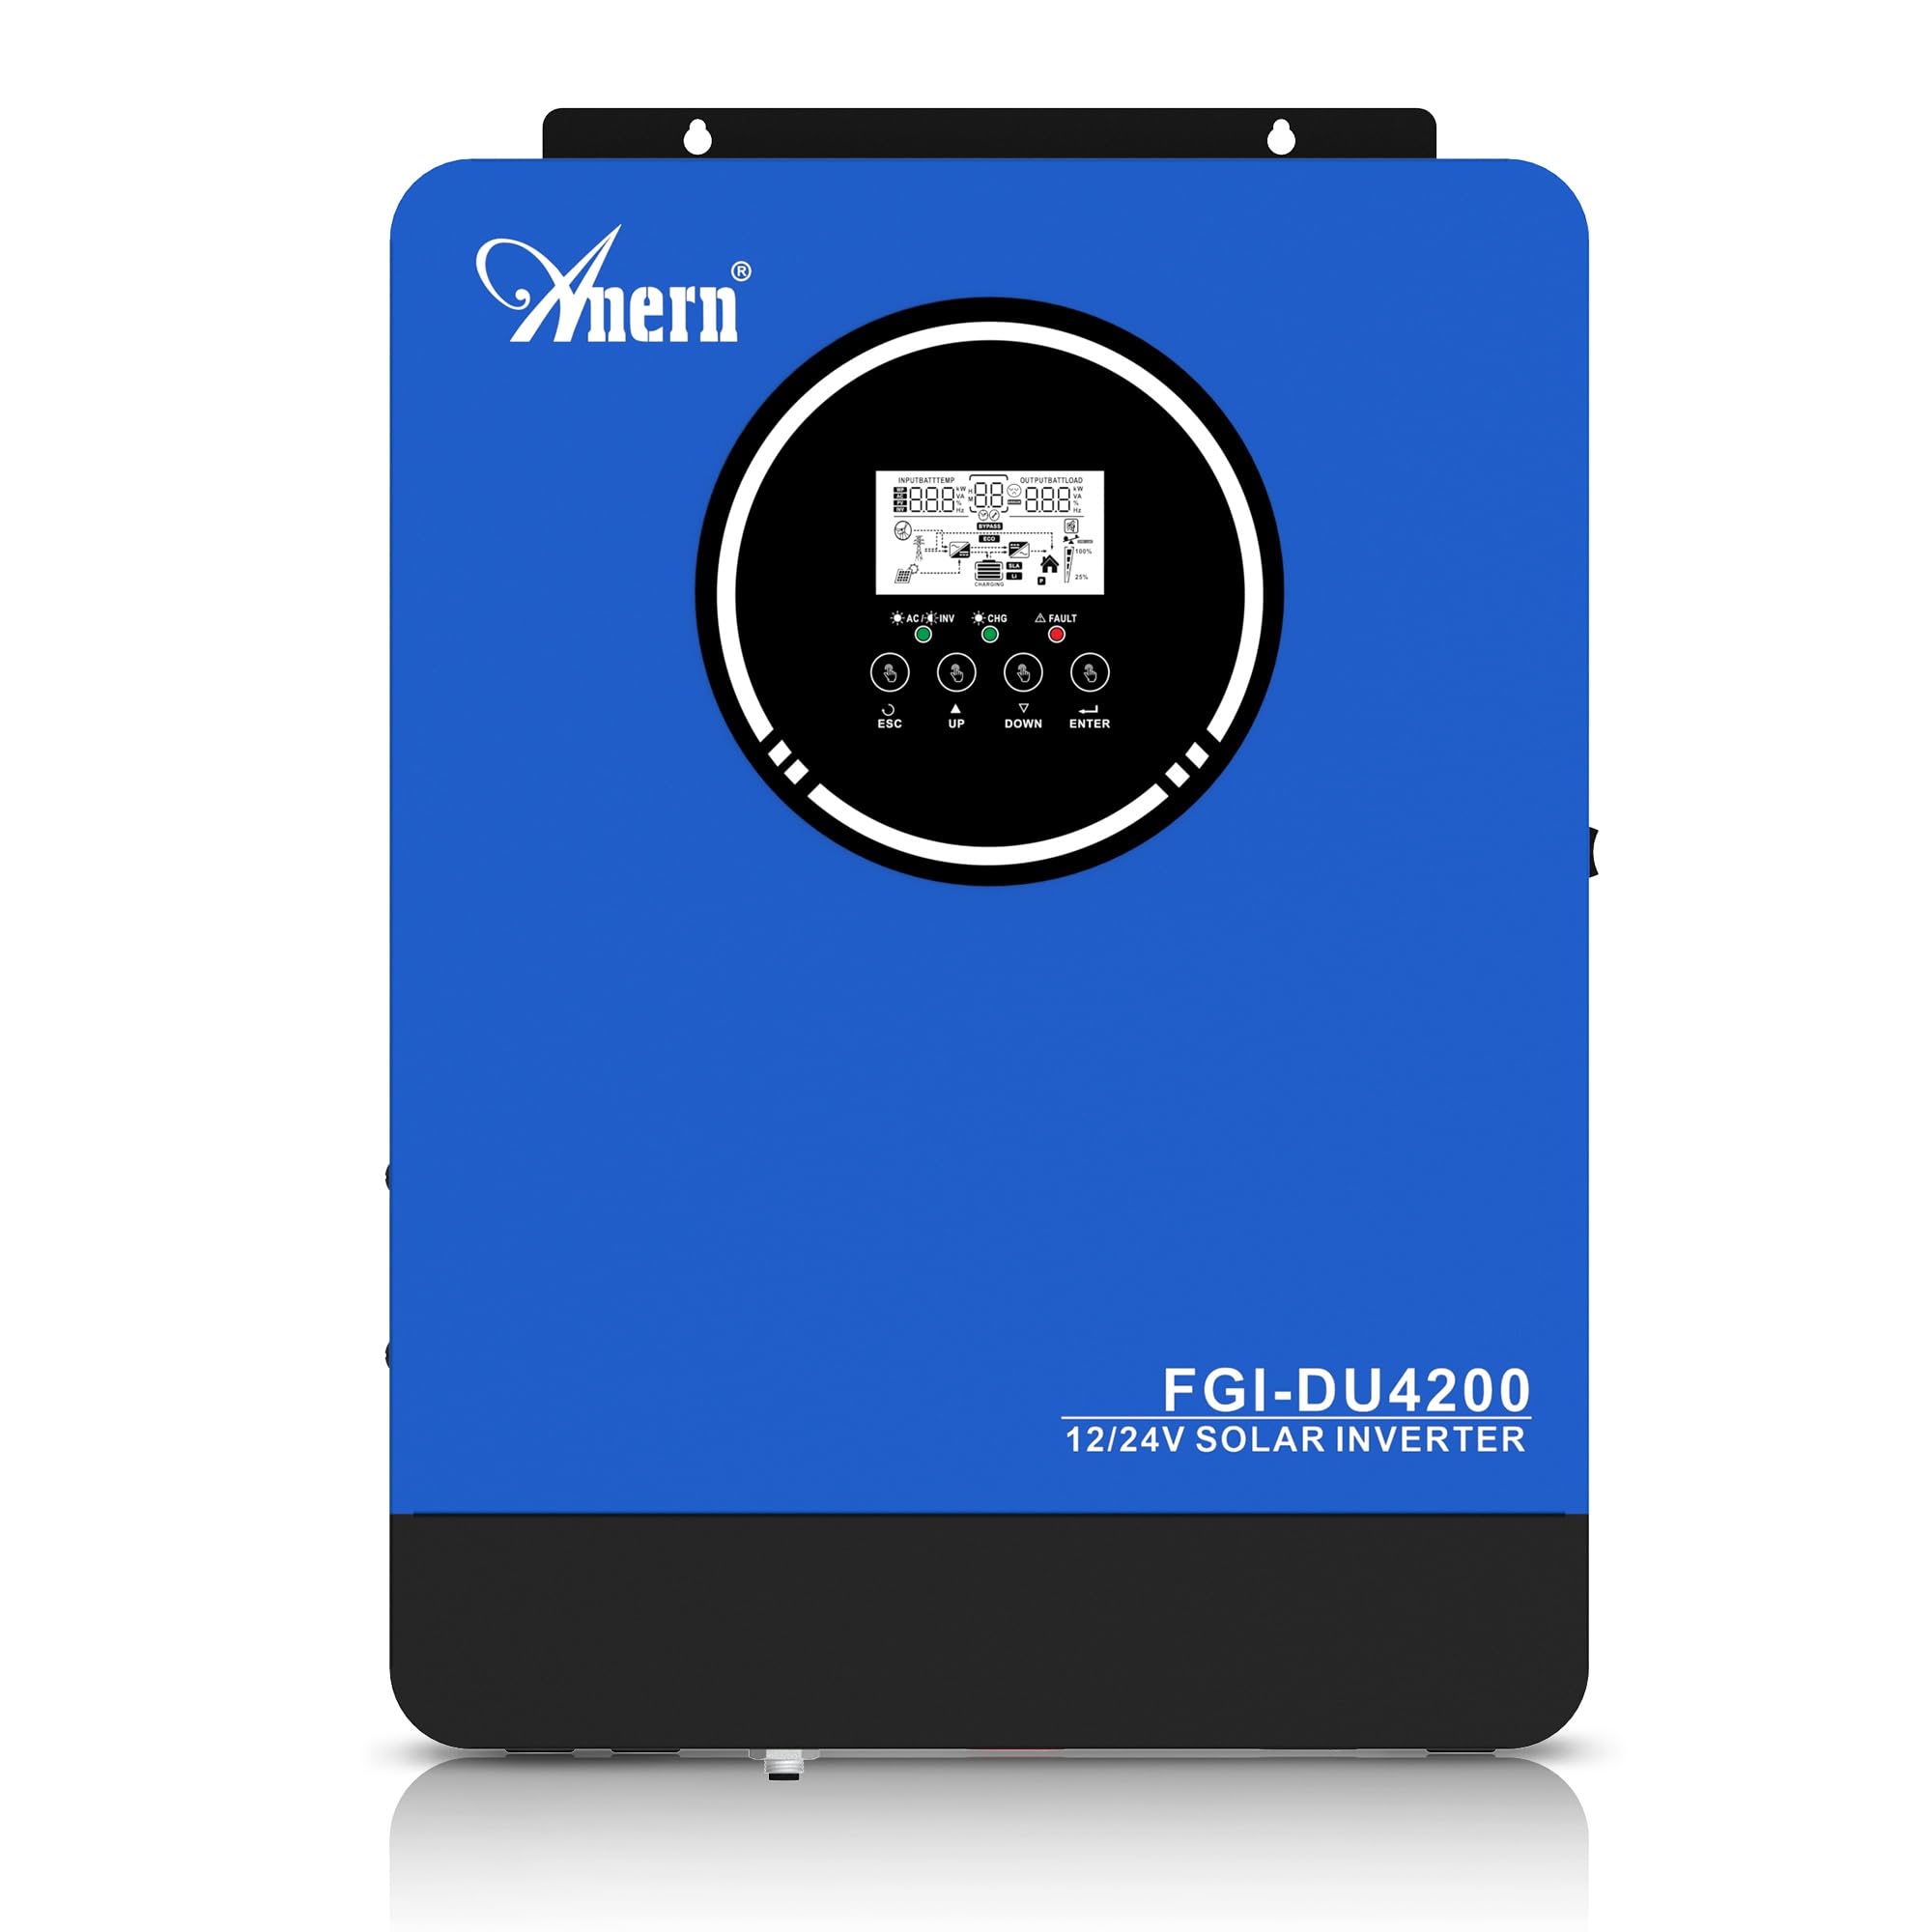
Figure 1: Anern 4200W Hybrid Solar Inverter. This image displays the main unit of the inverter, highlighting its key specifications such as 100A AC charging current, 4200W rated output power, and 500 VDC maximum PV array voltage.
2. Инструкции по технике безопасности
Всегда соблюдайте следующие меры предосторожности, чтобы снизить риск поражения электрическим током, возгорания или травмы:
- Установка должна выполняться квалифицированным персоналом.
- Ensure all wiring is correctly connected and equipped with appropriate protective switches.
- Не разбирайте инвертор. Внутри нет деталей, подлежащих обслуживанию пользователем.
- Избегайте попадания дождя, снега, брызг или любых жидкостей на инвертор.
- Обеспечьте достаточную вентиляцию вокруг инвертора, чтобы предотвратить перегрев.
- Перед выполнением любого технического обслуживания или электромонтажа отключите все источники питания (фотоэлектрические системы, аккумуляторы, электросеть).
3. Продукт закончилсяview
The Anern 4200W Hybrid Solar Inverter is designed to convert DC power from solar panels and batteries into AC power for household use. It features an integrated 100A MPPT solar charge controller and supports both 12V and 24V battery systems with automatic detection.
Основные характеристики:
- Выходная мощность чистой синусоиды 4200 Вт: Обеспечивает стабильное и чистое электропитание для чувствительной электроники.
- Контроллер заряда солнечных батарей MPPT на 100 А: Увеличивает выработку электроэнергии от солнечных панелей.
- 12V/24V Battery Auto-Detection: Automatically adjusts output based on connected battery voltage.
- BMS Interface: Supports communication with lithium batteries for enhanced monitoring and protection.
- Светодиодный дисплей реального времени: Shows system status, operating data, and error codes.
- Configurable Charging & Output Modes: Offers flexibility for various application needs.
- Дополнительная опция: мониторинг по Wi-Fi/GPRS. Remote monitoring capability (module sold separately).

Figure 2: Inverter Display and Controls. This image illustrates the inverter's LCD display, function buttons for configuration, and the optional WiFi module for remote monitoring.
4. Настройка и установка
4.1 Схема электропроводки
Refer to the electrical schematic for proper system wiring. Ensure all connections are secure and correctly polarized.

Figure 3: Electrical Schematic. This diagram shows the complete wiring for a solar inverter system, including solar panels, combiner box, DC/AC breakers, inverter, utility grid connection, and loads.
4.2 Подключение батареи
The inverter supports 12V and 24V battery configurations. It automatically detects the battery voltage and adjusts its output accordingly (2300W for 12V, 4200W for 24V). For 24V systems, connect two 12V batteries in series. For 12V systems, connect batteries in parallel if increasinобъем в г.

Figure 4: Battery Connection Options. This image illustrates how to connect batteries for 12V (parallel connection for 2300W output) and 24V (series connection for 4200W output) systems.
The inverter also supports lithium batteries and includes a BMS (Battery Management System) interface for monitoring and protection. Ensure the BMS is properly connected if using lithium batteries.

Figure 5: Communication Interfaces. This image highlights the dual communication interfaces for BMS (Battery Management System) and optional WiFi module, enabling remote monitoring and battery communication.
4.3 Последовательность запуска и завершения работы
Последовательность запуска:
- Подключите аккумулятор.
- Включите инвертор.
- Activate the protective switches for PV, Utility, and Loads.
Последовательность выключения:
- Deactivate the protective switches for Loads, Utility, and PV.
- Выключите инвертор.
- Отсоедините аккумулятор.
Important Note: Inductive loads (e.g., motors, refrigerators) may require up to 3 times their rated power for startup. Ensure the inverter's capacity is sufficient to handle these surge loads. Exceeding the inverter's surge capacity can cause damage.
5. Операция
5.1 ЖК-дисплей и настройки
The inverter features an LED display that provides real-time system data and operating status. Use the function buttons below the display to navigate menus and configure settings. Settings include battery charging current, AC/solar charging priority, and charging current priority.
5.2 режима зарядки
Инвертор предлагает четыре настраиваемых режима зарядки:
- Приоритет солнечной энергетики: Для зарядки устройств приоритет отдается солнечной энергии.
- Только солнечная энергия: Для зарядки используется только солнечная энергия.
- Приоритет коммунальных услуг: Utility grid power is prioritized for charging.
- Solar + Utility Hybrid: Объединяет солнечную и сетевую энергию для зарядки.
5.3 Режимы вывода
Three output modes are available to adapt to various application needs:
- Приоритет солнечной энергии (SUB): Приоритет при использовании солнечной энергии для питания энергосистемы.
- Приоритет служебных функций (USB): Utility grid power is prioritized for loads.
- СБУ: Solar, Battery, Utility priority.

Figure 6: Charging and Output Modes. This diagram visually explains the four available charging modes (Solar Charge, Utility Priority, Solar Priority, Hybrid Charge) and three load output modes (PV Priority, Utility Priority, SBU Priority).
5.4 Удаленный мониторинг
The inverter supports remote monitoring via an optional WiFi/GPRS module (sold separately). This allows users to monitor system performance and status from a distance.
6. Техническое обслуживание
Регулярное техническое обслуживание обеспечивает оптимальную производительность и долговечность вашего инвертора:
- Содержите инвертор в чистоте и не допускайте попадания на него пыли. Для чистки используйте сухую ткань.
- Убедитесь, что вентиляционные отверстия не заблокированы.
- Периодически проверяйте герметичность всех соединений проводки и наличие признаков коррозии.
- Monitor the battery status, especially if using lithium batteries with the BMS interface, to prevent overcharge or deep discharge.
- Inspect solar panels for dirt or damage that could reduce efficiency.
7. Поиск Неисправностей
The LED display will show error codes if issues arise. Refer to the inverter's display for specific error codes to diagnose and resolve problems. Common issues and their potential solutions include:
- Нет выходной мощности: Check battery connections, DC/AC breakers, and inverter power switch.
- Низкий уровень заряда батареиtage: Ensure batteries are adequately charged. Check charging sources (solar, utility).
- Предупреждение о перегрузке: Reduce the connected load. Inductive loads may cause temporary overloads during startup.
- Перегрев: Ensure proper ventilation. Clean any dust from the inverter's vents.
- Ошибка ввода данных с фотоэлектрического датчика: Проверьте соединения и напряжение солнечной панели.tage. Ensure PV array voltagе находится в указанном диапазоне (55-500 В постоянного тока).
For persistent issues or error codes not listed, contact customer support.
8. Технические характеристики
| Особенность | Спецификация |
|---|---|
| Бренд | Анерн |
| Номер модели | AN-FGI-DU 4200 |
| Электроэнергия | 4200 Вт |
| Выходная мощность | 4500 Вт |
| Max. Output Power (Watts) | 4200 |
| Форма выходного сигнала | Чистая синусоида |
| Источник питания | Солнечная энергия, батарея |
| Рекомендуемое использование продукта | Дом |
| Включенные компоненты | Руководство по эксплуатации |
| Согласие | CE |
| Размеры продукта | 30 x 10 x 40 см; 8.86 кг |
9. Гарантия и поддержка
For warranty information and technical support, please refer to the documentation provided with your purchase or contact Anern customer service. Keep your purchase receipt as proof of purchase.