1. Информация по технике безопасности
Please read and understand all safety instructions before installing or using the MONTECH HS02 PRO PC Case. Failure to follow these instructions may result in damage to the product, personal injury, or voiding of the warranty.
- Электробезопасность: Ensure all power components are properly grounded and connected. Disconnect power before performing any installation or maintenance.
- Умение обращаться: The case contains tempered glass panels. Handle with care to prevent breakage. Avoid dropping or subjecting the case to strong impacts.
- Вентиляция: Ensure adequate airflow around the case to prevent overheating. Do not block ventilation openings.
- Среда: Operate the case in a dry, stable environment. Avoid extreme temperatures, humidity, and direct sunlight.
- Дети и домашние животные: Keep the product and its components out of reach of children and pets. Small parts can be a choking hazard.
2. Содержимое упаковки
Verify that all items listed below are present in your package. If any items are missing or damaged, please contact Montech customer support.
- Корпус для ПК MONTECH HS02 PRO ATX Mid-Tower
- Коробка с принадлежностями (винты, стяжки, стойки и т. д.)
- Руководство пользователя (этот документ)
- Pre-installed GF120 V2 ARGB Fans (5x)
3. Продукт закончилсяview
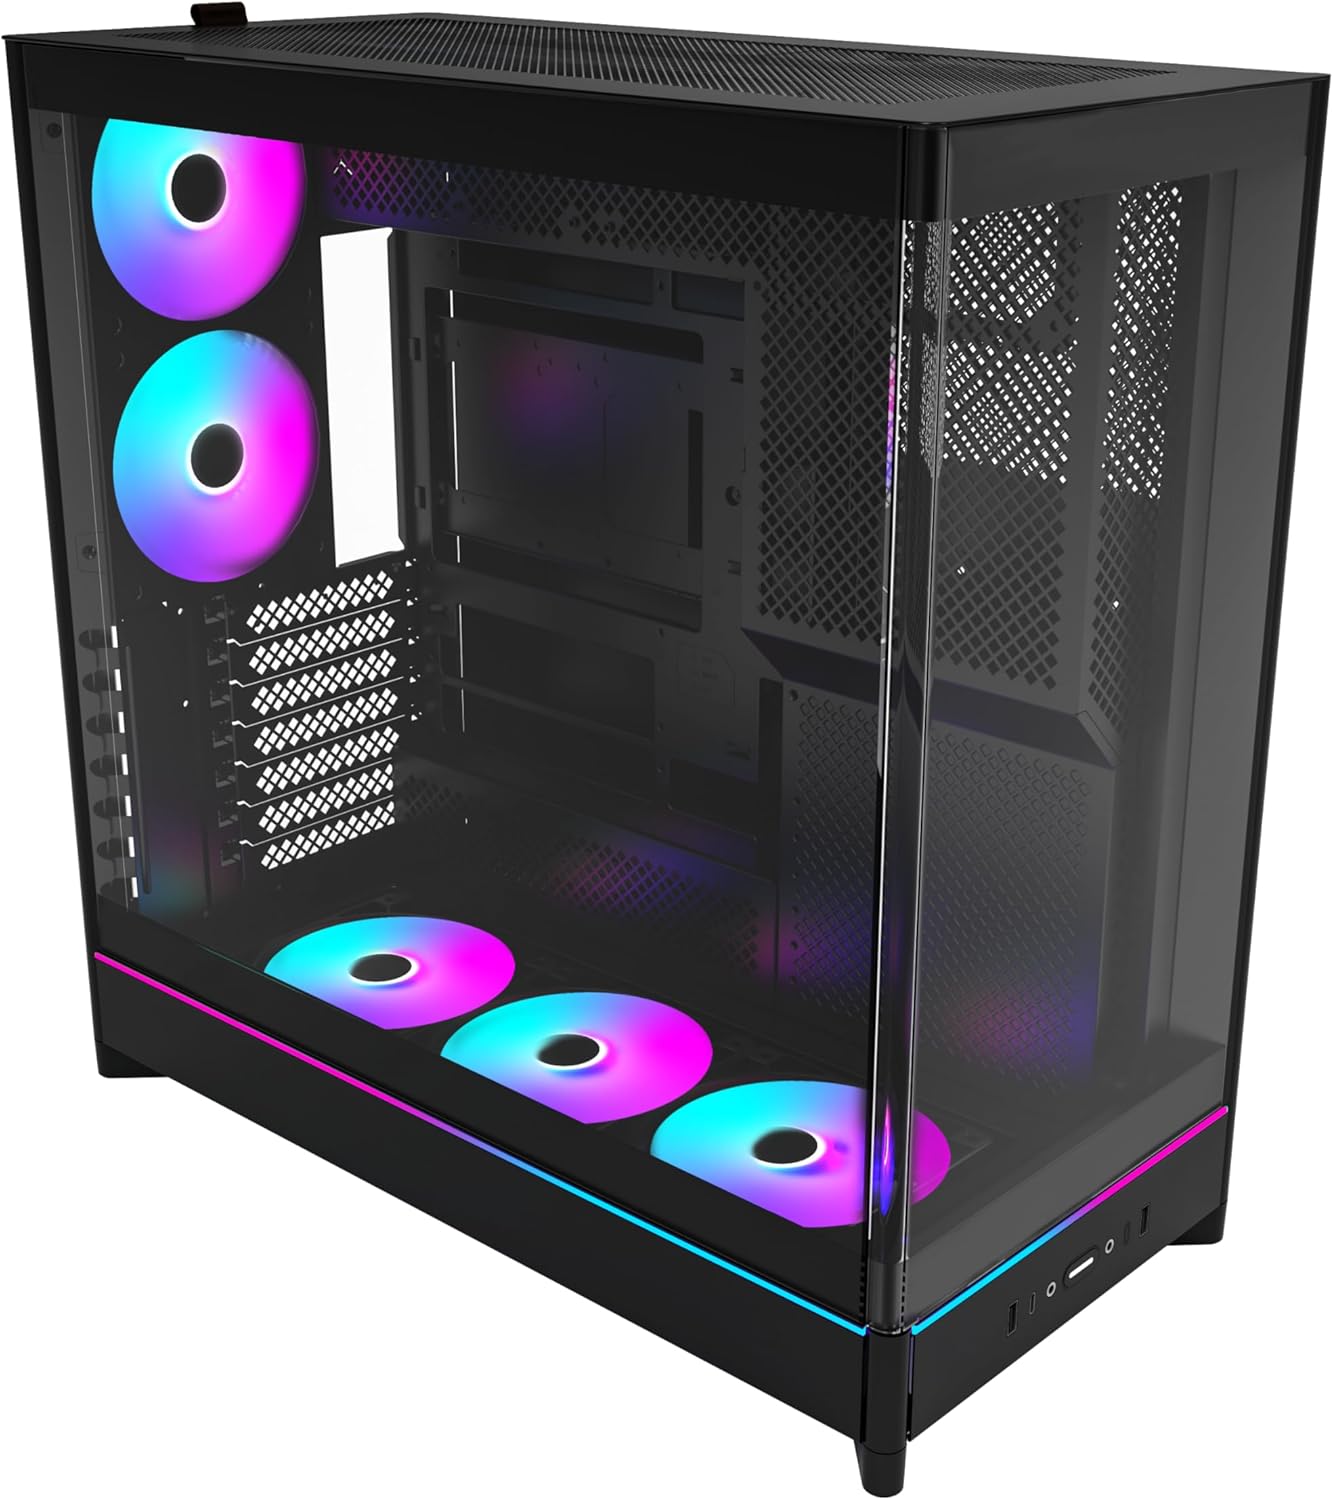
The MONTECH HS02 PRO is a high-airflow ATX mid-tower PC case designed for optimal thermal performance and aesthetic appeal. It features a unique reversible layout and a sturdy curved tempered glass front panel.
Основные характеристики:
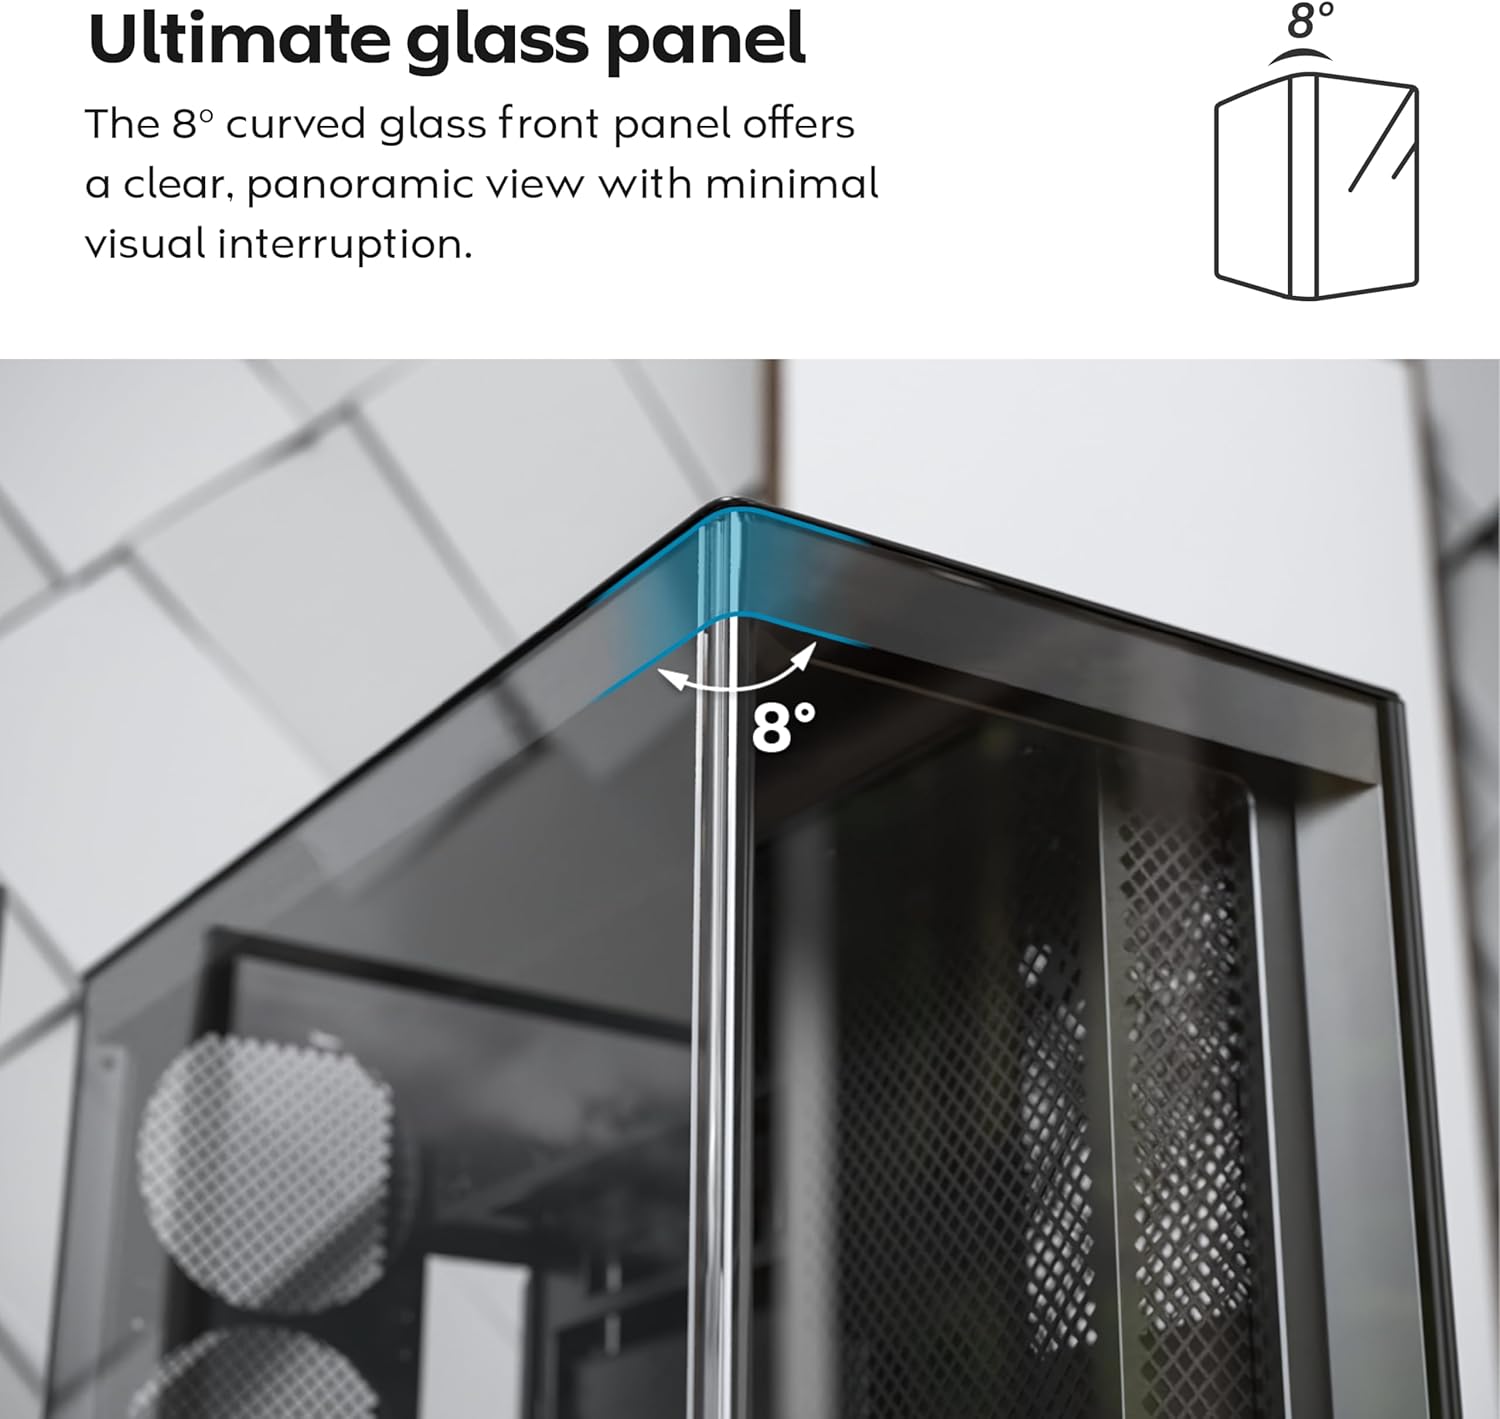
- 8-Degree Curved Glass Panel: The front tempered glass panel features a subtle 8-degree curved edge, offering a distinctive and refined view of the interior with minimal visual distortion.
- Реверсивная конструкция: A top-down reversible layout allows the entire setup to be positioned on either the left or right side, showcasing your build from your preferred angle.
- Вертикальная вентиляция: Нижний воздухозаборник и верхний выхлоп создают естественный эффект дымовой трубы для эффективного рассеивания тепла.
- Вертикальная совместимость с GPU: Поворотные слоты PCIe позволяют мгновенно установить видеокарту в вертикальном положении без необходимости использования дополнительного держателя или подставки.
- Конструкция, позволяющая легко погрузиться в атмосферу: Утопленный в нижнюю часть вентилятор и расположение материнской платы обеспечивают чистый, ничем не загороженный боковой край. view.
- Pre-installed ARGB PWM Fans: В комплекте 5 предустановленных вентиляторов GF120 V2 ARGB, полностью синхронизируемых с управлением подсветкой материнской платы.
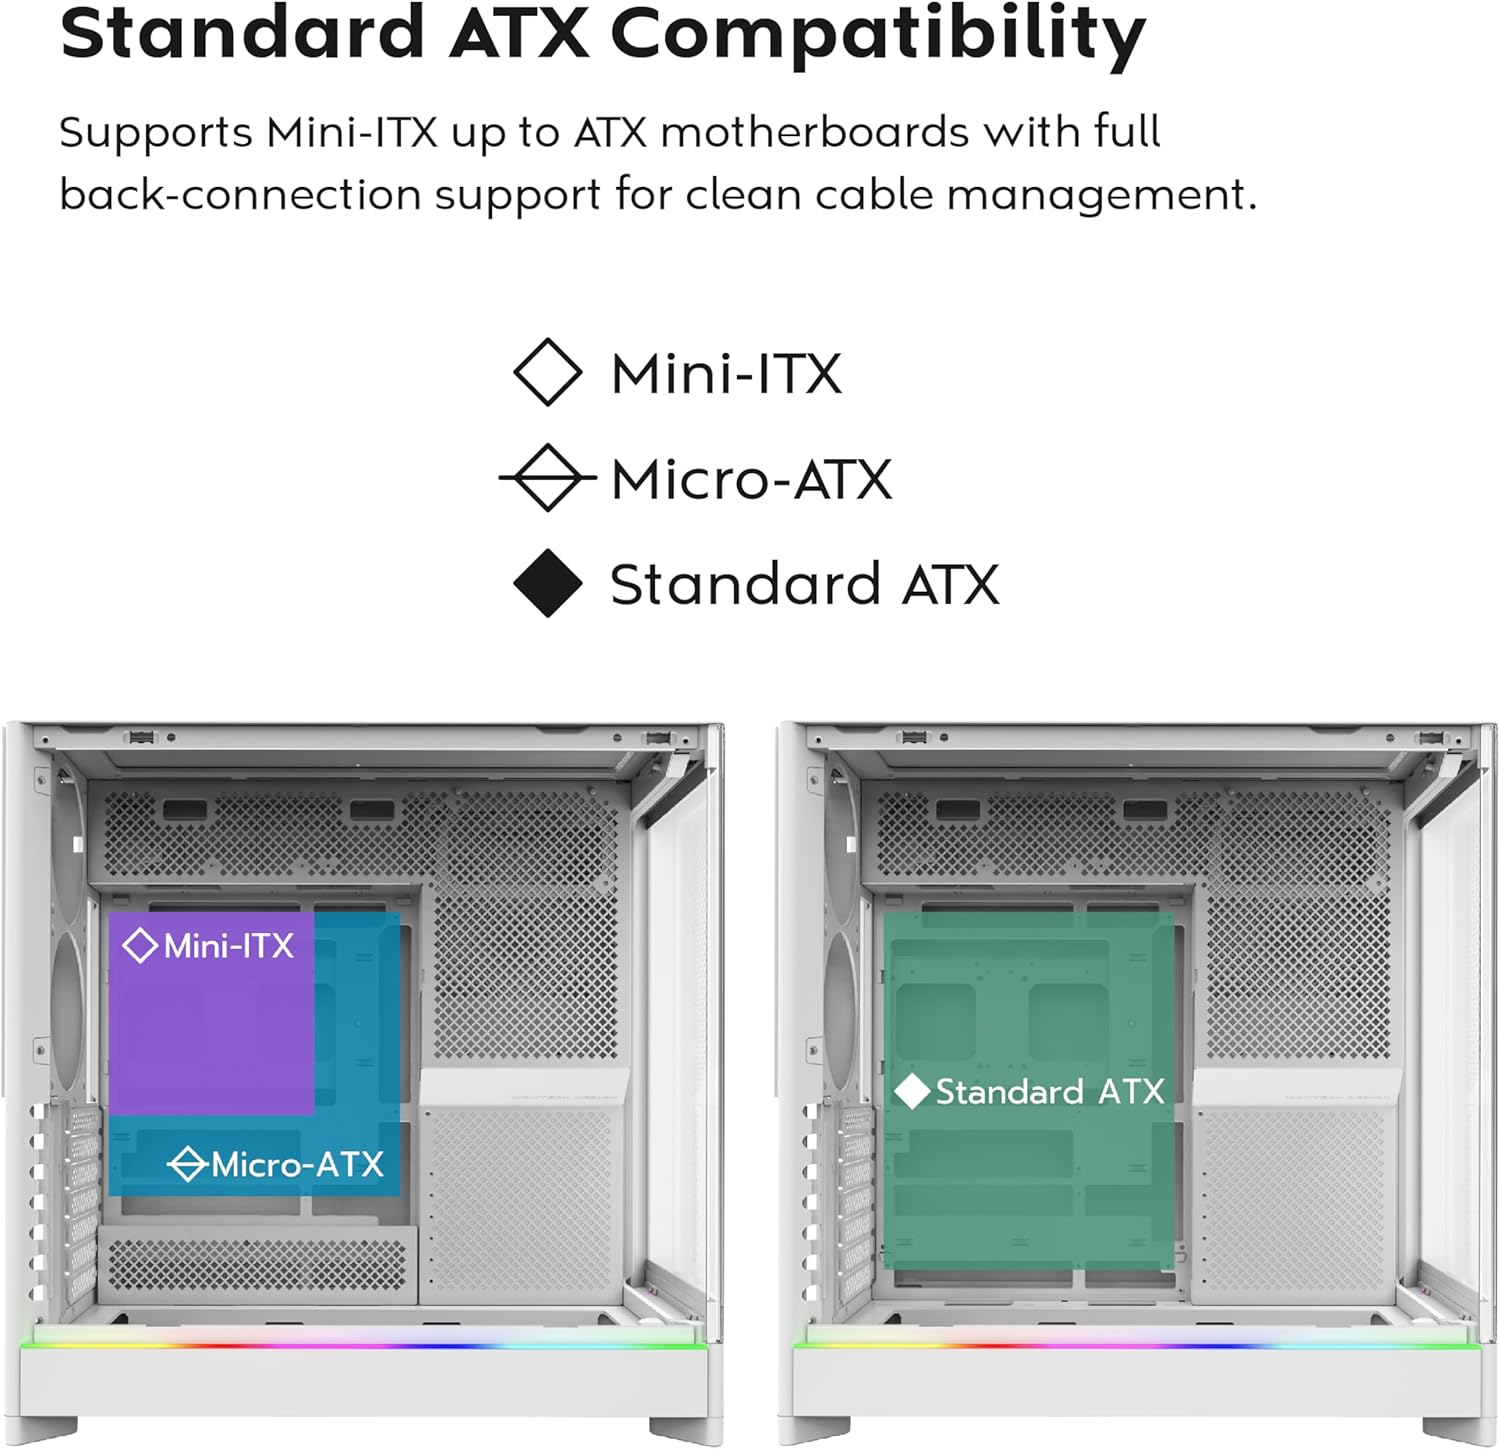
- Back-Connect Motherboard Ready: Supports standard and back-connect motherboards, including MSI Project Zero, ASUS BTF, and more.
- Ampемкость хранения: Supports multiple storage drives (HDD/SSD) for flexible and expandable storage options.
Идентификация компонента:


4. Настройка и установка
This section provides general guidelines for setting up your MONTECH HS02 PRO PC case. For detailed component-specific instructions, refer to your motherboard, GPU, and PSU manuals.
4.1 Подготовка дела
- Распаковка: Аккуратно извлеките чехол из упаковки. Осмотрите его на наличие повреждений, полученных при транспортировке.
- Снятие панели: Gently remove the tempered glass side panel and the rear metal side panel. The tempered glass panel is secured with toolless latches.
- Коробка для аксессуаров: Найдите коробку с аксессуарами внутри корпуса, в которой находятся все необходимые винты и крепежные детали.
4.2 Установка материнской платы
- Противостояния: Ensure the correct standoffs are installed for your motherboard form factor (Mini-ITX, Micro-ATX, or ATX). Adjust if necessary.
- Защитная панель ввода/вывода: Install your motherboard's I/O shield into the rear opening of the case.
- Монтаж: Carefully align your motherboard with the standoffs and gently lower it into place. Secure it with the provided screws.
- Back-Connect Motherboards: If using a back-connect motherboard, ensure proper alignment with the designated cutouts for cable routing.
4.3 Установка блока питания (БП)
- Монтаж: The PSU mounts at the bottom of the case. Slide the PSU into its designated bay from the rear.
- Обеспечение: Закрепите блок питания винтами с задней стороны корпуса.
- Прокладка кабеля: Проложите необходимые силовые кабели через специальные отверстия для укладки кабелей к материнской плате и другим компонентам.
4.4 Установка накопителя (HDD/SSD)
- Отсеки для дисков: Utilize the designated drive bays for 3.5" HDDs and 2.5" SSDs.
- Монтаж: Secure drives using the provided screws or toolless mechanisms where applicable.
4.5 Установка видеокарты (GPU)
- Слоты PCIe: Remove the necessary PCIe slot covers.
- Горизонтальная установка: Insert the GPU into the primary PCIe slot on your motherboard and secure it with screws.
- Vertical Installation (Optional): The rotatable PCIe slots allow for vertical GPU mounting. Rotate the bracket and install your GPU vertically. A PCIe riser cable (not included) is required for vertical mounting.
4.6 Установка системы охлаждения (вентиляторы/радиаторы)
- Предустановленные вентиляторы: The case comes with 5 pre-installed ARGB PWM fans. Connect their power and ARGB cables to your motherboard or a fan controller.
- Additional Fans/Radiators: The case supports additional fans and radiators at the top, rear, and bottom. Refer to the specifications for supported sizes.
- AIO Cooler: Install your All-in-One (AIO) liquid cooler radiator and fans according to the cooler's instructions, utilizing the available mounting points.
4.7 Управление кабелями
Используйте ample space behind the motherboard tray and the cable management cutouts to route and secure cables. This improves airflow and aesthetics.
5. Инструкция по эксплуатации
После установки и закрепления всех компонентов вы можете включить систему.
5.1 Включение
- Подключите периферийные устройства: Connect your monitor, keyboard, mouse, and other peripherals to your system.
- Силовой кабель: Connect the PSU power cable to a wall outlet and flip the PSU's power switch to the 'ON' position.
- Кнопка питания: Нажмите кнопку питания на передней панели ввода/вывода корпуса.
5.2 Функции передней панели ввода/вывода
- USB 3.0 Порты: Для подключения устройств, совместимых с USB 3.0.
- Порт USB Type-C: For connecting USB Type-C compatible devices.
- Аудиоразъем: Для наушников или динамиков.
- Разъем для микрофона: Для подключения микрофона.
- Кнопка питания: Чтобы включить или выключить систему.
- Светодиодная кнопка: To cycle through the 29 ARGB lighting modes for the pre-installed fans and integrated light strip.
6. Техническое обслуживание
Регулярное обслуживание помогает обеспечить оптимальную производительность и долговечность компонентов вашего ПК.
- Очистка от пыли: Periodically clean dust filters (top, bottom, front) to maintain optimal airflow. Use compressed air to remove dust from internal components.
- Очистка стеклянных панелей: Use a soft, lint-free cloth and a non-abrasive glass cleaner to clean the tempered glass panels. Avoid harsh chemicals.
- Управление кабелями: Периодически проверяйте прокладку кабелей, чтобы убедиться, что никакие кабели не препятствуют потоку воздуха или работе лопастей вентилятора.
- Проверка вентилятора: Ensure all fans are spinning freely and quietly. Clean fan blades if dust buildup is significant.
7. Поиск Неисправностей
This section addresses common issues you might encounter. For more complex problems, consult Montech customer support or a qualified technician.
Распространенные проблемы и решения:
| Проблема | Возможная причина | Решение |
|---|---|---|
| Система не включается. | PSU switch off, power cables loose, faulty PSU/motherboard. | Ensure PSU switch is ON. Check all power connections (24-pin, CPU, GPU). Test PSU if possible. |
| Вентиляторы не вращаются, или RGB-подсветка не работает. | Fan cables disconnected, ARGB cables disconnected, faulty fan/controller. | Verify fan power and ARGB headers are securely connected to motherboard/controller. Use the LED button to cycle modes. |
| Плохая циркуляция воздуха или высокие температуры. | Dust buildup, obstructed vents, incorrect fan orientation. | Clean dust filters and internal components. Ensure fans are oriented correctly for intake/exhaust. Check for cable obstructions. |
| Front I/O ports not functioning. | Front panel connectors loose or incorrectly connected to motherboard. | Refer to your motherboard manual to ensure all front panel headers (USB, audio) are correctly connected. |
8. Технические характеристики
Detailed technical specifications for the MONTECH HS02 PRO ATX Mid-Tower PC Case.
| Особенность | Спецификация |
|---|---|
| Название модели | HS02 PRO Glass Black with Fans |
| Номер модели | HS02PB |
| Тип корпуса | Средняя башня |
| Совместимость с материнской платой | ATX, Micro-ATX, Mini-ITX (with back-connect support) |
| Размеры (ДxШxВ) | 32 x 52.4 x 58.8 дюйма (прибл. 81.3 x 133.1 x 149.4 см) |
| Вес товара | 24.2 фунта (приблизительно 10.98 кг) |
| Передняя панель | Curved Tempered Glass (8-degree) |
| Предустановленные вентиляторы | 5x GF120 V2 ARGB PWM Fans |
| Метод охлаждения | Air (Vertical Ventilation / Chimney Effect) |
| Тип крепления блока питания | Нижнее крепление |
| Передние порты ввода / вывода | 2x USB 3.0, 1x USB Type-C, Audio, Mic, Power Button, LED Button |
| Зазор графического процессора | Up to 420mm (supports vertical GPU with rotatable PCIe slots) |
| Отсеки для хранения | Multiple HDD/SSD support |
| Цвет | Черный |
9. Гарантия и поддержка
Информацию о гарантии и техническую поддержку можно получить на официальном сайте компании Montech. webили обратитесь в службу поддержки напрямую. Сохраните чек о покупке для предъявления гарантийных претензий.
- Монтек Официальный Webсайт: www.montechpc.com
- Обслуживание клиентов: Обратитесь к website for contact details, including email and phone support.


