1. Введение
Thank you for choosing the COUGAR MX360 RGB Mid Tower Case. This manual provides essential information for the proper installation, operation, and maintenance of your new PC case. The MX360 RGB combines a sleek design with ARGB LED strips on the front panel, offering excellent cooling performance and support for a wide range of components, including up to a 360mm radiator, 315mm graphics cards, and 170mm CPU coolers. Its compact layout and full-length PSU shroud contribute to a clean and organized build.
2. Информация по технике безопасности
- Перед установкой или снятием любых компонентов всегда отключайте источник питания от розетки.
- Обращайтесь с компонентами осторожно, чтобы избежать повреждений от статического электричества. Рекомендуется использовать антистатический браслет.
- Храните мелкие детали и винты в недоступном для детей месте.
- Обеспечьте надлежащую вентиляцию вокруг корпуса, чтобы предотвратить перегрев.
- Не пытайтесь модифицировать корпус или его компоненты, так как это может привести к аннулированию гарантии и создать угрозу безопасности.
3. Содержимое упаковки
Пожалуйста, убедитесь, что в ваш пакет включены все следующие предметы:
- Корпус COUGAR MX360 RGB Mid Tower
- Коробка с принадлежностями (содержащая винты, стойки, кабельные стяжки и т. д.)
- Руководство пользователя (этот документ)
4. Продукт закончилсяview
The COUGAR MX360 RGB case features a minimalist design with integrated ARGB lighting and a tempered glass side panel for showcasing вашей сборки.

Рисунок 4.1: Лицевая сторона view of the COUGAR MX360 RGB case, showing the interior and active RGB lighting.
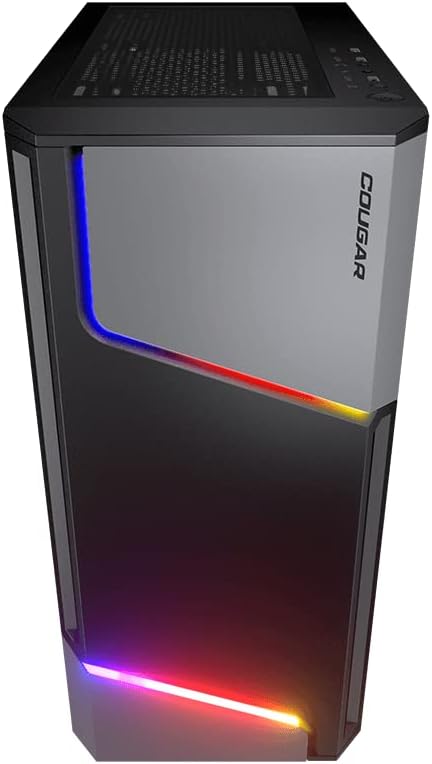
Рисунок 4.2: Передняя часть view of the COUGAR MX360 RGB case, highlighting the integrated ARGB LED strips.
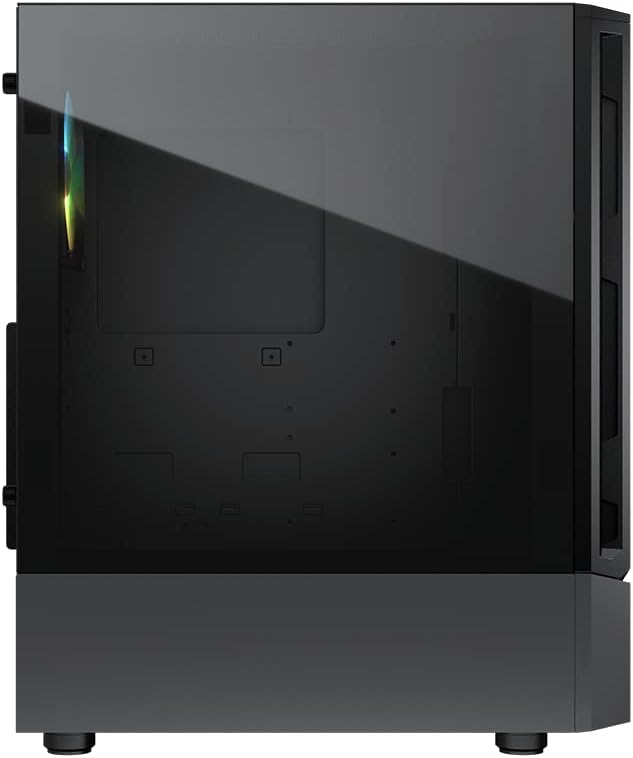
Рисунок 4.3: Сторона view of the COUGAR MX360 RGB case, featuring the tempered glass panel.

Рисунок 4.4: Наклонный фасад view of the COUGAR MX360 RGB case, showcasing its design and ARGB elements.
5. Настройка и установка
Follow these steps to install your components into the COUGAR MX360 RGB case.
5.1 Подготовка дела
- Поместите корпус на ровную, устойчивую поверхность.
- Remove the tempered glass side panel by unscrewing the thumb screws at the rear of the case and carefully sliding the panel off.
- Remove the opposite metal side panel by unscrewing the thumb screws and sliding it off.
5.2 Установка материнской платы
- Install the I/O shield (if not pre-installed on your motherboard) into the rear opening of the case.
- Ensure the correct standoffs are installed for your motherboard form factor (ATX, Micro-ATX, Mini-ITX). Adjust or add standoffs as needed.
- Аккуратно поместите материнскую плату на стойки, совместив отверстия для винтов.
- Закрепите материнскую плату прилагаемыми винтами.
5.3 Установка блока питания (БП)
- Locate the PSU shroud at the bottom of the case.
- Вставьте блок питания в предназначенный для него отсек с задней стороны корпуса.
- Закрепите блок питания винтами с задней стороны корпуса.
- Route necessary cables through the cutouts in the PSU shroud for cable management.
5.4 Установка накопителя
The MX360 RGB supports various storage configurations.
- 3.5-дюймовые жесткие диски: Install into the drive cage located under the PSU shroud.
- 2.5-дюймовые SSD/HDD: Mount onto the dedicated trays or mounting points behind the motherboard tray.
5.5 Установка видеокарты (GPU)
- Снимите необходимые заглушки слотов PCIe с задней части корпуса.
- Вставьте видеокарту в соответствующий слот PCIe на материнской плате.
- Secure the graphics card with screws. The case supports graphics cards up to 315mm in length.
5.6 Установка системы охлаждения (вентиляторы/радиаторы)
The case supports up to six fans and a 360mm water cooling radiator.
- Передний: Supports up to 3 x 120mm or 2 x 140mm fans, or a 240/280/360mm radiator.
- Вершина: Supports up to 2 x 120mm or 2 x 140mm fans, or a 240/280mm radiator.
- Задний: Поддерживает 1 вентилятор размером 120 мм.
Install fans or radiators using the provided screws, ensuring proper airflow direction.
5.7 Подключения на передней панели
Connect the front panel cables (USB, Audio, Power, Reset, LED) to their corresponding headers on your motherboard. Refer to your motherboard manual for exact header locations.
5.8 ARGB Lighting Connection
The integrated ARGB LED strips on the front panel connect via a 5V/3Pin ARGB connector. Connect this cable to a compatible 5V/3Pin ARGB header on your motherboard to synchronize lighting effects with your system.
6. Ведение дела
Once all components are installed and connected, replace the side panels. Power on your system using the power button on the top I/O panel. The ARGB lighting will illuminate, controlled by your motherboard's software or a dedicated ARGB controller if you have one installed.
7. Техническое обслуживание
Регулярное обслуживание помогает обеспечить оптимальную производительность и долговечность компонентов вашего ПК.
- Пылевые фильтры: The MX360 RGB includes removable dust filters (e.g., top, bottom). Periodically remove and clean these filters with compressed air or water (ensure they are completely dry before reinstallation).
- Чистка салона: Use compressed air to remove dust from internal components like fans, heatsinks, and the motherboard.
- Внешняя очистка: Протрите внешние поверхности мягкой, damp ткань. Избегайте абразивных чистящих средств.
8. Поиск Неисправностей
Если у вас возникли проблемы, воспользуйтесь следующими общими шагами по устранению неполадок:
- Нет питания: Ensure all power cables (24-pin ATX, 8-pin CPU, GPU power) are securely connected. Check the PSU switch is in the 'ON' position. Verify front panel power button connection to the motherboard.
- ARGB-подсветка не работает: Confirm the 5V/3Pin ARGB connector is correctly plugged into a compatible motherboard header. Check your motherboard's RGB software for control settings.
- Перегрев: Ensure all case fans are spinning and oriented correctly for optimal airflow. Check for dust buildup on filters and components. Verify CPU cooler and GPU cooler are properly installed.
- Ослабленные соединения: Re-seat all components (RAM, GPU, storage drives) and check all power and data cables.
9. Технические характеристики
| Особенность | Спецификация |
|---|---|
| Бренд | COUGAR |
| Название модели | МХ360 RGB |
| Номер модели товара | CGR-5CC6G-RGB |
| Тип корпуса | Средняя башня |
| Размеры (ДxШxВ) | 14.88 x 8.27 x 18.11 дюйма (378 x 210 x 460 мм) |
| Вес товара | 10.56 фунта (4.8 килограмма) |
| Материал | Tempered Glass, Fine Metal |
| Цвет | Черный |
| Поддержка материнских плат | Мини-ITX/микро-АТХ/АТХ |
| Максимум. Длина видеокарты | 315 мм |
| Максимум. Высота кулера процессора | 170 мм |
| Поддержка блока питания | Стандартный ATX PS2 |
| Метод охлаждения | Воздух / Вода |
| Поддержка радиатора | Front: 360mm / 280mm / 240mm / 140mm / 120mm Top: 280mm / 240mm / 140mm / 120mm Задняя часть: 120 мм |
| Поддержка фанатов | Спереди: 3 х 120 мм / 2 х 140 мм Сверху: 2 х 120 мм / 2 х 140 мм Задняя часть: 1 х 120 мм |
| Отсеки для дисков | 3.5" HDD: 2 2.5" SSD: 2+2 (converted from 3.5" drive bays) |
| Панель ввода/вывода | USB 3.0 x 2, USB 2.0 x 1, Mic x 1, Audio x 1, RGB Button |
| Специальная характеристика | ARGB LED Strips, Full-length PSU Cover for Cable Hiding and Improved Airflow |
10. Гарантия и поддержка
COUGAR products are designed and manufactured to the highest quality standards. For warranty information, please refer to the warranty card included with your product or visit the official COUGAR webСохраните чек о покупке для предъявления гарантийных претензий.
For technical support or further assistance, please visit the official COUGAR webВы можете найти дополнительную информацию на сайте или связаться со службой поддержки клиентов. Магазин COUGAR на Amazon.


