Введение
This manual provides detailed instructions for the setup, operation, and maintenance of your Gioteck SC3 Wireless Pro Controller. Designed for use with Nintendo Switch, PC, and mobile devices, this controller features programmable back buttons, customizable RGB lighting, and changeable magnetic thumb sticks for an enhanced gaming experience.
1. Настройка
1.1 Содержимое упаковки
- Gioteck SC3 Wireless Pro Controller
- USB-кабель для зарядки
- Additional Magnetic Thumb Sticks (if included)
- Руководство пользователя (этот документ)
1.2 Зарядка контроллера
Before initial use, fully charge the controller. Connect the supplied USB charging cable to the controller's charging port and the other end to a USB power source (e.g., Nintendo Switch dock, PC USB port, or USB wall adapter).
- Светодиодный индикатор покажет состояние зарядки.
- Полная зарядка обычно занимает около 2–3 часов.
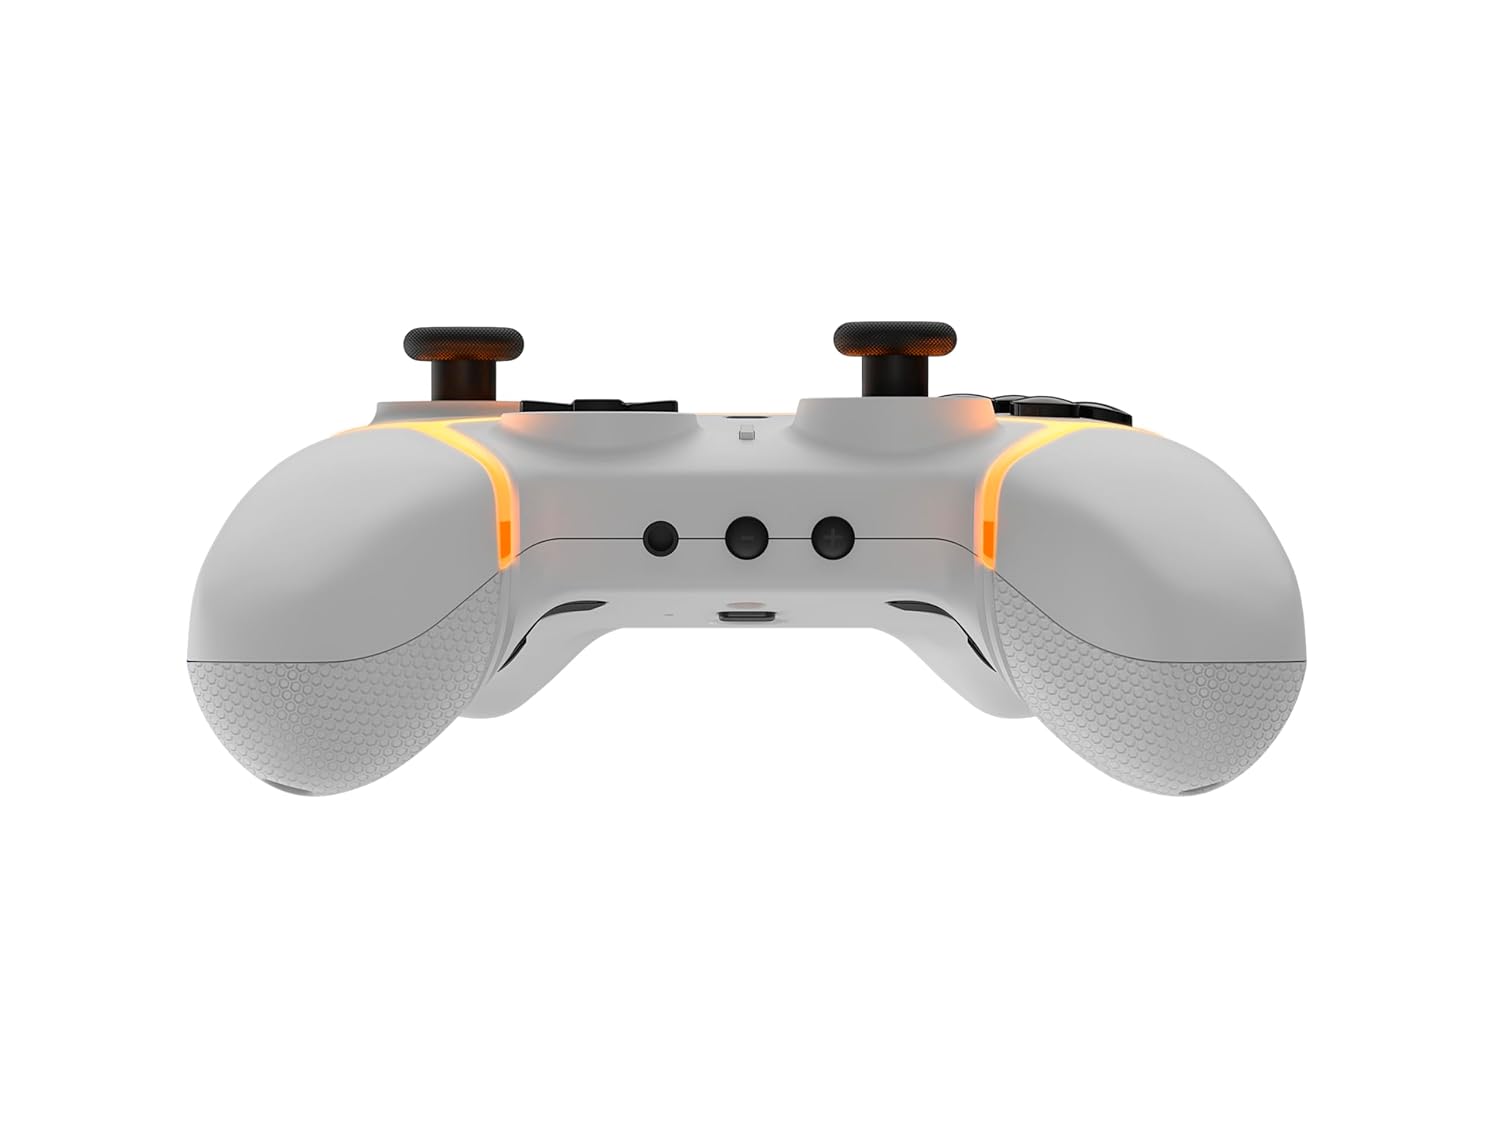
Изображение: снизу view of the Gioteck SC3 controller, highlighting the USB-C charging port located between the two textured grips.
1.3 Сопряжение с Nintendo Switch
- В главном меню Nintendo Switch выберите Контроллеры, затем Изменить захват/порядок.
- On the SC3 controller, press and hold the Кнопка сопряжения (usually a small button on the top or back) for a few seconds until the LED indicators begin to flash rapidly.
- Once the controller is recognized by the Switch, the player LED(s) on the controller will illuminate solid, indicating successful pairing.
- Нажмите Кнопка для подтверждения.
Note: For subsequent uses, the controller should automatically reconnect to the last paired Switch console when powered on.
1.4 Connecting to PC/Mobile (Bluetooth)
- Ensure Bluetooth is enabled on your PC or mobile device.
- On the SC3 controller, press and hold the Кнопка сопряжения for a few seconds until the LED indicators flash rapidly.
- On your PC/mobile device, navigate to Bluetooth settings and search for new devices.
- Select "Gioteck SC3" or similar from the list of available devices to pair.
- The controller's LED will become solid upon successful connection.
1.5 Installing Magnetic Thumb Sticks
The SC3 controller features changeable magnetic thumb sticks. To replace them:
- Gently pull the existing thumb stick straight up to remove it.
- Align the desired magnetic thumb stick with the base and gently push it down until it snaps into place.

Изображение: Спереди view of the Gioteck SC3 controller, showcasing the magnetic thumb sticks and button layout.
2. Инструкция по эксплуатации
2.1 кнопок
The SC3 controller features a traditional button layout. Refer to the image below for button identification.

Изображение: вид спереди под углом view of the Gioteck SC3 controller, displaying the full button layout including face buttons, D-pad, analog sticks, and shoulder buttons.
- Левый/правый аналоговые джойстики: Для управления движением и камерой.
- Крестовина: Направленный ввод.
- Кнопки A/B/X/Y: Кнопки действий.
- Кнопки L/R/ZL/ZR: Кнопки на плечах и спусковом крючке.
- +/- Кнопки: Start/Select equivalents.
- Домашняя кнопка: Returns to the console's home menu.
- Кнопка захвата: Делает скриншоты.
2.2 Программируемые кнопки "Назад"
The SC3 controller includes programmable back buttons (M1, M2, M3, M4) for custom assignments.

Изображение: сзади view of the Gioteck SC3 controller, clearly showing the four programmable back buttons (M1, M2, M3, M4) and textured grips.
Шаги программирования:
- Нажмите и удерживайте Кнопка программы (refer to diagram if available, usually a small button on the back) until the LED indicator flashes.
- Нажмите Кнопка «Назад» (M1, M2, M3, or M4) you wish to program. The LED will flash slowly.
- Нажмите Кнопка ввода (e.g., A, B, X, Y, L, R, ZL, ZR, D-pad direction) you want to assign to the back button.
- Нажмите Кнопка программы again to save the assignment. The LED will stop flashing.
- Repeat for other back buttons as desired.
To clear a programmed button, follow steps 1-2, then press the Program Button again without pressing an input button.
2.3 Настройка RGB-подсветки
The controller features customizable RGB lighting. Specific instructions for changing colors or effects are typically found in the product's quick start guide or by pressing a dedicated button combination (e.g., Function + R3).
Consult the quick start guide included with your controller for precise button combinations to adjust RGB lighting.
2.4 Управление движением
The SC3 controller supports motion controls, allowing for immersive gameplay in compatible Nintendo Switch titles. No special setup is usually required; motion controls activate automatically when supported by the game.
2.5 Audio Headset Jack
A 3.5mm audio headset jack is located on the controller for connecting compatible headsets. It includes dedicated mute and volume control buttons.
- Увеличение/уменьшение громкости: Настройте вывод звука.
- Кнопка выключения звука: Mute/unmute microphone input.

Изображение: сверху view of the Gioteck SC3 controller, highlighting the 3.5mm audio jack, volume controls, and mute button.
3. Техническое обслуживание
3.1 Очистка
Для чистки контроллера используйте мягкую сухую ткань. Для удаления стойких загрязнений слегка потрите.ampСмочите ткань водой. Избегайте использования едких химикатов, абразивных чистящих средств или растворителей, так как они могут повредить покрытие контроллера и его внутренние компоненты.
- Не погружайте контроллер в воду или любую другую жидкость.
- Ensure all ports are dry before charging or connecting devices.
3.2 Хранение
Храните контроллер в прохладном, сухом месте, вдали от прямых солнечных лучей и экстремальных температур. Избегайте размещения на контроллере тяжелых предметов, чтобы предотвратить его повреждение.
3.3 Уход за аккумулятором
The controller contains a rechargeable battery. To prolong battery life:
- Избегайте частой полной разрядки аккумулятора.
- Регулярно заряжайте контроллер, даже если он не используется в течение длительного времени (например, раз в 3–6 месяцев).
- Не подвергайте контроллер воздействию температур выше 60°C (140°F).
4. Поиск Неисправностей
4.1 Контроллер не подключается/не сопрягается
- Проверьте аккумулятор: Убедитесь, что контроллер достаточно заряжен.
- Ремонт: Follow the pairing instructions in Section 1.3 or 1.4.
- Вмешательство: Move closer to the console/device and away from potential sources of wireless interference (e.g., Wi-Fi routers, other Bluetooth devices).
- Сброс контроллера: Locate a small reset button (often a pinhole) on the back of the controller. Use a paperclip to press and hold it for a few seconds. Then attempt to re-pair.
- Update Console/Device Software: Ensure your Nintendo Switch, PC, or mobile device's operating system is up to date.
4.2 Buttons/Sticks Not Responding
- Повторная синхронизация: Отсоедините и снова подсоедините контроллер.
- Чистый: Убедитесь, что вокруг кнопок и джойстиков нет посторонних предметов.
- Test in another game/menu: Determine if the issue is specific to a game or system-wide.
- Сброс контроллера: Выполните полную перезагрузку системы, как описано выше.
4.3 Управление движением не работает
- Совместимость с игрой: Убедитесь, что игра, в которую вы играете, поддерживает управление движением.
- Повторная калибровка: On Nintendo Switch, you can recalibrate motion controls in the system settings.
- Сброс контроллера: Выполните полный сброс настроек.
5. Технические характеристики
| Модель: | Gioteck SC3 Wireless Pro Controller |
| Совместимость: | Nintendo Switch (Original, Lite, OLED), PC, Mobile Devices |
| Связь: | Беспроводной Bluetooth |
| Размеры (прибл.): | 2.87 x 5.35 x 6.34 дюйма (7.29 x 13.59 x 16.1 см) |
| Вес (приблизительный): | 10.6 унции (300 грамма) |
| Аудиоразъем: | 3.5mm with mute and volume controls |
| Особые характеристики: | Programmable back buttons, Magnetic thumb sticks, RGB lighting, Motion controls |
6. Информация о гарантии
The Gioteck SC3 Wireless Pro Controller comes with a manufacturer's warranty. For specific details regarding warranty coverage, duration, and claims process, please refer to the warranty card included with your product or visit the official Gioteck webсайт.
Сохраните чек о покупке для гарантийных целей.
7. Поддержка клиентов
If you encounter any issues or have questions not covered in this manual, please contact Gioteck customer support. Contact information can typically be found on the product packaging or the official Gioteck webсайт.
Gioteck Official Webсайт: www.gioteck.com


