1. Введение
This manual provides detailed instructions for the safe and efficient operation of your Baseus Super Mini Inflator Tyre Pump, model CRCQ000001. Please read this manual thoroughly before using the device to ensure proper function and to prevent damage or injury. Keep this manual for future reference.
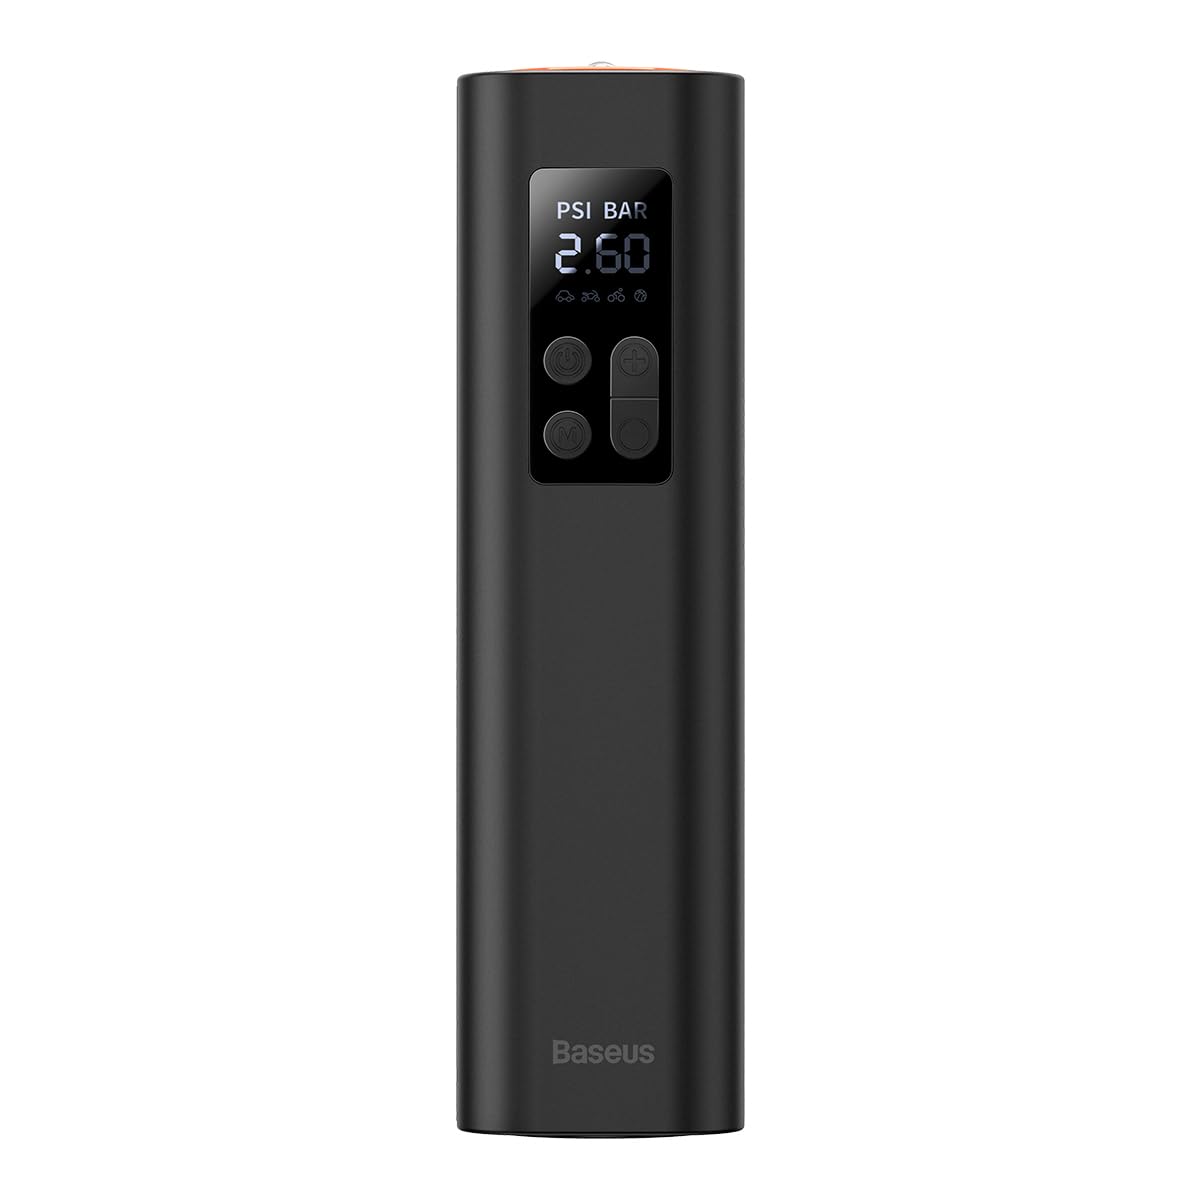
Рисунок 1: Передняя часть view of the Baseus Super Mini Inflator Tyre Pump, showing the digital display and control buttons.
2. Особенности продукта
- Компактная и портативная конструкция: Weighing approximately 480 grams with dimensions of 220x46x48mm, this inflator is designed for easy storage and transport.
- Быстрая инфляция: Capable of inflating at 30 liters per minute, allowing for quick tire inflation. For example, a 175/65 R15 tire can be inflated from 2.3 bar to 2.5 bar in approximately 15 seconds.
- Предустановленное давление в шинах: Allows users to set a desired pressure value, and the inflator will automatically stop once the target pressure is reached.
- Accurate Digital Display: Provides real-time pressure readings and allows for precise pressure setting.
- Многоцелевое использование: Equipped with various modes for different inflation needs, including car tires, motorcycle tires, bicycle tires, and sports balls.
- Встроенный манометр: Functions as both an inflator and a tire pressure gauge.

Рисунок 2: Болееview of the inflator's key features, emphasizing its compact size, fast inflation capability, preset tire pressure function, and accurate digital display.

Figure 3: The inflator shown in hand, illustrating its compact and portable design for emergency use.
3. Инструкции по технике безопасности
Observe the following safety precautions to prevent electric shock, explosion, fire, and/or property damage:
- Не оставляйте надувной насос без присмотра во время работы.
- Хранить в недоступном для детей месте.
- Не используйте устройство для накачивания шин во влажных условиях, а также вблизи легковоспламеняющихся жидкостей или газов.
- Ensure the inflation hose is securely connected to the valve before starting inflation.
- Avoid over-inflating tires. Always refer to the recommended pressure for your specific item (vehicle, bicycle, ball).
- Во избежание перегрева не закрывайте вентиляционные отверстия во время работы.
- If the device makes unusual noises or becomes excessively hot, turn it off immediately and disconnect it.
- Храните устройство в прохладном сухом месте, когда оно не используется.
- Use only the charging cable provided or recommended by the manufacturer.
4. Настройка
- Начальная зарядка: Before first use, fully charge the inflator. Connect the charging cable to the device's charging port and to a suitable USB power adapter. The battery indicator on the display will show charging status.
- Присоедините воздушный шланг: Надежно прикрутите воздушный шланг к выходному отверстию насоса.
- Выберите насадку: Choose the appropriate nozzle for the item you intend to inflate (e.g., Schrader valve for car tires, Presta valve adapter for some bicycles, needle for balls). Attach it to the end of the air hose.
5. Инструкция по эксплуатации

Рисунок 4: Сторона view of the inflator, highlighting the control panel with power, mode, and pressure adjustment buttons.
- Включение питания: Нажмите и удерживайте кнопку питания (U) for a few seconds to turn on the device. The digital display will illuminate.
- Выберите режим: Нажмите кнопку режима (M) to cycle through different inflation modes: Car, Motorcycle, Bicycle, and Ball. Each mode has a default pressure range.
- Установить целевое давление: Use the '+' and '-' buttons to adjust the desired target pressure. The display will show the current pressure unit (PSI or BAR). Refer to your item's recommended pressure.
- Подключиться к Valve: Securely attach the chosen nozzle and air hose to the item's valve. Ensure there are no air leaks. The display will show the current pressure of the item.
- Начало инфляции: Нажимаем кнопку включения (U) briefly to start inflation. The pump will begin to operate, and the display will show the increasinг давление.
- Функция автостопа: Нагнетатель воздуха автоматически остановится, как только будет достигнуто заданное целевое давление.
- Ручная остановка: To stop inflation manually at any time, press the power button (U) снова.
- Отключить: Осторожно отсоедините воздушный шланг от клапана. При отсоединении может выйти некоторое количество воздуха, это нормально.
- Выключение: Нажмите и удерживайте кнопку питания (U), чтобы выключить устройство.

Figure 5: The inflator in use, demonstrating the one-key preset and auto-stop inflation feature when connected to a car tire.

Figure 6: Illustration of the inflator's various modes and their typical pressure ranges for different items, including car, motorcycle, bicycle, and ball inflation.
6. Техническое обслуживание
- Уборка: Wipe the exterior of the inflator with a soft, dry cloth. Do not use harsh chemicals or abrasive cleaners. Ensure the air vents are clear of dust and debris.
- Хранилище: Store the inflator in a cool, dry place, away from direct sunlight and extreme temperatures. Keep the air hose and nozzles organized to prevent damage.
- Уход батареи: Чтобы продлить срок службы батареи, избегайте частой полной разрядки. Регулярно заряжайте устройство, даже если оно не используется в течение длительного времени (например, раз в 3 месяца).
- Проверка шланга: Periodically check the air hose for cracks, kinks, or damage. Replace if necessary to ensure efficient and safe operation.
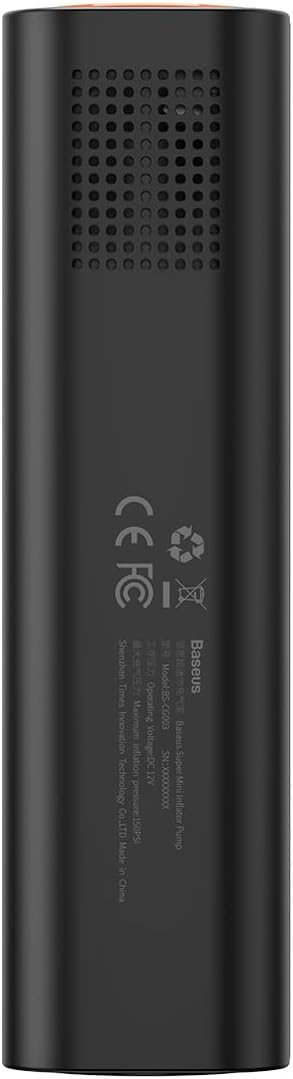
Рисунок 7: Сзади view of the inflator, showing the air vents which should be kept clear for proper operation and cooling.
7. Поиск Неисправностей
- Устройство не включается: Ensure the battery is charged. Connect to a power source and try again. If the issue persists, contact customer support.
- Inflator not starting: Check if the target pressure is set correctly and is higher than the current pressure. Ensure the air hose is securely attached.
- Медленное надувание или отсутствие выхода воздуха: Verify that the nozzle is correctly attached to the valve and there are no leaks. Check if the air hose is kinked or blocked. Ensure the battery has sufficient charge.
- Неточные показания давления: Ensure the hose is fully connected to the valve without leaks. Calibrate the device if a calibration option is available (refer to specific product features if applicable).
- Перегрев устройства: Stop operation immediately and allow the device to cool down. Ensure air vents are not blocked. Avoid continuous operation for excessively long periods.
8. Технические характеристики
| Особенность | Спецификация |
|---|---|
| Номер модели | CRCQ000001 |
| Бренд | Базеус |
| Цвет | Черный |
| Масса | 480 грамм |
| Размеры (приблизительные) | 220 х 46 х 48 мм |
| Источник питания | Питание от батареи |
| Тип батареи | 3 литий-полимерный (в комплекте) |
| Максимальное давление | 150 фунтов на кв. дюйм |
| Скорость инфляции | 30 л/мин |
| Режим работы | Электрический |
9. Гарантия и поддержка
For warranty information or technical support, please refer to the warranty card included with your product or visit the official Baseus webСохраните чек в качестве подтверждения покупки.