Введение
This manual provides detailed instructions for the installation, operation, and maintenance of your AXAGON ADSA-ST USB 3.0 Docking Station. This device is designed to connect 2.5" and 3.5" SATA SSDs and HDDs to your computer via a USB 3.0 interface, offering fast data transfer speeds.
Перед использованием изделия внимательно ознакомьтесь с данным руководством, чтобы обеспечить его правильную работу и предотвратить повреждения.
Содержимое упаковки
Убедитесь, что в упаковке присутствуют все компоненты:
- AXAGON ADSA-ST Docking Station
- USB 3.0 Type-A to Micro-B cable
- Адаптер питания
- Руководство пользователя (этот документ)

Image: The AXAGON ADSA-ST Docking Station shown alongside its retail packaging, illustrating the product and its box.
Основные характеристики
- Supports 2.5" and 3.5" SATA I/II/III SSDs and HDDs.
- USB 3.0 (USB 3.2 Gen 1) interface with up to 5 Gbps transfer speed.
- SATA 6G (SATA III) support.
- Поддержка протокола UASP (USB Attached SCSI Protocol) для повышения производительности.
- TRIM support for SSDs.
- HDD Auto Spindown function.
- LED indication for power and activity.
- Compact design with aluminum body.

Изображение: А view of the AXAGON ADSA-ST Docking Station highlighting its 5 Gbps USB 3.2 Gen 1 speed and compact size.
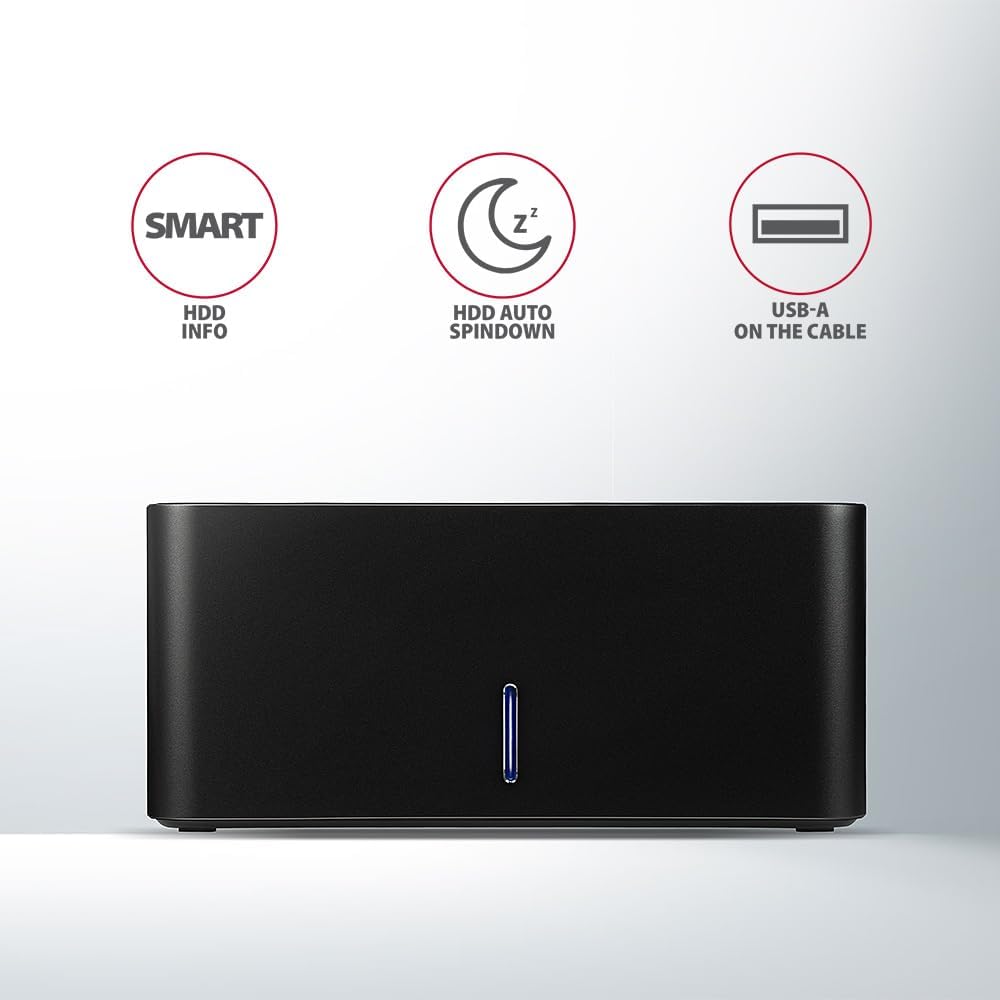
Image: The docking station from the front, indicating features like SMART HDD info, automatic HDD spindown, and USB-A connectivity.
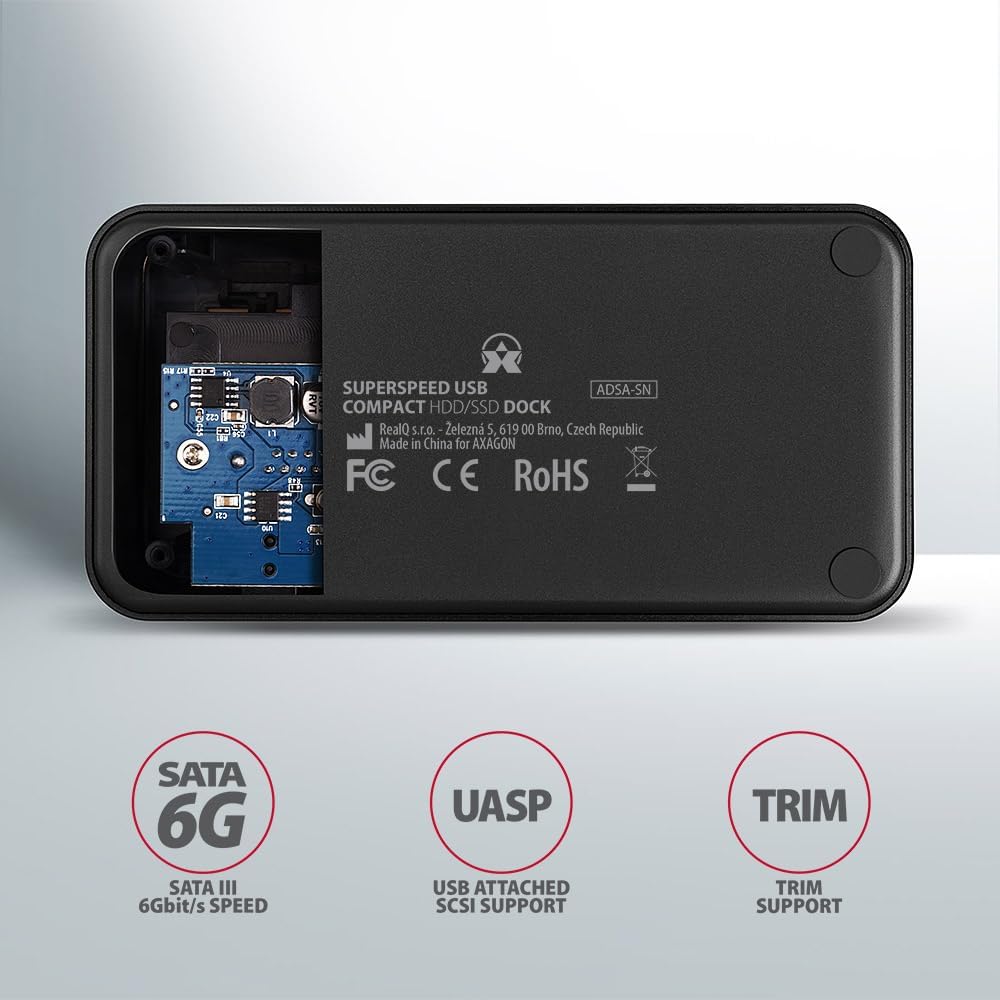
Image: The underside of the docking station, showing internal components and highlighting SATA 6G, UASP, and TRIM support.
Инструкции по установке
- Подключите адаптер питания: Plug the included power adapter into the DC IN port on the back of the docking station and then into a power outlet.
- Подключиться к компьютеру: Connect the USB 3.0 cable from the docking station's Micro-B port to an available USB 3.0 (or higher) port on your computer.
- Insert HDD/SSD:
- For 2.5" SSD/HDD: Gently slide the 2.5" drive into the slot until it connects firmly with the SATA connector.
- For 3.5" HDD: Gently slide the 3.5" drive into the slot until it connects firmly with the SATA connector.
Ensure the drive is inserted correctly with the SATA connector facing the correct direction. Do not force the drive.

Image: A 2.5-inch SSD being inserted into the docking station, demonstrating compatibility with smaller drives.
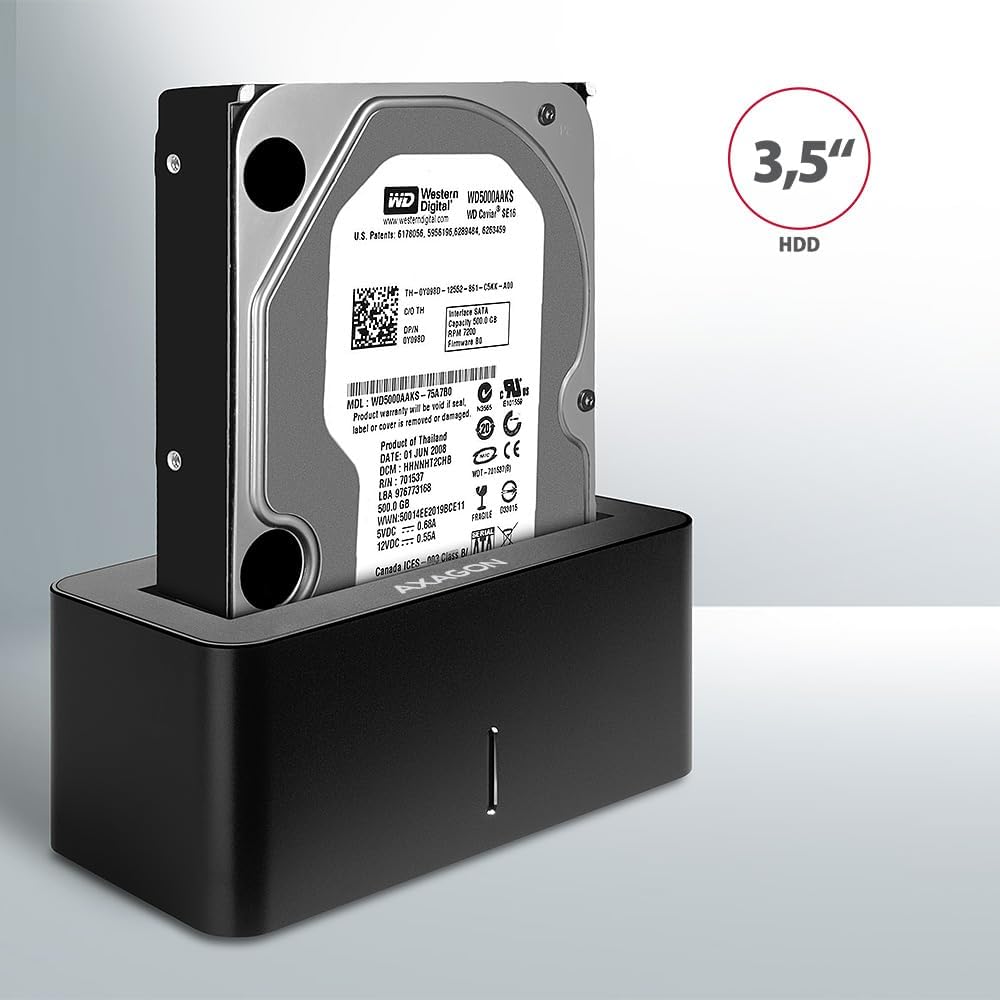
Image: A 3.5-inch HDD being inserted into the docking station, demonstrating compatibility with larger drives.
- Включение питания: Press the power button located on the back of the docking station. The LED indicator on the front will illuminate.
Image: The rear panel of the docking station, showing the power button, USB Micro-B port, and power input for connection.
Инструкция по эксплуатации
Drive Recognition
Once powered on and connected, your operating system should automatically detect the inserted drive. If it's a new drive, you may need to initialize and format it through Disk Management (Windows) or Disk Utility (macOS) before it appears in File Проводник/Искатель.
Светодиодный индикатор
The LED indicator on the front of the docking station provides status information:
- Сплошной синий: Power on, drive idle.
- Мигающий синий: Управление активностью (чтение или запись данных).
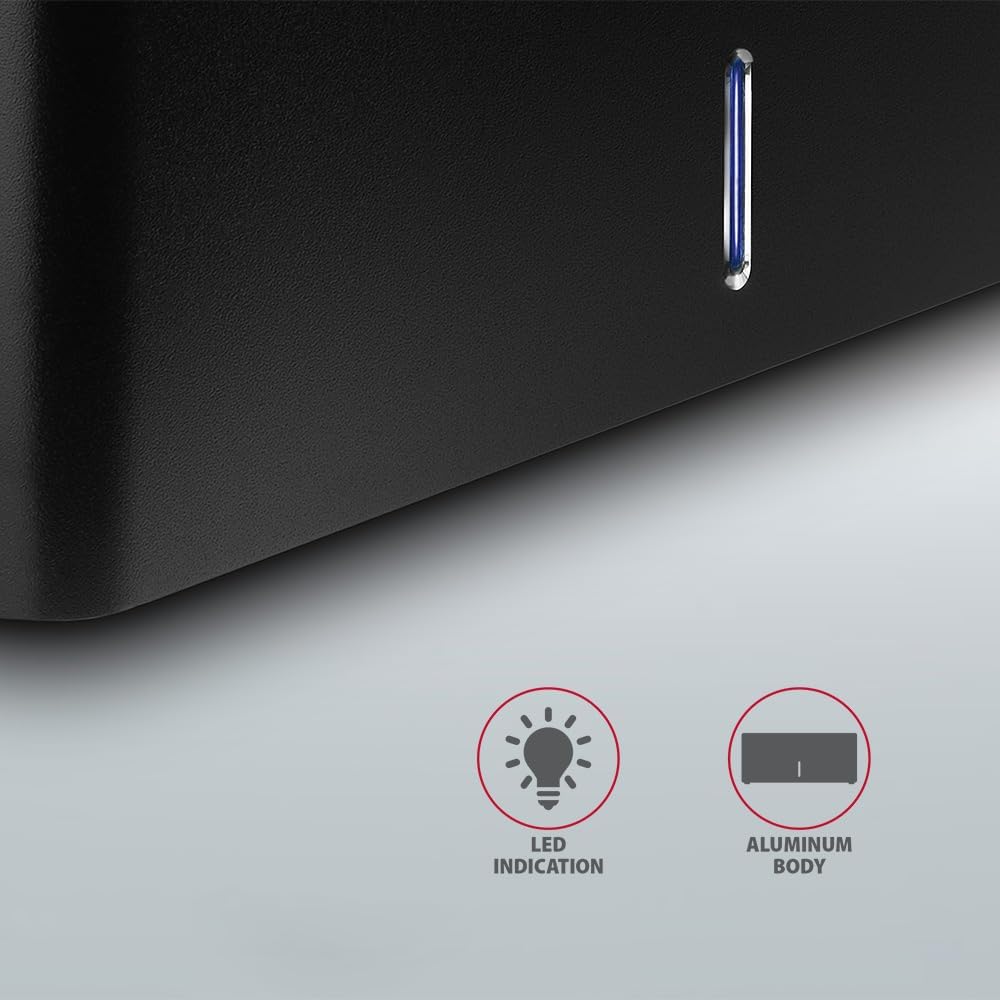
Изображение: крупный план view of the docking station's front panel, highlighting the LED indicator light.
Removing a Drive
Before removing a drive, always safely eject it from your operating system to prevent data corruption. After ejection, gently pull the drive straight out of the docking station slot.
Автоматическое отключение жесткого диска
The docking station supports automatic spindown of the HDD when it is idle for a certain period, conserving power and extending drive lifespan. This feature is managed by the operating system or the drive itself.
Обслуживание
- Содержите док-станцию в чистоте и не допускайте попадания пыли. Для чистки используйте мягкую сухую ткань.
- Не подвергайте устройство воздействию экстремальных температур, влажности или прямых солнечных лучей.
- Не пытайтесь разбирать или ремонтировать устройство самостоятельно. Обратитесь к квалифицированному специалисту.
- Во время работы обеспечьте надлежащую вентиляцию вокруг док-станции.
Поиск неисправностей
- Диск не обнаружен:
- Убедитесь, что адаптер питания надежно подключен и док-станция включена.
- Убедитесь, что USB-кабель правильно подключен как к док-станции, так и к компьютеру.
- Попробуйте использовать другой порт USB на вашем компьютере.
- Ensure the HDD/SSD is fully seated in the docking station's slot.
- Check Disk Management (Windows) or Disk Utility (macOS) to see if the drive is recognized but uninitialized/unformatted.
- Test with a different HDD/SSD to rule out a drive issue.
- Низкая скорость передачи данных:
- Ensure the docking station is connected to a USB 3.0 (or higher) port on your computer. USB 2.0 ports will limit speeds.
- Убедитесь, что ваша операционная система и драйверы обновлены.
- The actual speed depends on the drive's performance and your computer's USB controller.
- Drive disconnects randomly:
- Проверьте все кабельные соединения.
- Убедитесь, что адаптер питания обеспечивает стабильное электропитание.
- Disable USB power saving features in your computer's operating system settings.
Технические характеристики
| Особенность | Деталь |
|---|---|
| Бренд | АКСАГОН |
| Номер модели | ADSA-SN |
| Аппаратная платформа | PC |
| Совместимые устройства | Ноутбук, настольный ПК |
| Совместимость с дисками | 2.5" / 3.5" SATA I/II/III SSD/HDD |
| Интерфейс | USB 3.0 (USB 3.2 Gen 1) |
| Скорость передачи данных | Up to 5 Gbps (USB 3.0), 6 Gbps (SATA III) |
| Общее количество портов USB | 1 (Micro-B) |
| Количество отсеков для дисков | 1 |
| Цвет | Черный |
| Вес товара | 2.2 фунта (приблизительно 1 кг) |
| Размеры упаковки | 3.94 x 0.79 x 0.39 дюйма (прибл. 10 x 2 x 1 см) |
| Дата первой доступности | 30 марта 2021 г. |
Гарантия и поддержка
For warranty information and technical support, please refer to the official AXAGON webили обратитесь к местному дистрибьютору. Сохраните чек о покупке для предъявления гарантийных претензий.


