1. Введение
This manual provides detailed instructions for the installation, operation, and maintenance of your Xigmatek Aero Black Micro-ATX Case. Please read this manual thoroughly before beginning assembly to ensure proper setup and to maximize the lifespan of your components.
2. Продукт закончилсяview
The Xigmatek Aero is a compact Micro-ATX PC case designed for efficient component housing and airflow. It features a simple and stylish design, incorporating a tempered glass front panel and an acrylic side panel for visibility of internal components.
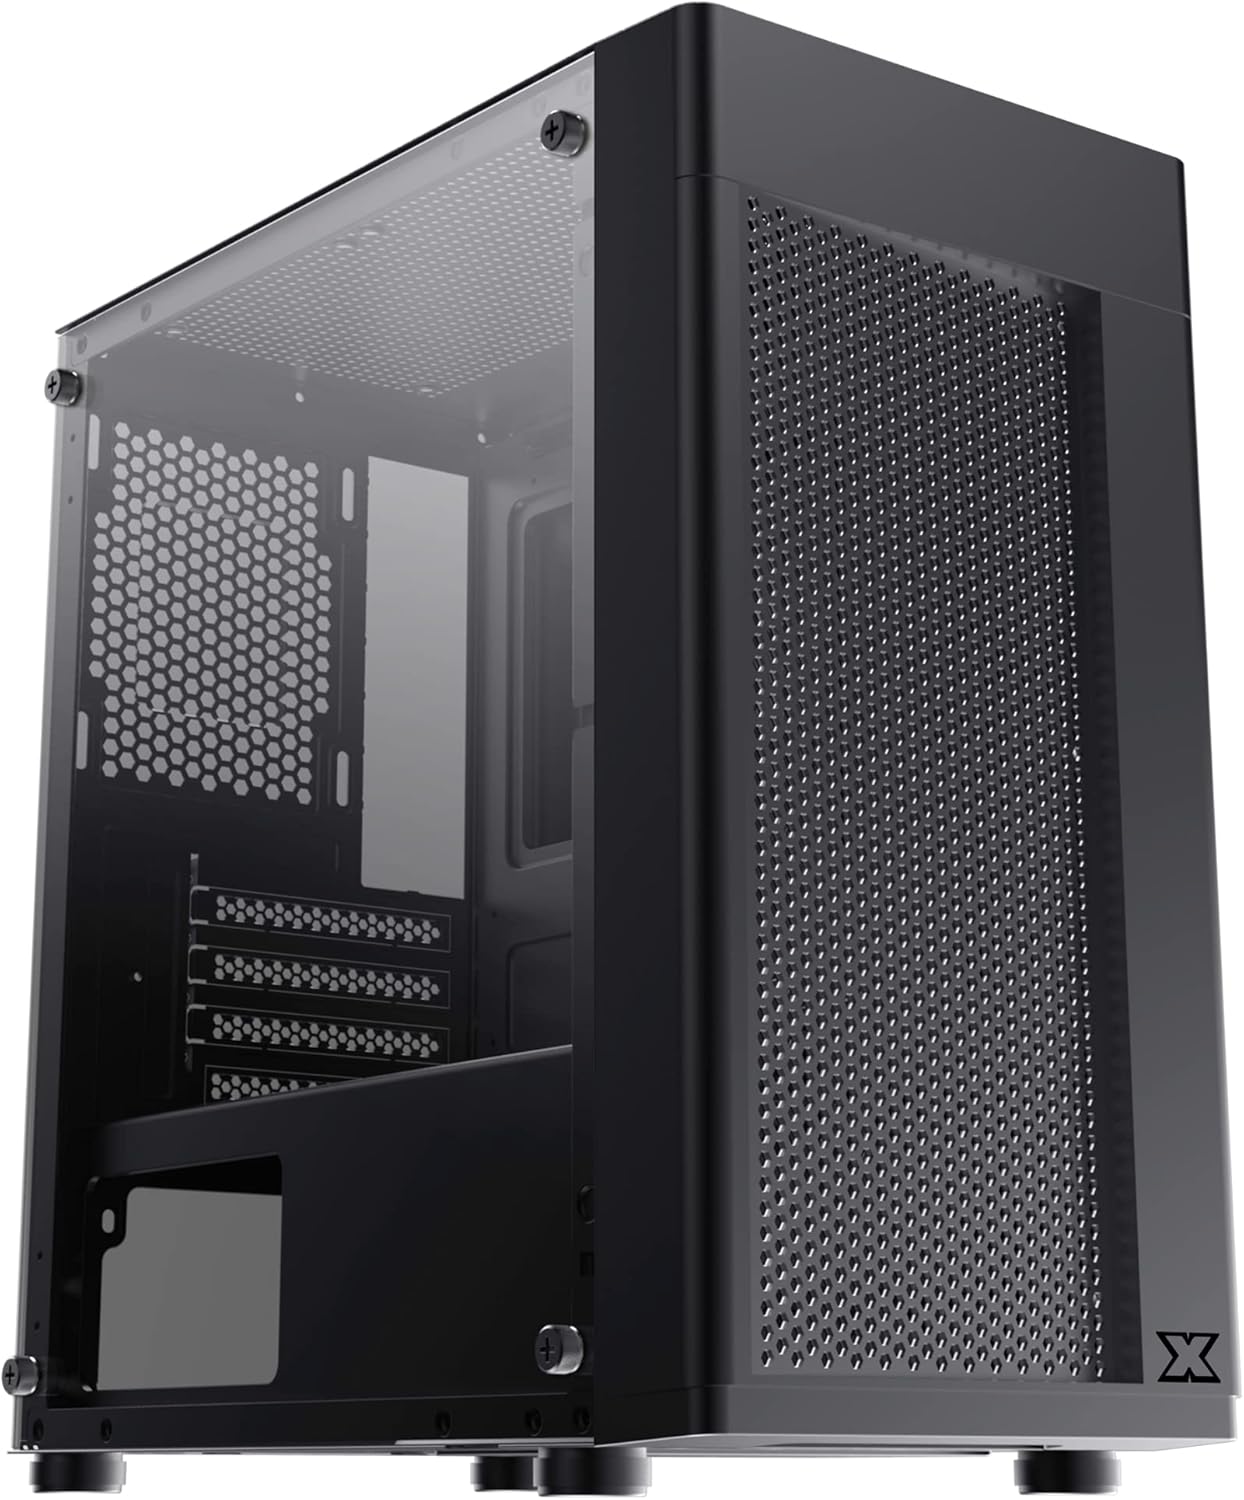
Рисунок 2.1: Вид спереди слева view of the Xigmatek Aero Black Micro-ATX Case, showcasing the tempered glass front panel and acrylic side panel.
3.Основные характеристики
- Боковая панель из закаленного стекла: Обеспечивает четкое view внутренних компонентов.
- Bottom Mounted PSU: Dedicated compartment for power supply unit, aiding in thermal management and cable routing.
- Mesh Design Front Panel: Улучшает воздушный поток, повышая эффективность охлаждения.
- Простое управление кабелями: Designed with routing options and a PSU shroud to facilitate neat cable organization.
- Compact Micro-ATX Form Factor: Optimized for smaller builds while maintaining compatibility with standard components.
4. Содержимое упаковки
Перед началом установки убедитесь, что все необходимые компоненты находятся в упаковке:
- Xigmatek Aero Black Micro-ATX Case
- Коробка с принадлежностями (содержит винты, стойки, стяжки)
- Руководство пользователя (этот документ)
5. Настройка и установка
Follow these steps carefully for proper installation of your PC components into the Xigmatek Aero case.
5.1 Подготовка дела
- Поместите корпус на ровную, устойчивую поверхность.
- Carefully remove the tempered glass side panel by unscrewing the four thumb screws. Set the panel aside on a soft, non-abrasive surface to prevent scratches.
- Remove the rear side panel (solid metal panel) by unscrewing the two thumb screws at the back and sliding it off. This provides access for cable management.
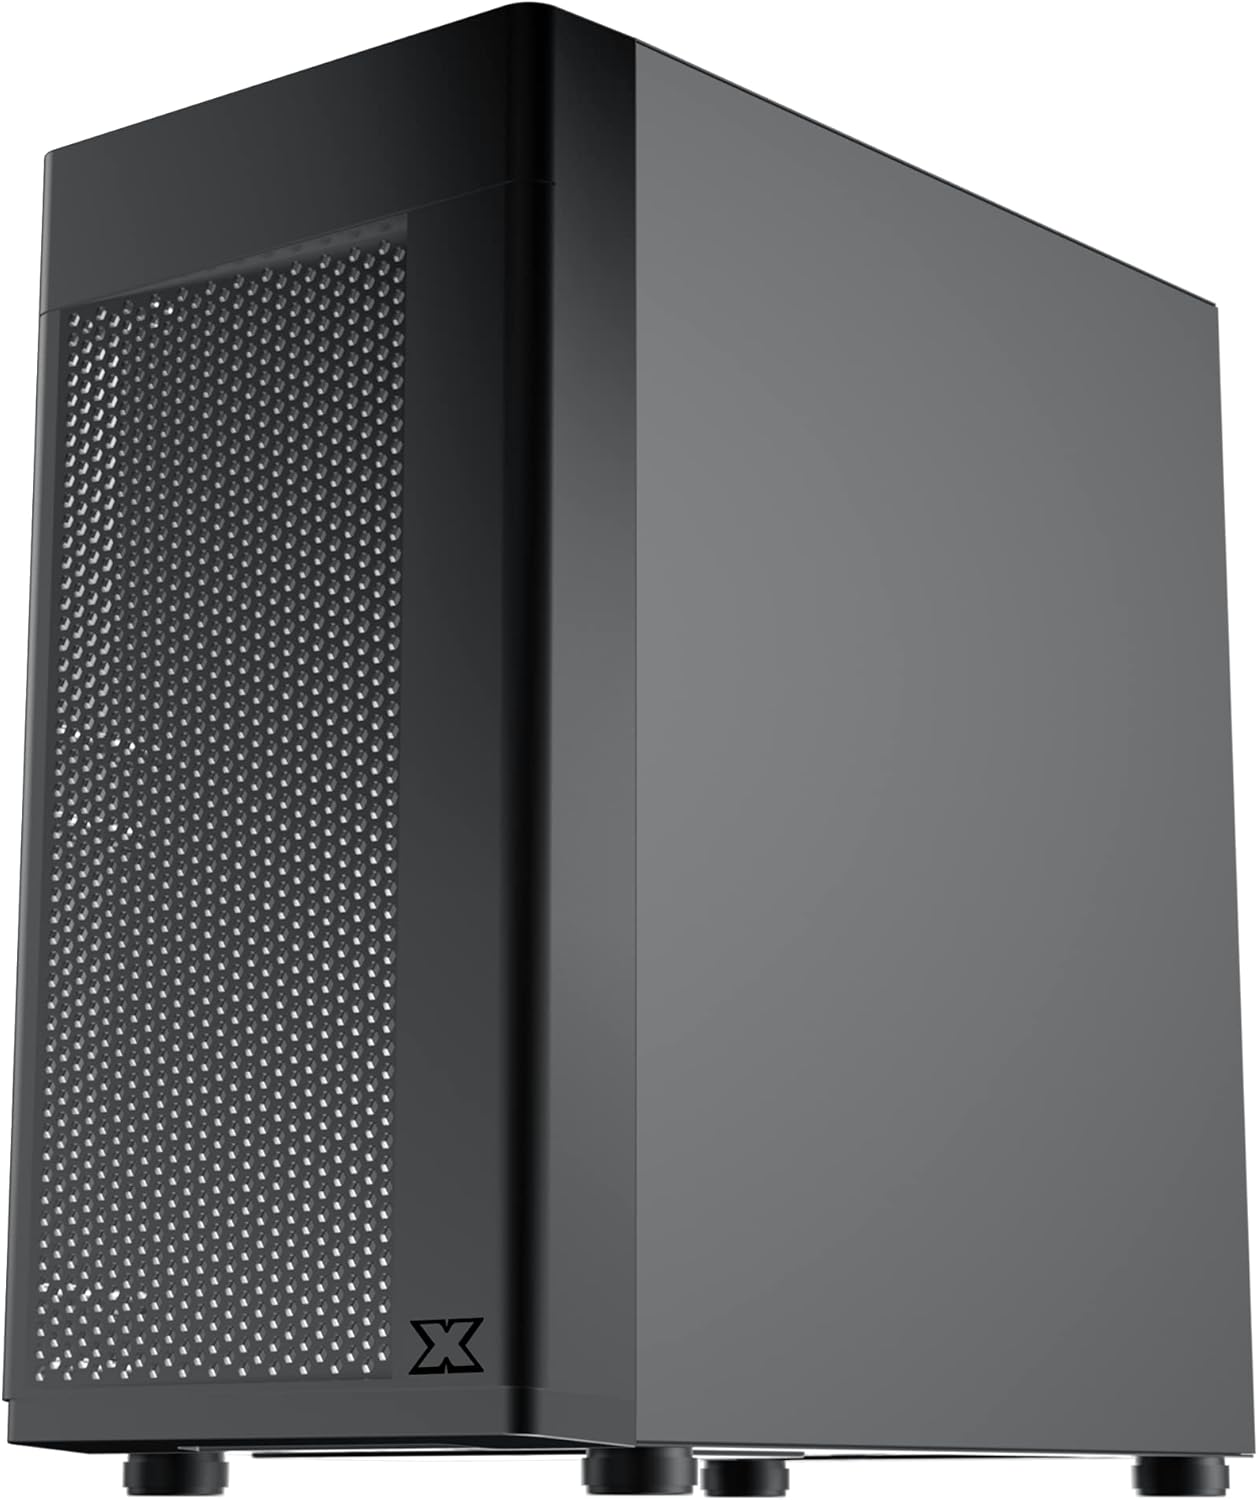
Рисунок 5.1: Сторона view of the case, showing the tempered glass panel secured by four thumb screws.
5.2 Установка блока питания (БП)
- Locate the PSU mounting area at the bottom rear of the case, within the PSU shroud.
- Slide your PSU into the designated slot from the rear of the case. Ensure the PSU fan faces downwards (if the case has a bottom vent) or upwards, depending on your cooling preference and PSU design.
- Закрепите блок питания винтами с задней стороны корпуса.
- Route necessary PSU cables through the cutouts in the PSU shroud to the main compartment.

Рисунок 5.2: Внутренний view highlighting the PSU shroud and cable routing options.
5.3 Установка материнской платы
- Установите заглушку для разъемов ввода/вывода (если имеется) в заднее отверстие корпуса.
- Align your Micro-ATX motherboard with the pre-installed standoffs. Ensure the screw holes on the motherboard match the standoffs.
- Закрепите материнскую плату с помощью прилагаемых винтов. Не затягивайте их слишком сильно.

Рисунок 5.3: Внутренний view of the case, showing the motherboard tray and standoff locations.
5.4 Установка накопителя
The case supports 3.5-inch HDDs and 2.5-inch SSDs.
- 3.5-дюймовый жесткий диск: Locate the drive cage under the PSU shroud. Slide the HDD into the drive bay and secure with screws. Note: Some users find it easier to remove the drive caddy by unscrewing from the underside of the case first.
- 2.5-дюймовый SSD: SSDs can typically be mounted on dedicated brackets behind the motherboard tray or on top of the PSU shroud. Secure with screws.
5.5 Видеокарта и платы расширения
- Remove the necessary expansion slot covers from the rear of the case. These are break-off covers, so bend them carefully until they detach.
- Вставьте видеокарту или другие платы расширения в соответствующие слоты PCIe на материнской плате.
- Закрепите карты винтами.

Рисунок 5.4: Сзади view of the case, showing expansion slots and I/O shield opening.
5.6 Установка вентилятора и системы охлаждения
The Xigmatek Aero supports multiple fan configurations for optimal airflow.
- Передний: Up to 2x 120mm or 140mm fans. Can also support a 240mm AIO liquid cooler.
- Вершина: Up to 2x 120mm fans.
- Задний: 1 вентилятор 120 мм.
Install fans by aligning them with the screw holes and securing them with fan screws. Pay attention to airflow direction (intake vs. exhaust).
5.7 Управление кабелями
Используйте вырезы и точки крепления за лотком материнской платы для прокладки и фиксации кабелей. Это улучшит циркуляцию воздуха и внешний вид.

Рисунок 5.5: View from the rear of the motherboard tray, showing space for cable routing.
5.8 Подключения на передней панели
Connect the front panel cables (USB 3.0, USB 2.0, Audio, Power LED, HDD LED, Power Switch, Reset Switch) to the corresponding headers on your motherboard. Refer to your motherboard manual for exact pin layouts.

Рисунок 5.6: Вверху view of the case, illustrating the front I/O ports including USB 3.0 and audio jacks.
5.9 Окончательная сборка
- После установки всех компонентов и укладки кабелей установите на место заднюю боковую панель.
- Carefully reattach the tempered glass side panel and secure it with the four thumb screws.
6. Эксплуатационные соображения
To ensure optimal performance and longevity of your system:
- Расход воздуха: Ensure proper fan configuration for intake and exhaust to maintain good internal temperatures. The mesh front panel is designed for excellent air intake.
- Размещение: Place the PC case on a hard, flat surface to allow adequate airflow to the bottom-mounted PSU and any bottom intake fans. Avoid placing it on carpet.
7. Техническое обслуживание
Regular maintenance helps preserve your system's performance and extends its lifespan:
- Очистка от пыли: Periodically clean dust from the case interior and fan filters. The top panel features a magnetic dust filter for easy removal and cleaning.
- Внешняя очистка: Используйте мягкий, damp cloth to clean the exterior surfaces. Avoid abrasive cleaners. For the tempered glass and acrylic panels, use a microfiber cloth and a gentle glass cleaner.
8. Поиск Неисправностей
Если у вас возникнут проблемы во время или после сборки, учтите следующее:
- Система не включается:
- Ensure all PSU cables are securely connected to the motherboard and components.
- Убедитесь, что кабель выключателя питания передней панели правильно подключен к разъему материнской платы.
- Check the PSU switch is in the 'ON' position.
- Вентиляторы не вращаются:
- Confirm fan cables are properly connected to motherboard fan headers or a fan controller.
- Плохой воздушный поток/Высокие температуры:
- Check fan orientation (intake/exhaust).
- Ensure dust filters are clean.
- Verify no cables are obstructing airflow.
9. Технические характеристики
| Особенность | Деталь |
|---|---|
| Номер модели | EN46584 |
| Форм-фактор | Корпус Micro-ATX |
| Размеры (Д x Ш x В) | 34.5 х 20 х 29 см |
| Масса | 3.53 кг |
| Материал | Tempered Glass, Acrylic, Steel |
| Совместимость с материнской платой | Micro ATX, Mini-ITX |
| Крепление блока питания | Нижнее крепление |
| Отсеки для дисков | 1x 3.5" HDD, 2x 2.5" SSD (or 2x 3.5" HDD, 1x 2.5" SSD depending on configuration) |
| Слоты расширения | 4 |
| Опора вентилятора (спереди) | 2x 120 мм / 140 мм |
| Поддержка фанатов (сверху) | 2x 120 мм |
| Опора вентилятора (задняя) | 1x 120 мм |
| Опора радиатора (передняя) | До 240 мм |
| Передние порты ввода / вывода | 1 порта USB 3.0, 2 порта USB 2.0, HD-аудио (микрофон и наушники) |
10. Гарантия и поддержка
For warranty information and technical support, please refer to the official Xigmatek webна сайте или обратитесь к местному продавцу. Сохраните чек о покупке для предъявления гарантийных претензий.


