Продукт болееview
The Daytech Wireless Door Sensor Chime system provides a reliable alert solution for various applications. It consists of a wireless magnetic sensor and one or more plug-in receivers. When the sensor detects an opening (e.g., a door or window), it sends a signal to the receiver, which then emits an audible chime and activates an LED indicator. This system is designed to enhance security and convenience in homes, businesses, and care settings.
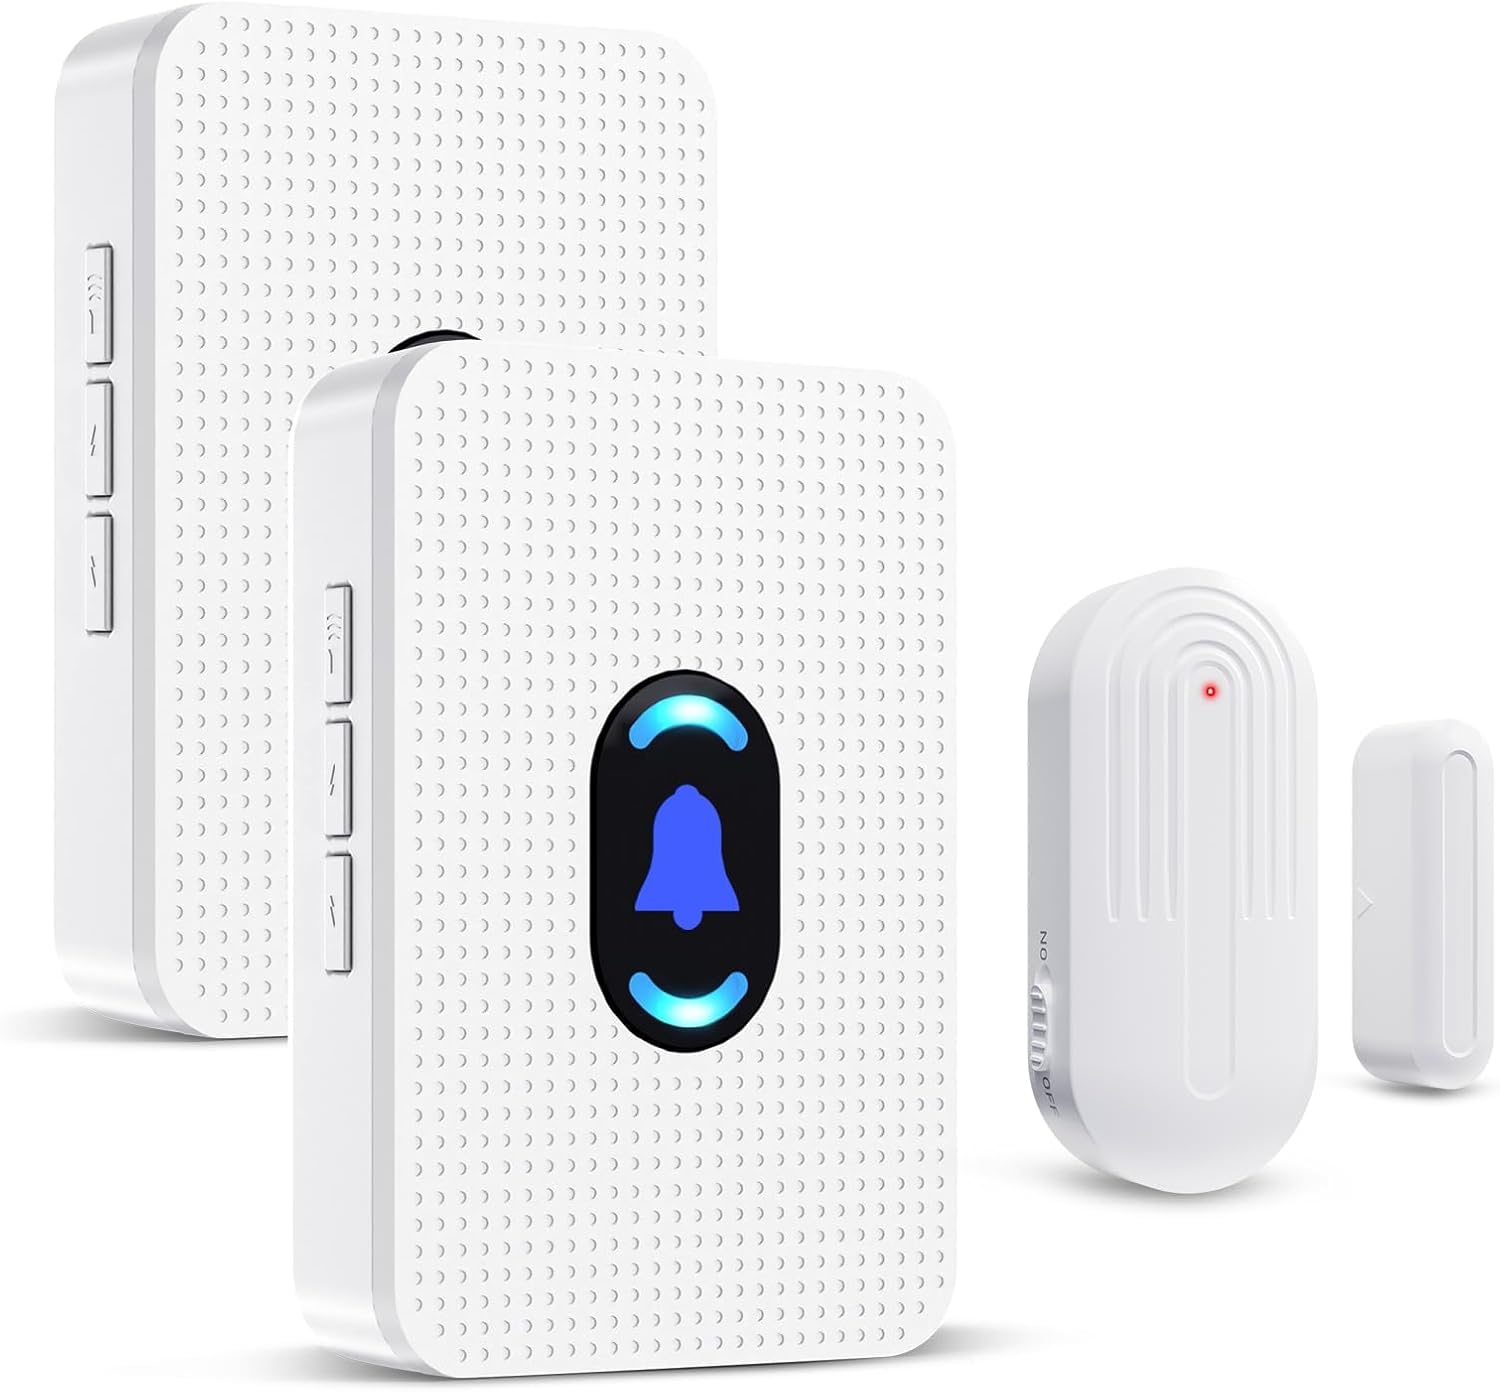
Image: Daytech Wireless Door Sensor Chime system, showing two plug-in receivers and a magnetic door/window sensor.
Основные характеристики:
- Беспроводная работа: Provides flexible placement without the need for complex wiring.
- Расширенный диапазон: Эффективно работает на расстоянии до 240 метров (800 футов) на открытых пространствах.
- Настраиваемые оповещения: Offers 20 selectable chimes and 5 adjustable volume levels (0-110 dB), including a mute mode.
- Визуальный индикатор: Features an LED indicator on the receiver for visual alerts.
- Универсальное применение: Suitable for home security, business entry alerts, child safety, and monitoring for elderly individuals.
- Простая установка: Simple setup with adhesive tape for the sensor and plug-and-play for the receiver.
- Durable Sensor: IP44 waterproof rating for the sensor, designed for long-term use.
Содержимое упаковки
- 1 x Wireless Magnetic Door Sensor
- 2 x Plug-in Receivers
- Mounting Hardware (e.g., double-sided adhesive tape)
- Руководство пользователя
Настройка и установка
1. Powering the Receiver:
Plug the receiver into any standard electrical outlet. The receiver will power on and be ready for operation.
2. Installing the Sensor:
The wireless sensor consists of two parts: the main sensor unit and a smaller magnetic strip. These two parts must be installed in close proximity to each other, typically on a door/window frame and the door/window itself.
- Identify a suitable location on your door, window, drawer, or cabinet. Ensure the two sensor parts can be aligned when the door/window is closed.
- Очистите поверхность, на которую будет установлен датчик, чтобы обеспечить надлежащее сцепление.
- Peel the backing from the double-sided adhesive tape provided.
- Attach one part of the sensor to the door/window frame and the other part to the moving door/window. Ensure the alignment marks on both parts are facing each other and the gap between them is less than 0.6 inches (1.5 cm) when closed.

Изображение: Бывшийamples of sensor installation on doors, windows, drawers, and cabinets.

Image: Visual guide for mounting the door sensor using adhesive tape.
3. Pairing (if necessary):
The sensor and receiver are typically pre-paired from the factory. If re-pairing is needed or if you are adding new sensors/receivers, follow these steps:
- Подключите приемник.
- On the receiver, long press the volume button for 5-7 seconds until the LED indicator starts blinking rapidly. This indicates pairing mode.
- Quickly separate the two parts of the door sensor to activate the transmitter and send a signal to the receiver.
- Upon successful pairing, the receiver will sound a chime and the LED will stop blinking, confirming the connection.
Инструкция по эксплуатации
1. Chime Activation:
When the two parts of the magnetic sensor are separated (e.g., a door or window opens), the sensor will trigger the paired receiver(s) to sound the selected chime and illuminate the LED indicator.

Image: Applications for home security, child safety, and elderly care.

Image: Applications for business, store, and office environments.
2. Регулировка громкости:
The receiver features a volume control button. Press this button repeatedly to cycle through 5 adjustable volume levels, ranging from 0 dB (mute) to 110 dB (maximum volume).

Image: Receiver with adjustable volume levels and LED indicator.
3. Changing Chime Melodies:
The receiver offers 20 different chime melodies. Use the "forward" and "backward" buttons on the side of the receiver to select your preferred melody.
4. Рабочий диапазон:
The system has a wireless operating range of up to 800 feet (240 meters) in an open environment. Walls, metal structures, and other electronic devices may reduce the effective range.

Image: Illustration of the system's 800ft wireless range.
Обслуживание
1. Sensor Battery Replacement:
The wireless sensor is powered by a CR2450 3V lithium battery. When the sensor's performance degrades or it stops transmitting signals, the battery may need replacement.
- Осторожно откройте датчик casing using a small screwdriver.
- Удалите старую батарею CR2450.
- Insert a new CR2450 3V lithium battery, ensuring correct polarity.
- Закройте датчик casinг надежно.
Image: Visual guide for battery replacement in the sensor.
The sensor battery is designed for long life, supporting up to 100,000 uses or 3-5 years of typical operation.

Image: Details on sensor battery life and durability features.
2. Очистка:
Wipe the sensor and receiver with a soft, dry cloth. Do not use abrasive cleaners or immerse the units in water.
3. Условия окружающей среды:
The sensor is IP44 waterproof, suitable for outdoor use in various weather conditions. The operating temperature range is -4°F (-20°C) to 140°F (60°C).
Поиск неисправностей
| Проблема | Возможная причина | Решение |
|---|---|---|
| Receiver does not chime when sensor is triggered. |
|
|
| Громкость колоколов слишком низкая или слишком высокая. | Необходимо отрегулировать громкость. | Press the volume control button on the receiver to cycle through the 5 volume levels. |
| Мелодия колокольчиков нежелательна. | Выбрана неправильная мелодия. | Use the "forward" and "backward" buttons on the receiver to select a different melody. |
| Снижен радиус действия беспроводной связи. | Загрязнение окружающей среды или чрезмерное расстояние. |
|
Технические характеристики
| Особенность | Деталь |
|---|---|
| Номер модели | AUB094VDX2J6 |
| Бренд | Дэйтех |
| Источник питания (приемник) | Plug-in (AC Powered) |
| Источник питания (датчик) | 1 x CR2450 3V Lithium Battery (included) |
| Томtage | 260 Volts (for receiver, typical for plug-in devices) |
| Дальность беспроводной связи | До 800 футов (240 метров) на открытой местности |
| Chime Melodies | 20 мелодий на выбор |
| Уровни громкости | 5 adjustable levels (0 dB to 110 dB) |
| Сенсорная техника | Contact Sensor (Magnetic) |
| Тип крепления | Door Mount, Window Mount (Adhesive Tape) |
| Sensor Gap Requirement | Less than 0.6 inches (1.5 cm) when closed |
| Материал | АБС |
| Водонепроницаемость датчика | IP44 |
| Рабочая температура | от -4°F (-20°C) до 140°F (60°C) |
| Вес товара | 8.1 унции (общая упаковка) |
| Размеры упаковки | 4.33 x 3.82 x 3.58 дюйма |
Гарантия и поддержка
For any product inquiries, technical support, or warranty information, please contact Daytech Customer Service. Refer to the product packaging or the official Daytech webсайт для получения самых актуальных контактных данных.
Daytech is committed to providing quality products and customer satisfaction.


