1. Введение
This manual provides essential information for the safe and effective operation, assembly, and maintenance of your Vive 3 Wheel Mobility Scooter. Designed for adults, this electric-powered device offers stable assistance for navigating smooth indoor and light outdoor surfaces, ensuring comfort and independence.
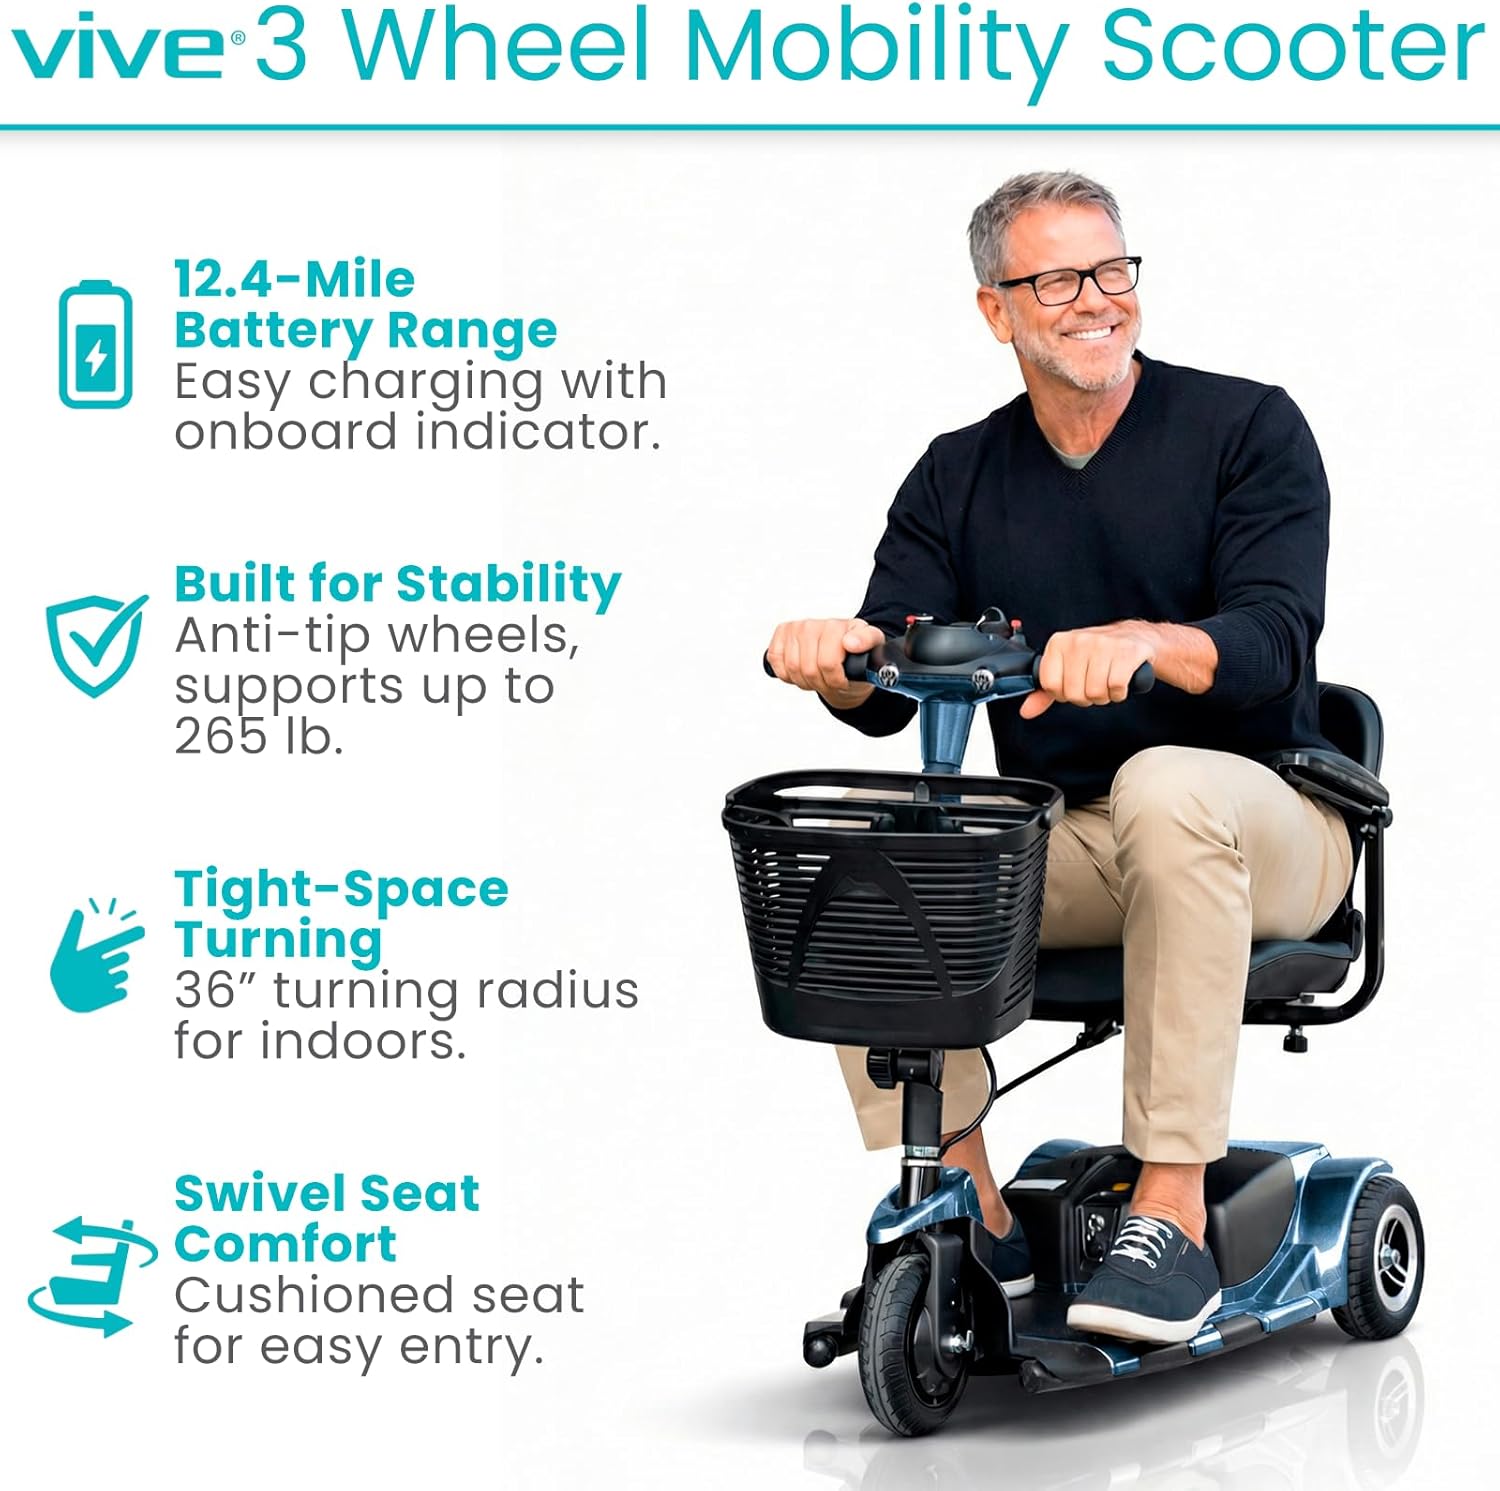
Image: A man riding the Vive 3 Wheel Mobility Scooter, showcasinкомпактный дизайн и простота использования.
2. Информация по технике безопасности
Always prioritize safety when operating the mobility scooter. Adhere to the following guidelines:
- Грузоподъемность: The scooter is designed to safely support up to 265 pounds. Do not exceed this limit.
- Местность: Suitable for smooth indoor surfaces and light outdoor terrains such as concrete, pavement, and short grass. Avoid rugged terrain, very steep inclines, or uneven surfaces to prevent instability.
- Шины: Equipped with flat-free, non-marking 8-inch tires for worry-free rides.
- Стабильность: Features anti-tip wheels for enhanced stability.
- Торможение: The scooter is equipped with an automatic braking system. Ensure the drive lever is released to engage the brakes.
- Маневрирование: Exercise caution when navigating tight spaces or around obstacles.

Изображение: подробное view of the scooter's flat-free tires, suitable for different smooth terrains.
3. Содержимое упаковки
При распаковке убедитесь, что все компоненты присутствуют:
- Vive 3 Wheel Mobility Scooter (main unit)
- Comfortably padded seat with flip-up armrests
- Front-mounted storage basket
- Расширенная батарея
- Quick-connect battery charger
- Ключ зажигания
4. Сборка и настройка
The Vive 3 Wheel Mobility Scooter is designed for quick and easy assembly and disassembly. It can be separated into four lightweight pieces for convenient transport and storage.
- Распаковываем компоненты: Аккуратно извлеките все детали из упаковки.
- Attach Rear Section: Connect the rear drive section to the main chassis.
- Установите аккумулятор: Securely place the extended battery into its compartment.
- Присоединить сиденье: Mount the padded seat onto the seat post, ensuring it locks into place.
- Install Tiller: Raise and secure the folding tiller into the upright position.
- Attach Basket: Hook the front storage basket onto the tiller.

Image: The scooter disassembled into its main components, demonstrating its portability for vehicle transport.
For a visual guide on assembly, please refer to the "About the Vive 3 Wheel Mobility Scooter" video below.
Видео: Оверview of the Vive 3 Wheel Mobility Scooter, including assembly and key features.
5. Инструкция по эксплуатации
5.1 Tiller Console Controls
The tiller console provides all necessary controls for operating your scooter:

Изображение: подробное view of the scooter's control panel, showing the power switch, battery indicator, speed dial, horn, and headlight controls.
- Ключ зажигания: Insert the key and turn to the 'ON' position to power on the scooter.
- Индикатор уровня заряда батареи: Located at the top of the console, this color-coded display shows the current battery charge.
- Переменный быстрый набор: Adjust the maximum speed of the scooter. Turn left for slower speeds, right for faster speeds (up to 3.7 mph).
- Рычаг привода: Press the right side of the lever to move forward. Press the left side to engage reverse. Releasing the lever will activate the automatic brake.
- Переключатель фар: Activates the scooter's headlight.
- Кнопка рога: Нажмите, чтобы подать звуковой сигнал.
For a detailed demonstration of the control panel, watch the video below:
Video: A demonstration of the Vive 3 Wheel Mobility Scooter's control panel functions.
5.2 Seating and Comfort
The scooter features a comfortably padded 16.9-inch wide seat and backrest. The seat can be adjusted for height and swivels to facilitate easier entry and exit. Padded armrests can be adjusted and flipped upward for added convenience.

Image: A user demonstrating the adjustable and flip-up armrests, highlighting the comfortable padded seat.
5.3 Маневренность
The 3-wheel design provides a tight 36-inch turning radius, allowing for easy navigation through doorways, hallways, and other narrow indoor and outdoor spaces.

Image: A woman demonstrating the scooter's maneuverability by navigating around cones, showcasing its tight turning radius.
6. Зарядка аккумулятора
The scooter is equipped with an extended battery providing a driving range of up to 12.4 miles per charge. The battery is removable, allowing for convenient off-board charging.
- Убедитесь, что самокат выключен.
- Найдите батарейный отсек и извлеките батарею.
- Connect the quick-connect charger to the battery and a standard power outlet.
- Allow the battery to charge fully. The battery indicator lights on the charger will indicate charging status.
- Once fully charged, disconnect the charger and re-install the battery into the scooter.

Image: The quick-connect charger and the scooter's battery, illustrating the charging process.
7. Disassembly for Transport
For easy transport and storage, the scooter quickly disassembles into four manageable pieces. The heaviest piece weighs approximately 29 pounds, making it suitable for lifting into standard vehicle trunks.
- Remove the front storage basket.
- Fold down the tiller.
- Снимаем сиденье.
- Separate the main chassis from the rear drive section.
Reverse these steps for reassembly.
8. Техническое обслуживание
Регулярное техническое обслуживание обеспечивает оптимальную производительность и долговечность вашего скутера:
- Уборка: Регулярно протирайте скутер рекламным средством.amp ткань. Избегайте использования агрессивных химикатов или абразивных чистящих средств.
- Уход батареи: Keep the battery charged, especially during periods of non-use, to prolong its lifespan.
- Проверка шин: Periodically check tires for wear and tear. Although flat-free, excessive wear can affect performance.
- Соединения: Убедитесь, что все электрические соединения надежны и не подвержены коррозии.
- Хранилище: Когда самокат не используется, храните его в сухом, прохладном месте.
9. Поиск Неисправностей
If your scooter experiences an issue, the battery indicator lights on the tiller console may blink in a specific sequence to indicate an error code. Refer to your user manual (physical copy) for a comprehensive list of error codes and their corresponding troubleshooting steps.
Распространенные проблемы:
- Самокат не включается: Check if the key is fully inserted and turned to the 'ON' position. Ensure the battery is charged and properly connected. Verify the manual/drive mode lever is in the correct position (drive mode).
- Reduced speed or range: This may indicate a low battery charge. Charge the battery fully.
- Unresponsive controls: Ensure all connections are secure and the scooter is powered on.
10. Технические характеристики
| Особенность | Спецификация |
|---|---|
| Размеры продукта | 38"Д x 19.5"Ш x 33"В |
| Вес товара | 84 фунта |
| Грузоподъемность | До 265 фунтов |
| Максимальная скорость | 3.7 миль/ч |
| Драйвинг-рейндж | До 12.4 миль на одной зарядке |
| Радиус поворота | 36 дюймов |
| Размер шин | 8 inches (flat-free, non-marking) |
| Heaviest Piece (Disassembled) | 29 фунта |
| Тип батареи | Нестандартная батарея (в комплекте) |
| Производитель | Виве Хелс |

Image: The scooter's durable aluminum frame, designed for everyday reliability.
11. Гарантия и поддержка
The Vive 3 Wheel Mobility Scooter comes with a 5-ГОДОВАЯ ГАРАНТИЯ, reflecting our commitment to quality and customer satisfaction. For any questions, technical assistance, or warranty claims, please contact Vive Health Direct customer support.

Image: Highlighting the Vive Health 5-Year Guarantee, ensuring product reliability and customer confidence.