1. Введение
The GameMax Expedition is a compact Micro ATX PC gaming case designed for efficient cooling and component compatibility. This manual provides instructions for the proper installation, operation, and maintenance of your PC case.

Figure 1.1: GameMax Expedition MATX PC Gaming Case, White.
2. Информация по технике безопасности
- Перед установкой или техническим обслуживанием всегда отключайте питание от всех компонентов.
- Надевайте антистатический браслет, чтобы предотвратить повреждение компонентов электростатическим разрядом (ESD).
- Будьте осторожны с острыми краями внутри корпуса.
- Храните мелкие детали и винты в недоступном для детей месте.
- Ensure proper ventilation around the case during operation.
3. Содержимое упаковки
Проверьте наличие всех предметов в упаковке:
- GameMax Expedition MATX PC Gaming Case
- Коробка с принадлежностями (винты, стойки, кабельные стяжки)
- 1 x 120mm Blue LED Fan (pre-installed at rear)
- Руководство пользователя (этот документ)
4. Особенности продукта
- Micro Gaming Chassis: Compact design optimized for gaming components.
- Порты ввода/вывода: 1 x USB 3.0, 2 x USB 2.0, and HD Audio ports located on the top panel.
- Охлаждение: Includes 1 x 120mm Blue LED fan. Supports additional fans for enhanced airflow.
- Боковое окно: Full side window panel allows visibility of internal components.
- Magnetic Dust Filter: Removable dust filter on the top panel for easy cleaning and improved system longevity.
- GPU Bracket: Integrated bracket provides support for graphics cards, preventing sag and accommodating larger cards.
5. Компонент оконченview
5.1 Внешний Views

Figure 5.1: Front panel design with air intake and included 120mm fan illustration.

Figure 5.2: Top I/O panel featuring USB 3.0, USB 2.0, and audio ports.
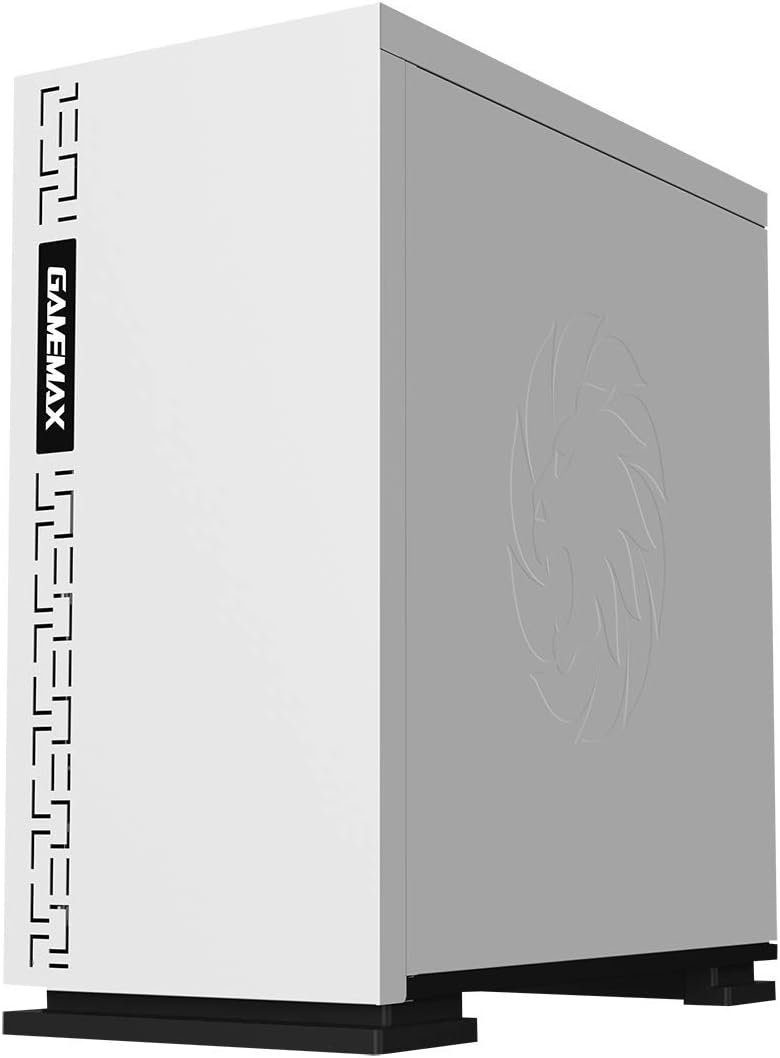
Рисунок 5.3: Вверху view showing the magnetic dust filter for fan ventilation.
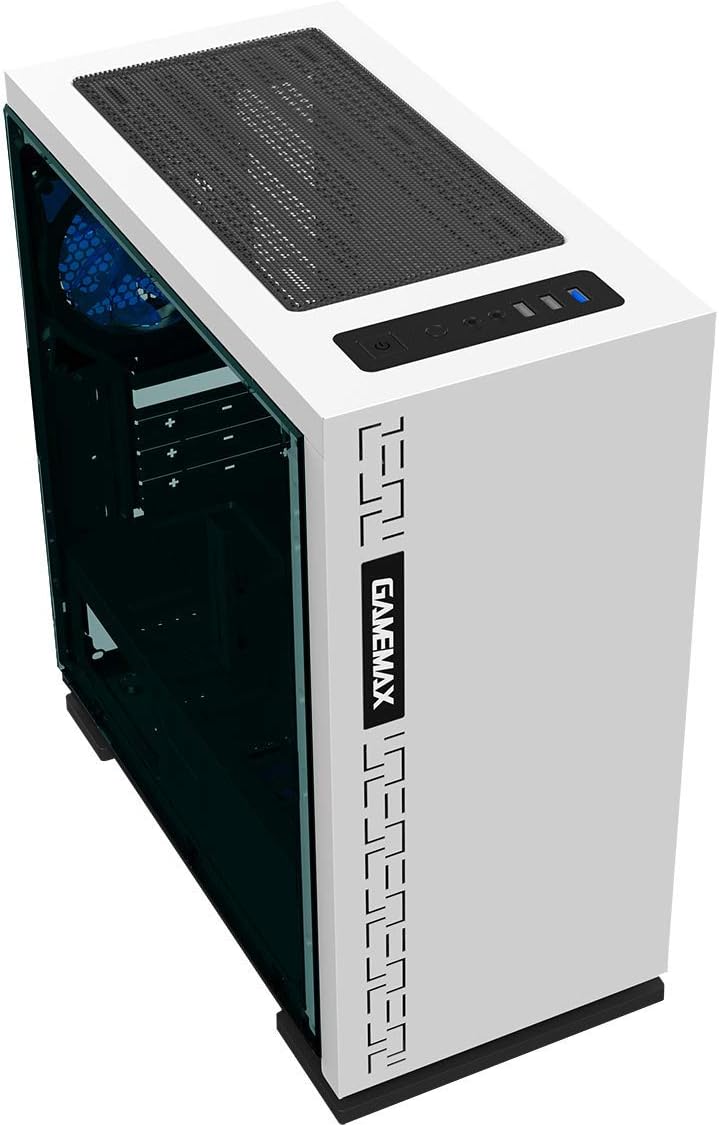
Рисунок 5.4: Сзади view displaying expansion slots and the pre-installed 120mm fan.
5.2 Внутренняя планировка

Рисунок 5.5: Внутренний view with the side panel removed, showing the motherboard tray and cable routing options.

Figure 5.6: Illustration of fan and radiator mounting points within the chassis.

Figure 5.7: Drive bay locations supporting 2.5" and 3.5" storage devices.
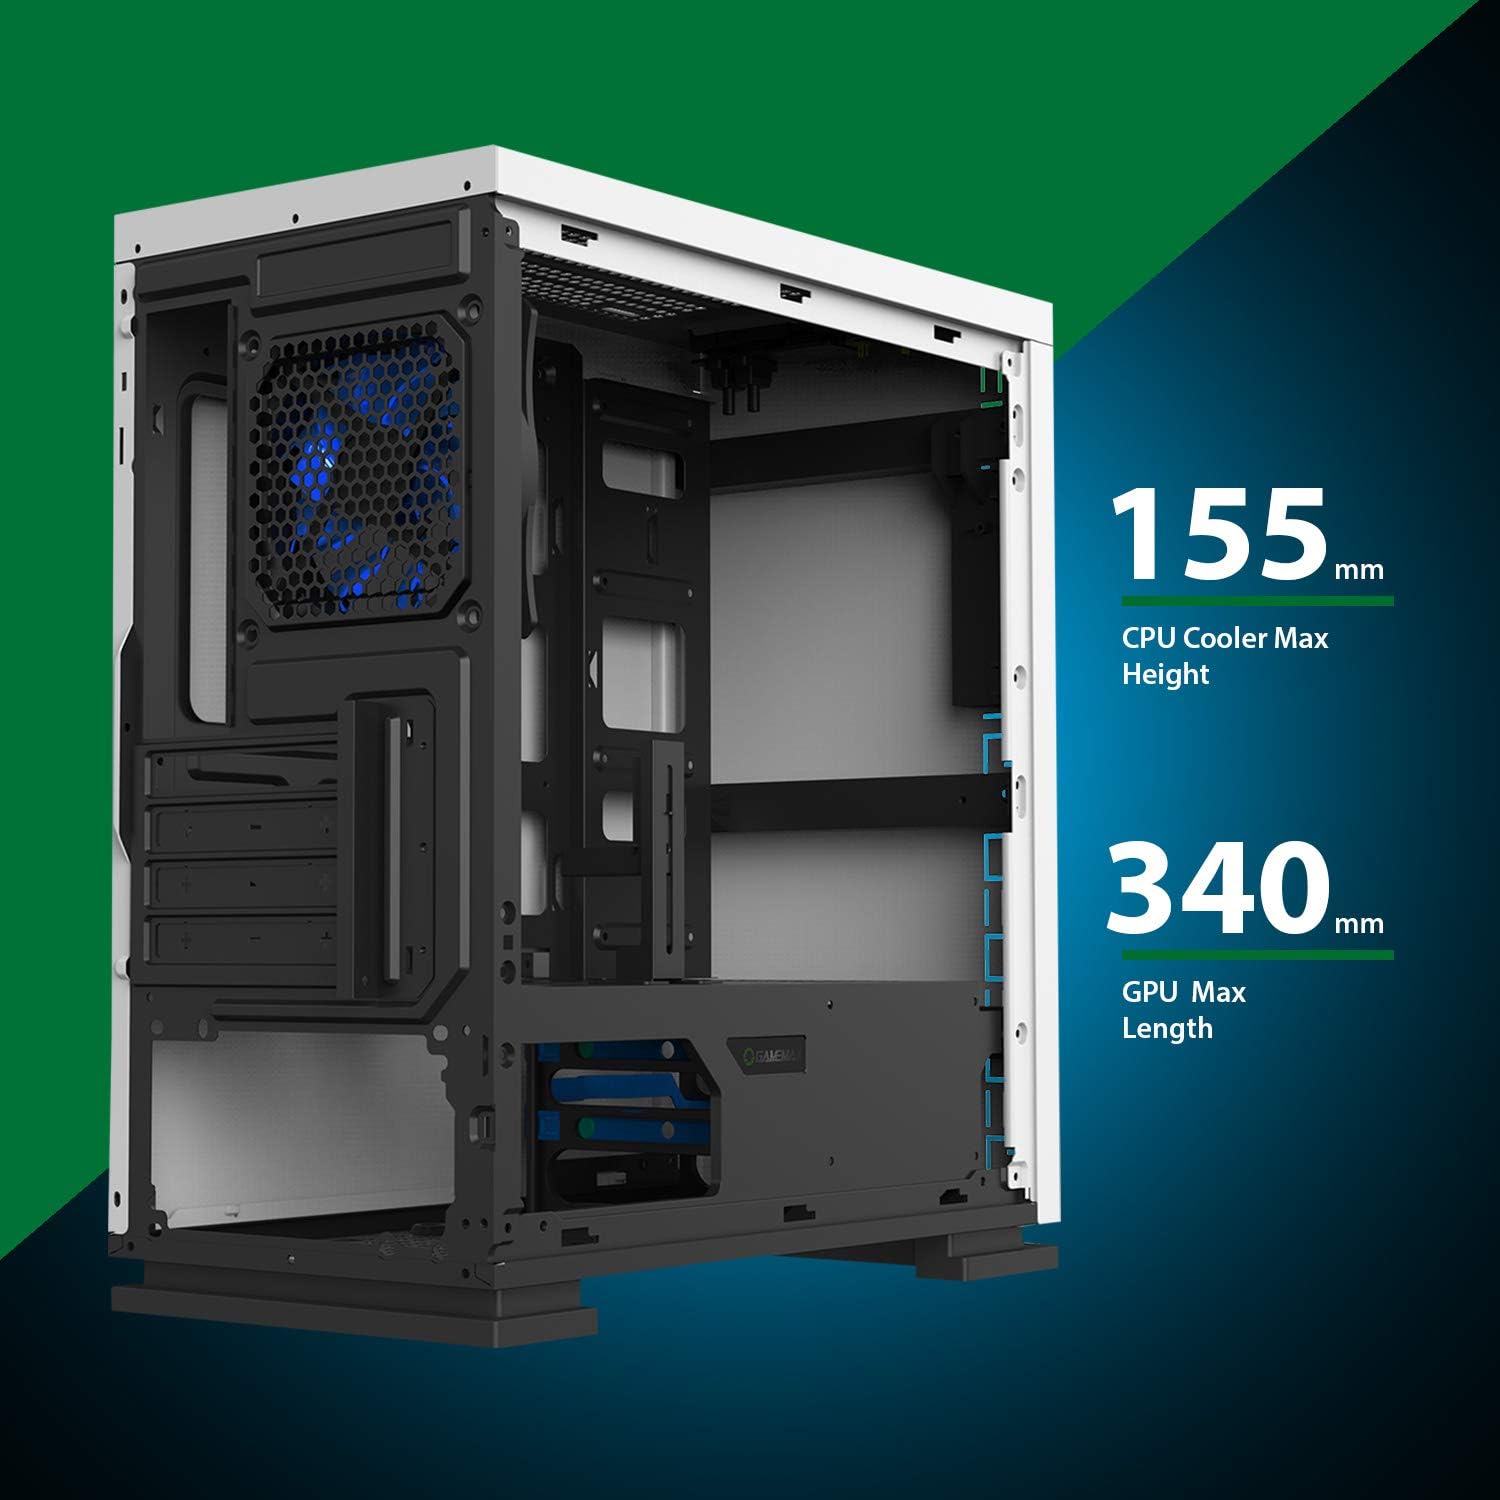
Figure 5.8: Maximum clearance for CPU coolers (155mm) and GPUs (340mm).
6. Настройка и установка
6.1 Подготовка
- Unpack the chassis and remove all packaging materials.
- Remove the side panels by unscrewing the thumbscrews at the rear.
- Gather necessary tools: Phillips head screwdriver, cable ties.
6.2 Установка материнской платы
- Install the I/O shield into the rear opening of the chassis.
- Align the motherboard with the pre-installed standoffs. Ensure the standoffs match your Micro ATX motherboard's mounting holes.
- Закрепите материнскую плату прилагаемыми винтами.
6.3 Установка блока питания
- Place the power supply unit (PSU) into the dedicated compartment at the bottom rear of the case.
- Align the PSU with the screw holes on the rear of the chassis.
- Закрепите блок питания с помощью прилагаемых винтов.
6.4 Установка накопителя
- 2.5-дюймовые диски: Mount 2.5" SSDs/HDDs to the dedicated mounting points on the motherboard tray or within the drive cage using the provided screws.
- 3.5-дюймовые диски: Install 3.5" HDDs into the drive cage located beneath the PSU shroud. Slide the drive into the tray and secure it.
6.5 Expansion Card (GPU) Installation
- Снимите заглушки с необходимых слотов расширения с задней стороны корпуса.
- Вставьте видеокарту или другую плату расширения в соответствующий слот PCIe на материнской плате.
- Закрепите карту винтом.
- Utilize the adjustable GPU bracket to provide additional support for heavier graphics cards.
6.6 Установка вентилятора и системы охлаждения
- The case comes with one 120mm Blue LED fan pre-installed at the rear.
- Additional 120mm fans can be installed at the top and front positions as needed.
- Ensure fans are oriented correctly for optimal airflow (intake or exhaust).
6.7 Front Panel Connector Installation
Connect the front panel cables (USB 3.0, USB 2.0, HD Audio, Power SW, Reset SW, Power LED, HDD LED) to their corresponding headers on your motherboard. Refer to your motherboard manual for exact pin layouts.
7. Операционная
Once all components are installed and cables are connected, replace the side panels. Connect your monitor, keyboard, mouse, and power cable. Press the power button on the top panel to start your system. The pre-installed LED fan will illuminate upon power-on.
8. Техническое обслуживание
- Очистка пылевого фильтра: Regularly remove and clean the magnetic dust filter located on the top panel to maintain optimal airflow and prevent dust buildup inside the case.
- Генеральная уборка: Используйте мягкий, damp cloth to clean the exterior surfaces of the case. Avoid abrasive cleaners.
- Внутренняя пылеудаление: Periodically use compressed air to clear dust from internal components and fans. Ensure the system is powered off and unplugged before performing internal cleaning.
9. Поиск Неисправностей
- Система не включается: Check all power connections, including the PSU to the wall outlet, PSU to motherboard, and front panel power switch cable to the motherboard.
- Вентиляторы не вращаются: Verify fan cables are securely connected to the motherboard or fan controller.
- USB-порты не работают: Убедитесь, что кабели USB передней панели правильно подключены к USB-разъемам материнской платы.
- Нет вывода на дисплей: Confirm the graphics card is properly seated and connected to power, and the monitor cable is connected to the graphics card, not the motherboard's integrated graphics port (unless using integrated graphics).
10. Технические характеристики
| Особенность | Спецификация |
|---|---|
| Название модели | GMX EXPEDITION |
| Бренд | GAMEMAX |
| Тип корпуса | Micro Tower (MATX) |
| Совместимость с материнской платой | Микро ATX |
| Цвет | Expedition White |
| Материал | Поликарбонат (ПК) |
| Размеры продукта (ДxШxВ) | 14.96 x 7.4 x 13.78 дюйма (380 x 188 x 350 мм) |
| Вес товара | 8.58 фунта (3.9 кг) |
| Порты USB 3.0 | 1 |
| Порты USB 2.0 | 2 |
| Метод охлаждения | Воздух, вода |
| Включенный вентилятор | 1 x 120mm Blue LED (Rear) |
| Макс. высота кулера ЦП | 155 мм |
| Максимальная длина графического процессора | 340 мм |
11. Гарантия и поддержка
For warranty information and technical support, please visit the official GameMax webна сайте или обратитесь к местному продавцу.
Официально Webсайт: gamemaxpc.com


