1. Введение
The Intermec PM43 is a mid-range industrial label printer designed for reliable performance and ease of use. This printer supports both direct thermal and thermal transfer printing methods, making it versatile for various labeling applications. It features a user-friendly interface, available with either a color touch-screen or universal icons, to simplify operation and reduce training requirements. This manual provides essential information for setting up, operating, maintaining, and troubleshooting your PM43 printer.

Рисунок 1: Передняя часть view of the Intermec PM43 printer, showing the control panel and media output slot.
2. Настройка
2.1 Распаковка и размещение
Carefully remove the printer from its packaging. Ensure all packing materials are removed. Place the printer on a stable, flat surface with adequate space around it for ventilation and access to ports and media loading areas.
2.2 Подключение питания
- Ensure the printer's power switch is in the OFF (O) position.
- Connect the power cord to the printer's AC inlet.
- Вставьте другой конец шнура питания в заземленную электрическую розетку.
2.3 Connecting to a Host System
The PM43 printer supports USB and Ethernet connectivity.
- USB-подключение: Connect a USB cable from the printer's USB port to an available USB port on your computer.
- Ethernet-подключение: Подключите кабель Ethernet от порта Ethernet принтера к сетевому маршрутизатору или коммутатору.

Figure 2: Rear panel of the PM43 printer, illustrating the power inlet, power switch, USB ports, and Ethernet port.
2.4 Загрузка медиа
The PM43 printer can use various media types, including labels, tags, and continuous media. For thermal transfer printing, a ribbon is also required.
- Open the printer's media cover.
- Place the roll of labels onto the media supply spindle, ensuring the labels feed from the bottom of the roll.
- Thread the media through the guides and under the printhead assembly.
- If using thermal transfer, load the ribbon onto the ribbon supply spindle and thread it according to the internal diagrams.
- Закройте крышку отсека для материала.

Рисунок 3: Внутренний view of the PM43 printer, highlighting the media and ribbon loading mechanisms.
3. Инструкция по эксплуатации
3.1 Включение/выключение питания
- To power on, flip the power switch on the rear panel to the ON (I) position. The printer will perform a self-test.
- To power off, flip the power switch to the OFF (O) position.
3.2 Базовая печать
Once the printer is connected and media is loaded, you can send print jobs from your host system. Ensure the correct printer drivers are installed on your computer.
- Откройте документ или приложение, из которого вы хотите распечатать.
- Select the Intermec PM43 printer from the print dialog.
- Adjust print settings (e.g., label size, print density) as needed.
- Запустите задание на печать.
3.3 Using the User Interface
The PM43 features either a color touch-screen or a universal-icon interface for direct control and configuration. Navigate through menus to adjust settings such as media calibration, network configuration, and printer status.
4. Техническое обслуживание
4.1 Cleaning the Printhead
Regular cleaning of the printhead is crucial for maintaining print quality and extending the printhead's lifespan. Use a lint-free cloth or a printhead cleaning pen with isopropyl alcohol.
- Power off the printer and disconnect the power cord.
- Откройте крышку носителя.
- Gently wipe the printhead element from the center outwards.
- Allow the printhead to dry completely before closing the cover and powering on the printer.
4.2 Replacing Media and Ribbon
Replace media rolls and thermal transfer ribbons as they run out. Refer to section 2.4 for loading instructions. Always ensure the correct media and ribbon types are used for optimal performance.
5. Поиск Неисправностей
This section addresses common issues you might encounter with your PM43 printer.
5.1 Плохое качество печати
- Faded or incomplete print: Clean the printhead (see section 4.1). Ensure the ribbon (if thermal transfer) is correctly loaded and not depleted. Adjust print density settings.
- Smudged print: Verify media type is compatible. Ensure printhead pressure is correctly set.
5.2 Media Jams
- Выключите принтер.
- Open the media cover and carefully remove any jammed media.
- Ensure media is loaded correctly and guides are properly adjusted.
- Close the cover and power on.
5.3 Проблемы с подключением
- Printer not detected: Check all cable connections (USB/Ethernet). Restart the printer and host system. Verify driver installation.
- Проблемы с сетью: Confirm network cable is connected. Check network settings on the printer and host system.
6. Технические характеристики
The following table outlines the key technical specifications for the Intermec PM43 printer.
| Особенность | Спецификация |
|---|---|
| Название модели | PM43 |
| Технология печати | Direct Thermal / Thermal Transfer |
| Цвет печати | Монохромный (черный) |
| Максимальная скорость печати | 12 дюймов в секунду |
| Максимальное разрешение печати | 203 точек на дюйм |
| Поддерживаемые типы носителей | Black Mark, Continuous Label, Fanfold, Gap, Label, Linered Label, Linerless, Notch, Roll Fed, Tag |
| Максимальный размер носителя | 4 х 6 дюйма |
| Связность | USB, Ethernet |
| Память | 128 МБ |
| Метод контроля | Touch-screen or Universal-icon interface |
| Размеры продукта | 25 x 18 x 16 дюйма |
| Вес товара | 1 фунт |
| Источник питания | Источник переменного тока |
| Language Emulation | DSim, Fingerprint, IPL, XML |
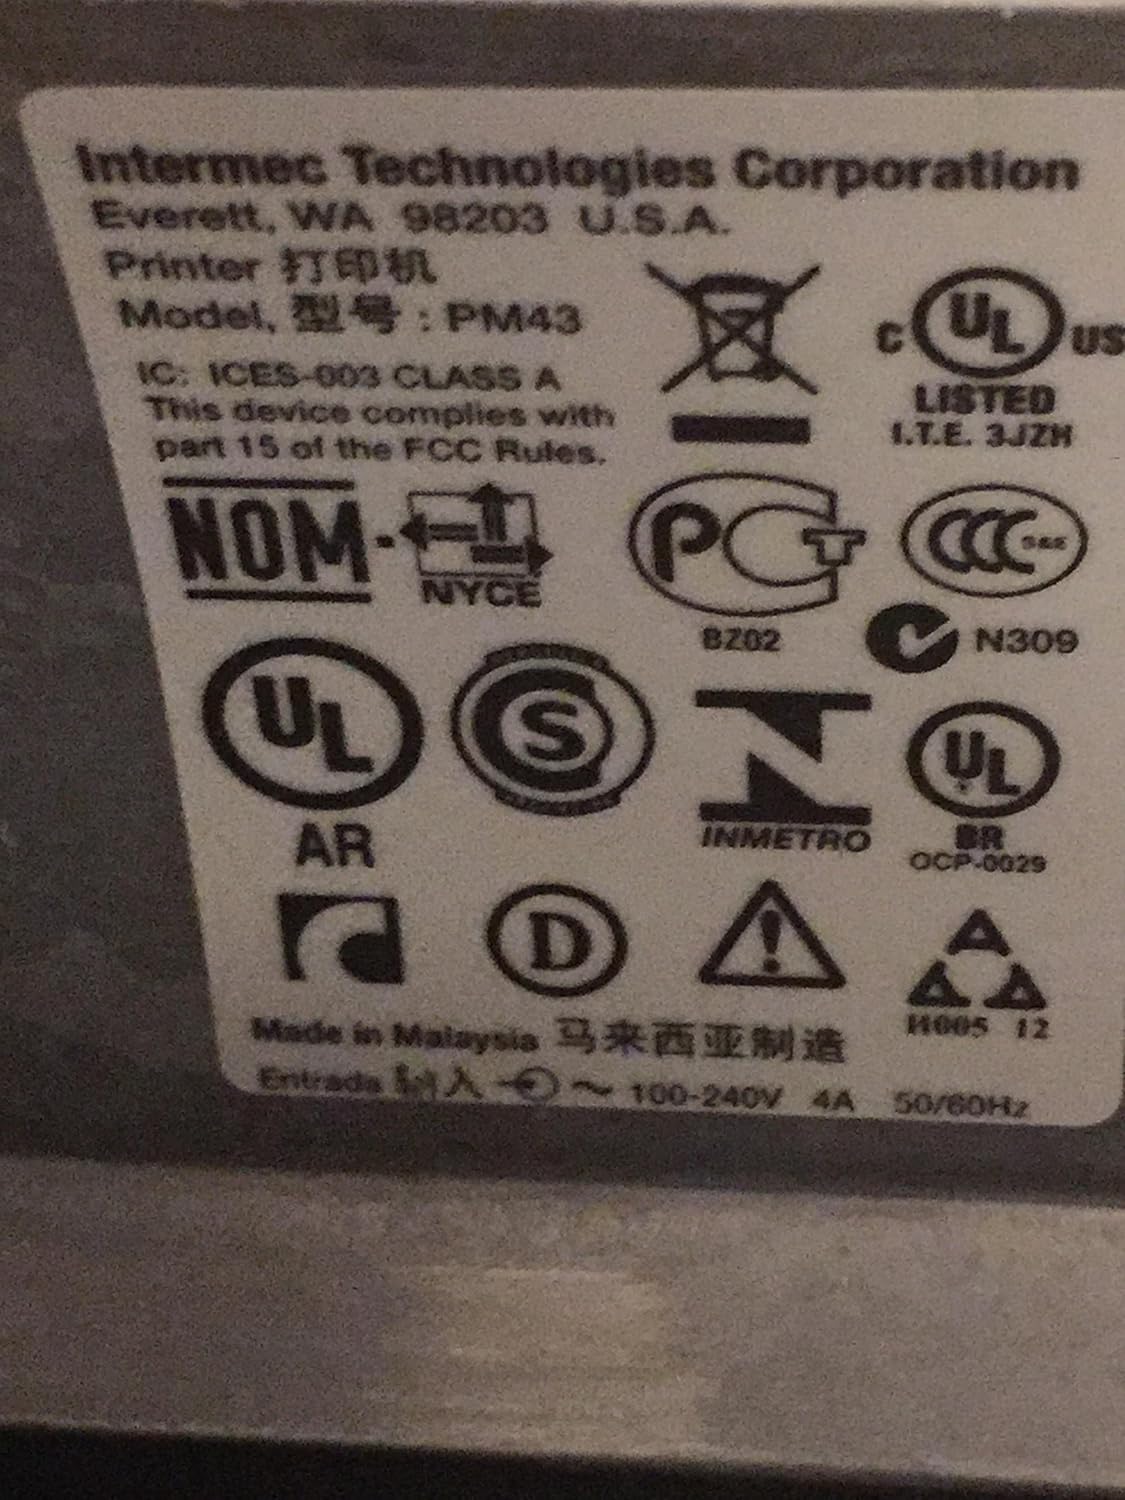
Figure 4: Regulatory and compliance labels found on the Intermec PM43 printer.
7. Информация о гарантии
The Intermec PM43 printer is covered by a limited warranty. For specific terms and conditions, please refer to the warranty documentation included with your product or visit the official Intermec support webсайт.
8 Поддержка
For further assistance, technical support, or to download the latest drivers and firmware, please visit the official Intermec support website or contact your authorized Intermec dealer. Ensure you have your printer's model number (PM43A01000000201) and serial number available when seeking support.


