1. Введение
This manual provides detailed instructions for the setup, operation, and maintenance of your EMOS E0114 Digital Thermometer and Hygrometer. This device accurately measures indoor temperature and humidity, and also functions as a quartz clock with an alarm, snooze feature, and date display. Please read this manual thoroughly before using the product to ensure correct operation and to prevent damage.
2. Информация по технике безопасности
- Держите устройство вдали от экстремальных температур, прямых солнечных лучей и высокой влажности.
- Не подвергайте устройство воздействию воды или других жидкостей.
- Не пытайтесь разбирать или модифицировать устройство. Это приведет к аннулированию гарантии.
- Утилизируйте использованные батареи ответственно в соответствии с местными правилами.
- Храните батареи в недоступном для детей месте.
3. Содержимое упаковки
Пожалуйста, проверьте комплектность при распаковке:
- EMOS E0114 Digital Thermometer and Hygrometer
- Руководство пользователя
Note: 1 AA Mignon 1.5 V battery is required and not included in the package.

Figure 3.1: EMOS E0114 device in its retail packaging.
4. Продукт закончилсяview
Familiarize yourself with the components of your EMOS E0114 device.
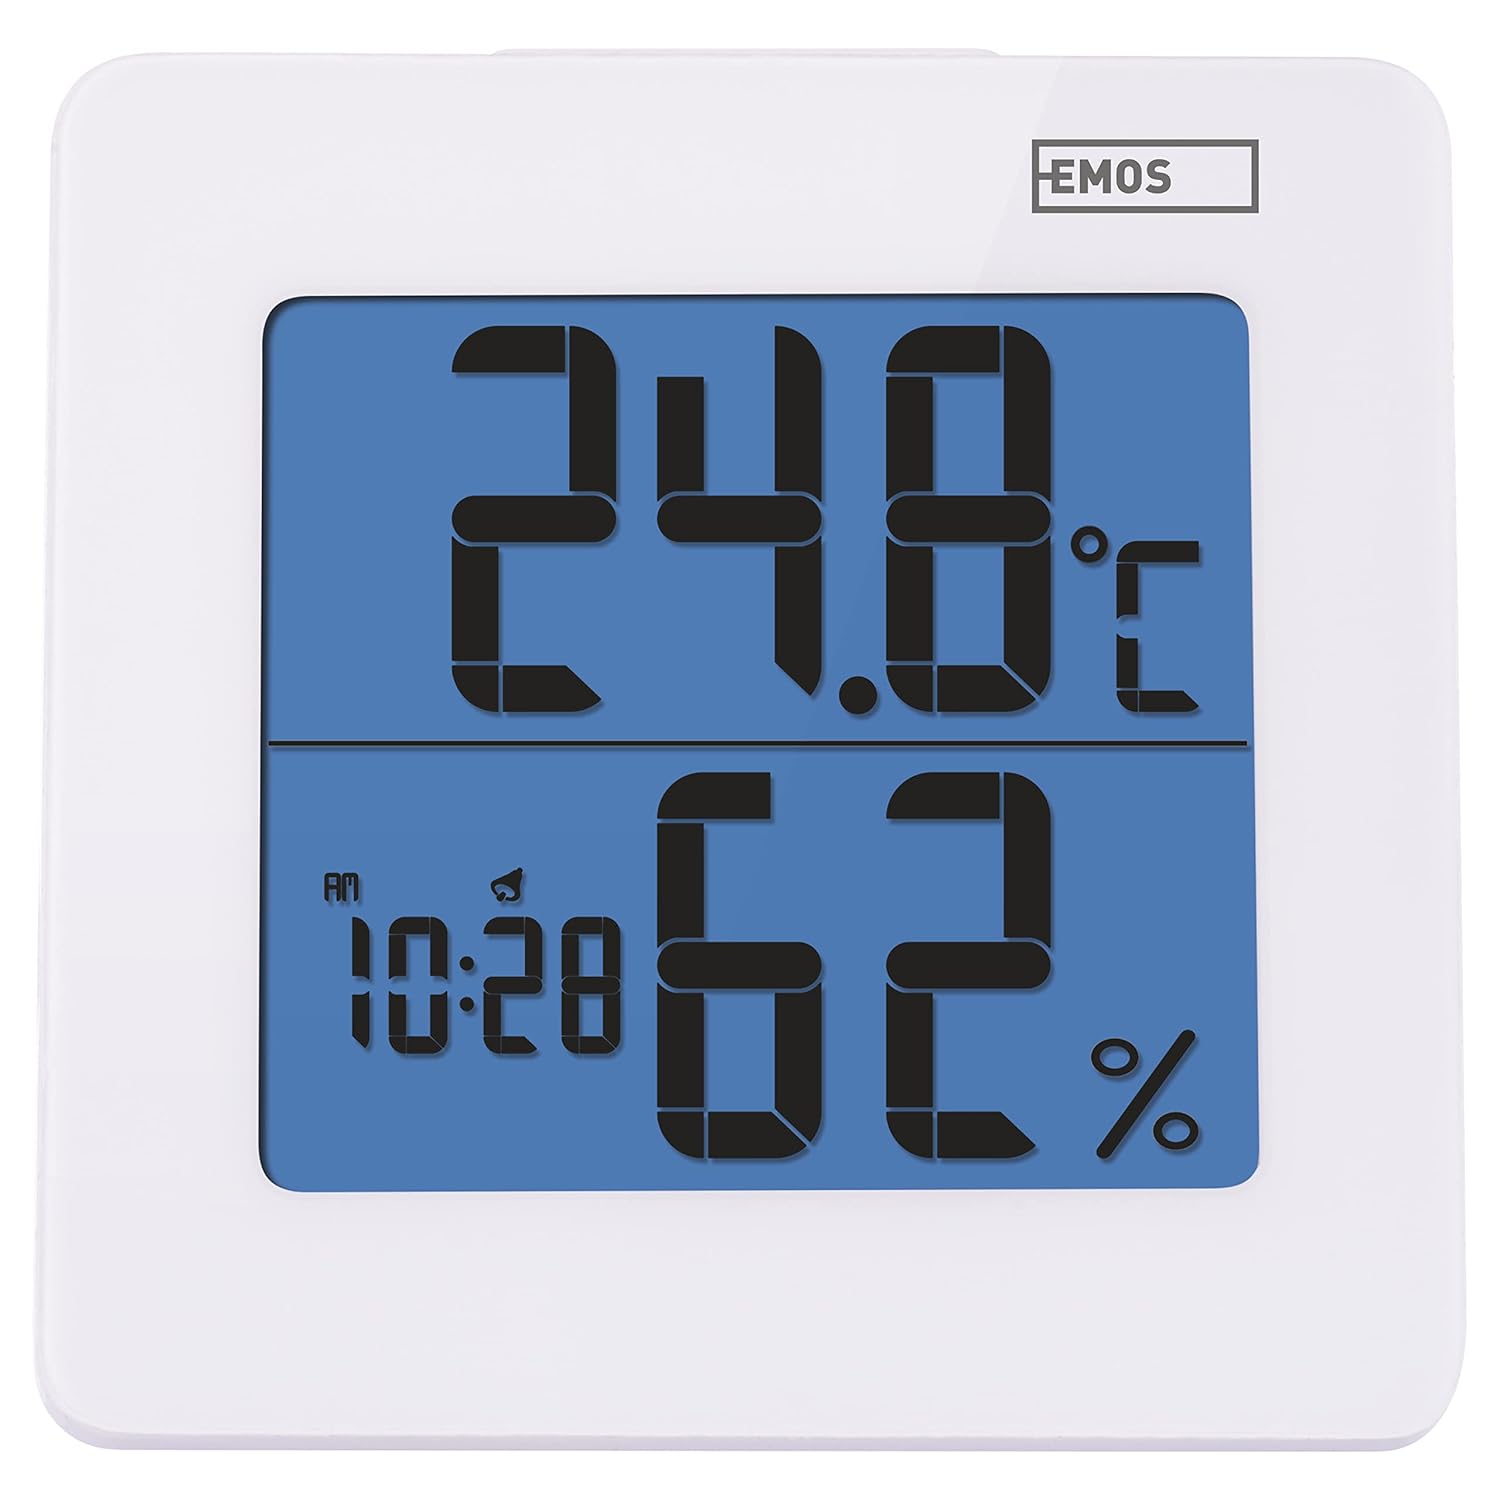
Рисунок 4.1: Передняя часть view of the EMOS E0114 display, showing temperature, humidity, and time.

Рисунок 4.2: Назад view of the EMOS E0114, highlighting the control buttons and battery compartment.
Кнопки управления:
- РЕЖИМ: Switches between time display, alarm setting, and date setting.
- UP: Increases values during setting, activates/deactivates alarm.
- МЕМ: Displays maximum and minimum temperature/humidity records.
- К/Ф: Переключение между единицами измерения температуры по Цельсию и Фаренгейту.
- СБРОС: Сбрасывает устройство к заводским настройкам.
- SNOOZE/LIGHT (Top Bar): Activates snooze function during alarm, illuminates the display backlight.
5. Настройка
5.1 Установка аккумулятора
- Найдите отсек для батареи на задней панели устройства (см. рисунок 4.2).
- Откройте крышку батарейного отсека.
- Insert one (1) AA Mignon 1.5 V battery, ensuring correct polarity (+/-).
- Плотно закройте крышку батарейного отсека.
5.2 Первоначальное включение питания
Upon battery installation, the device will power on automatically and display the current time (default 12:00 AM), temperature, and humidity. The backlight will briefly illuminate.
6. Инструкция по эксплуатации
6.1 Установка времени и даты
- В обычном режиме отображения времени нажмите кнопку РЕЖИМ Нажмите кнопку один раз, чтобы войти в режим установки времени. Цифры часов начнут мигать.
- Используйте UP кнопку для настройки часа.
- Нажимать РЕЖИМ again to set the minutes. The minute digits will flash. Use the UP кнопку для настройки минут.
- Нажимать РЕЖИМ again to set the year. The year digits will flash. Use the UP кнопка для настройки года.
- Продолжайте нажимать РЕЖИМ to set the month and then the day, adjusting each with the UP кнопка.
- После установки дня нажмите РЕЖИМ Чтобы выйти из режима настроек и вернуться к обычному отображению времени.
6.2 Установка будильника
- В обычном режиме отображения времени нажмите кнопку РЕЖИМ button twice to enter alarm setting mode. The alarm time will be displayed, and the hour digits will flash.
- Используйте UP кнопку для настройки времени будильника.
- Нажимать РЕЖИМ again to set the alarm minutes. The minute digits will flash. Use the UP кнопка для настройки минут будильника.
- Нажимать РЕЖИМ для выхода из режима настройки будильника.
- Для включения или выключения сигнализации нажмите кнопку. UP button once in normal time display mode. An alarm icon will appear on the display when activated.
6.3 Using Snooze and Backlight
- Когда прозвучит сигнал будильника, нажмите кнопку СНУЗ / СВЕТ bar on top of the device to activate the snooze function. The alarm will pause for approximately 5 minutes and then sound again.
- To turn off the alarm completely, press any other button (MODE, UP, MEM, C/F) on the back of the device.
- Нажмите СНУЗ / СВЕТ bar at any time to briefly illuminate the display backlight for better visibility in low light conditions.
6.4 Переключение единиц измерения температуры (°C/°F)
В обычном режиме отображения нажмите кнопку C / F button on the back of the device to toggle between Celsius (°C) and Fahrenheit (°F) temperature readings.
6.5 Viewing Maximum and Minimum Records
The device stores the maximum and minimum temperature and humidity values recorded since the last reset or battery change.
- Нажмите МЭМ button once to display the maximum recorded temperature and humidity.
- Нажмите МЭМ button again to display the minimum recorded temperature and humidity.
- Нажимать МЭМ a third time to return to the current temperature and humidity display.
- To clear the maximum/minimum records, press and hold the МЭМ кнопку примерно на 3 секунды, пока viewзаписи.
7. Техническое обслуживание
7.1 Очистка
- Протрите устройство мягкой сухой тканью.
- Do not use abrasive cleaners, solvents, or chemical agents, as these may damage the display or casing.
7.2. Замена батареи
When the display becomes dim or the device stops functioning, it is time to replace the battery.
- Откройте крышку батарейного отсека на задней панели устройства.
- Извлеките старую батарейку типа АА.
- Insert a new AA Mignon 1.5 V battery, observing correct polarity.
- Закройте крышку батарейного отсека.
- You may need to reset the time and date after battery replacement.
8. Поиск Неисправностей
| Проблема | Возможная причина | Решение |
|---|---|---|
| Нет дисплея или тусклый дисплей | Низкий заряд или полная разрядка батареи; неправильная установка батареи. | Replace the battery with a new AA 1.5V battery. Ensure correct polarity. |
| Неправильное время/дата | Время/дата не установлены корректно после установки батареи или сброса настроек. | Follow instructions in Section 6.1 to set the time and date. |
| Temperature/humidity readings seem inaccurate | Device placed in an unsuitable location (e.g., near heat source, vent, direct sunlight). | Relocate the device to a stable indoor environment away from direct influences. Allow 30 minutes for readings to stabilize. |
| Будильник не звучит | Сигнализация не сработала. | Ensure the alarm icon is visible on the display (refer to Section 6.2). |
| Устройство не отвечает | Временный сбой электроники. | Нажмите ПЕРЕЗАГРУЗИТЬ button on the back of the device using a thin object (e.g., paperclip). Note: This will clear all settings. |
9. Технические характеристики
- Модель: Е0114
- Бренд: ЭМОС
- Диапазон измерения температуры: От 0 ° C до +50 ° C (от 32 ° F до 122 ° F)
- Температурное разрешение: 0.1 °C / 0.1 °F
- Диапазон измерения влажности: От 20% до 90% относительной влажности (RH)
- Разрешение влажности: 1% ОТНОСИТЕЛЬНОЙ ВЛАЖНОСТИ
- Часы: Quartz with 12/24 hour format
- Тревога: Да, с функцией отложенного сигнала.
- Отображать: ЖК-дисплей с подсветкой
- Функция памяти: Макс./мин. температура и влажность
- Источник питания: 1 x AA Mignon 1.5 V battery (not included)
- Размеры (Д x Ш x В): 3.7 x 9.3 x 9.3 см (примерно 1.46 x 3.66 x 3.66 дюйма)
- Размеры экрана: 60 x 65 мм (приблизительно 2.36 x 2.56 дюймов)
- Масса: 109 грамм (приблизительно 3.84 унции)
- Тип крепления: Wall mountable (integrated stand)
- Цвет: White (with blue display backlight)

Figure 9.1: Dimensions of the EMOS E0114 device.
10. Гарантия и поддержка
EMOS products are designed for reliability and performance. For warranty information or technical support, please refer to the warranty card included with your purchase or visit the official EMOS webСохраните чек о покупке для предъявления гарантийных претензий.


