1. Введение
This manual provides comprehensive instructions for the installation, operation, and maintenance of your Hertz HDP4 4-Channel 1000W Max D-Class Amplifier. Please read this manual thoroughly before attempting installation or operation to ensure proper function and safety.
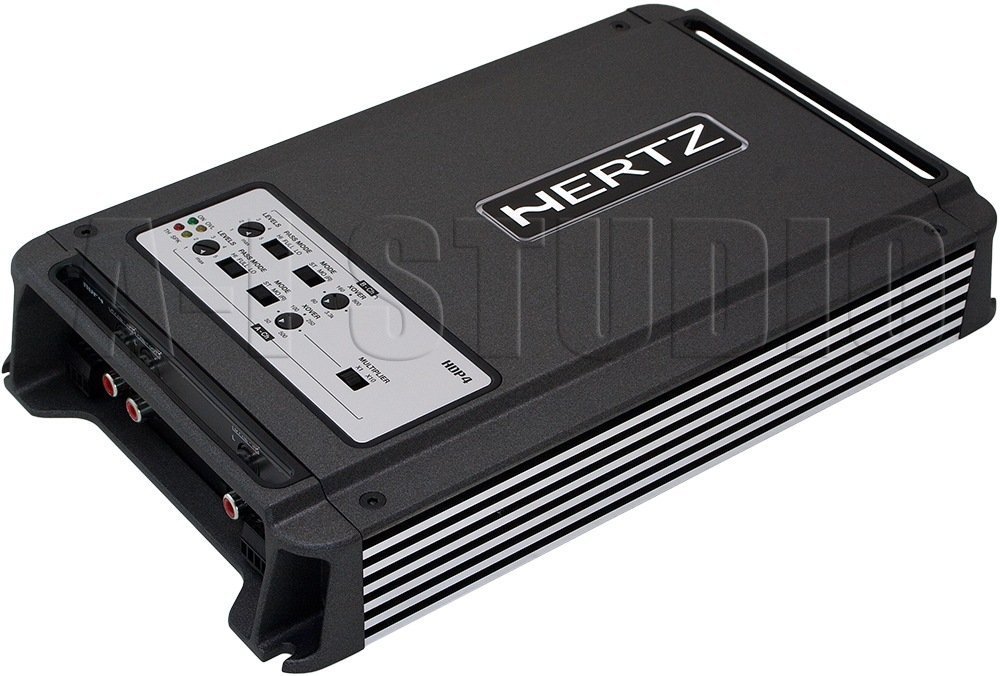
Рисунок 1.1: Сверху вниз под углом view Герц HDP4 amplifier, showcasing его компактный черный casing and control panel on the top surface. The Hertz logo is visible on the main body.
2. Информация по технике безопасности
Всегда соблюдайте следующие меры предосторожности:
- Disconnect the vehicle's battery before any installation or wiring.
- Убедитесь, что вся проводка должным образом изолирована, чтобы предотвратить короткие замыкания.
- Смонтируйте amplifier securely in a well-ventilated area, away from moisture and direct heat.
- Для подключения питания и заземления используйте провода соответствующего сечения, как указано в разделе «Установка».
- Если вы не уверены в каком-либо этапе процесса установки, проконсультируйтесь с профессиональным установщиком.
3. Содержимое упаковки
Проверьте наличие всех предметов в упаковке:
- Герц HDP4 Ampблок лифта
- Монтажное оборудование (винты, кронштейны)
- Руководство пользователя (этот документ)
4. Настройка и установка
4.1 Монтаж Ampпожизненнее
Choose a suitable location for mounting the amplifier. It should be a dry, well-ventilated area, protected from direct sunlight and excessive vibration. Ensure there is sufficient space around the ampвентилятор для циркуляции воздуха.

Рисунок 4.1: Вверху view Герц HDP4 amplifier, illustrating its compact design and potential mounting points. The amplifier features a textured black finish with the Hertz logo prominently displayed.
- Поместите amplifier in the desired mounting location and mark the screw holes.
- При необходимости просверлите направляющие отверстия, стараясь не повредить никакие компоненты автомобиля.
- Закрепите ampусилитель с помощью прилагаемых крепежных винтов.
4.2 Подключение проводки
Proper wiring is critical for performance and safety. Refer to the diagram below for power, ground, remote, and speaker connections.

Figure 4.2: Rear panel of the Hertz HDP4 amplifier, detailing the power input (BATT), ground (GND), remote turn-on (REM) terminals, and speaker output terminals (L/R mono for channels A and B). Two 40A fuses are also visible.
- Мощность (батарея): Connect a fused power cable (minimum 8 AWG recommended) directly from the vehicle's positive battery terminal to the BATT terminal on the ampпожизненнее.
- Земля (земля): Connect a ground cable of the same gauge as the power cable from the GND terminal to a clean, unpainted metal point on the vehicle chassis.
- Удаленный (REM): Connect a remote turn-on wire from your head unit's remote output to the REM terminal.
- Выходы на динамики: Connect your speakers to the appropriate L (left) and R (right) terminals for each channel (A and B). Ensure correct polarity. The amplifier supports mono bridging for increased power output to a single speaker or subwoofer.
- Плавкие предохранители: The amplifier is equipped with two 40A fuses. Replace only with fuses of the same type and rating.
4.3 Input Connections and Controls
The amplifier offers both RCA (low-level) and High-Level inputs, along with various crossover and gain controls.

Figure 4.3: Input and control panel of the Hertz HDP4 amplifier. This panel includes RCA pre-inputs (A PRE-IN, B PRE-IN), high-level inputs (A HI-IN, B HI-IN), and various adjustment knobs for levels, pass mode, and crossover settings. A switch for HI-IN AUTO TURN-ON is also present.
- RCA Pre-Inputs (A PRE-IN, B PRE-IN): Connect your head unit's RCA outputs to these inputs for low-level signal.
- High-Level Inputs (A HI-IN, B HI-IN): If your head unit does not have RCA outputs, connect speaker-level signals directly to these inputs. The amplifier features an auto turn-on function for high-level inputs.
- Уровни: Adjust the input sensitivity (gain) to match the output of your head unit. Start with the gain at minimum and slowly increase until desired volume is achieved without distortion.
- Режим пропуска: Select the desired crossover mode (e.g., Full, HPF, LPF) for each channel pair.
- Crossover Frequency (XOVER): Adjust the frequency point for the selected crossover mode.
- Множитель: Use this switch to multiply the crossover frequency setting by 1 or 10, depending on your system requirements.
5. Инструкция по эксплуатации
5.1 Первоначальное включение
- After all connections are made and verified, reconnect the vehicle's battery.
- Включите головное устройство. amplifier should power on automatically (if remote wire is connected or HI-IN AUTO TURN-ON is active).
- Start with the head unit volume low and gradually increase it, listening for clear audio.
5.2 Настройка параметров звука
Точная настройка amplifier's settings for optimal sound quality:
- Согласование усиления: Отрегулируйте amplifier's gain controls (LEVELS) to match the output voltage of your head unit. This is crucial to prevent distortion.
- Настройки кроссовера: Set the crossover frequencies (XOVER) and pass modes (PASS MODE) according to the specifications of your speakers. For full-range speakers, a high-pass filter (HPF) is often used to protect them from low bass frequencies. For subwoofers, a low-pass filter (LPF) is used.
6. Техническое обслуживание
Для обеспечения долговечности и оптимальной работы вашего Hertz HDP4 amplifier, следуйте этим рекомендациям по техническому обслуживанию:
- Уборка: Периодически очищайте ampПротрите внешнюю поверхность устройства мягкой сухой тканью. Не используйте агрессивные химикаты или абразивные чистящие средства.
- Вентиляция: Убедитесь, что ampОхлаждающие ребра усилителя очищены от пыли и препятствий, что обеспечивает надлежащее рассеивание тепла.
- Соединения: Регулярно проверяйте все соединения проводов на надежность крепления и наличие коррозии. Ненадежные соединения могут привести к ухудшению работы или повреждению.
- Плавкие предохранители: If a fuse blows, replace it only with a fuse of the exact same type and rating (2 x 40A). Using an incorrect fuse can cause severe damage to the ampУсилитель или электрическая система транспортного средства.

Figure 6.1: Bottom panel of the Hertz HDP4 amplifier, displaying the serial number label and important caution notes regarding insulated screws. This area should be kept clean and free from obstructions.
7. Поиск Неисправностей
Если у вас возникли проблемы с вашим amplifier, прежде чем обращаться в службу поддержки, ознакомьтесь со следующей таблицей:
| Проблема | Возможная причина | Решение |
|---|---|---|
| Нет питания / Ampлифер не включается | Перегоревший предохранитель, ослабленный провод питания/заземления/дистанционного управления, неисправный выход дистанционного управления головного устройства. | Check and replace fuses. Verify all power, ground, and remote connections are secure. Test remote wire for 12V signal. |
| Нет звука | Ослабленные RCA/акустические провода, неправильный выбор входа, amplifier in protection mode, faulty speakers. | Check all signal and speaker connections. Ensure correct input mode is selected. Check for protection light. Test speakers. |
| Искаженный звук | Gain set too high, incorrect crossover settings, poor quality audio source, damaged speakers. | Reduce gain. Adjust crossover settings. Test with a different audio source. Inspect speakers for damage. |
| Amplifier Перегревается | Insufficient ventilation, impedance mismatch, prolonged high-power operation. | Обеспечьте надлежащую циркуляцию воздуха вокруг ampLifier. Проверьте соответствие импеданса динамиков. amplifier's capabilities. Reduce volume or operating time. |
8. Технические характеристики
Technical specifications for the Hertz HDP4 4-Channel 1000W Max D-Class Ampпожизненнее:
- Модель: HDP4
- Бренд: ГЕРЦ
- Тип: 4-Channel D-Class Ampпожизненнее
- Максимальная мощность: 1000W (as per product title, specific RMS not provided in data)
- Размеры продукта (Д x Ш x В): 11.18 x 6.73 x 1.83 дюйма
- Масса: 6.35 фунта
- Томtage: 14.4 Вольта (рабочее)
- Тип крепления: Поверхностный монтаж
- Плавкие предохранители: 2 х 40А
- ASIN: B00AWBU1FQ
9. Информация о гарантии
Hertz products are designed and manufactured to the highest quality standards. For specific warranty terms and conditions, please refer to the warranty card included with your product or visit the official Hertz webСохраните чек о покупке в качестве подтверждения покупки для предъявления гарантийных претензий.
10 Поддержка
For technical assistance, troubleshooting beyond this manual, or warranty inquiries, please contact Hertz customer support through their official website or authorized dealer. Ensure you have your product model (HDP4) and serial number ready when contacting support.
Official Hertz Webсайт: www.hertzaudiovideo.com


