1. Введение
This manual provides detailed instructions for the installation, operation, and maintenance of your JOOAN 4G Solar Security Camera. This outdoor wireless surveillance camera is designed for areas without traditional power or network infrastructure, utilizing 4G cellular connectivity and solar power for continuous operation. Please read this manual thoroughly before use to ensure proper setup and functionality.

Image 1.1: JOOAN 4G Solar Security Camera with its solar panel and a smartphone displaying the camera's live feed, highlighting its 4MP/5MP HD resolution capability.
2. Особенности продукта
- Связь 4G: Operates independently using a SIM card, ideal for remote locations.
- Солнечная энергия: Equipped with a solar panel for continuous charging, reducing the need for external power sources.
- Высокое разрешение: Записывает четкое видео...tage for effective surveillance.
- Цветное ночное видение: Offers multiple night vision modes including infrared, full-color, and smart color night vision for enhanced visibility in low-light conditions up to 10 meters.
- Локальное и облачное хранилище: Supports up to 256GB SD card storage and optional cloud storage for recorded footage.
- Простая установка: Designed for straightforward setup and mounting.
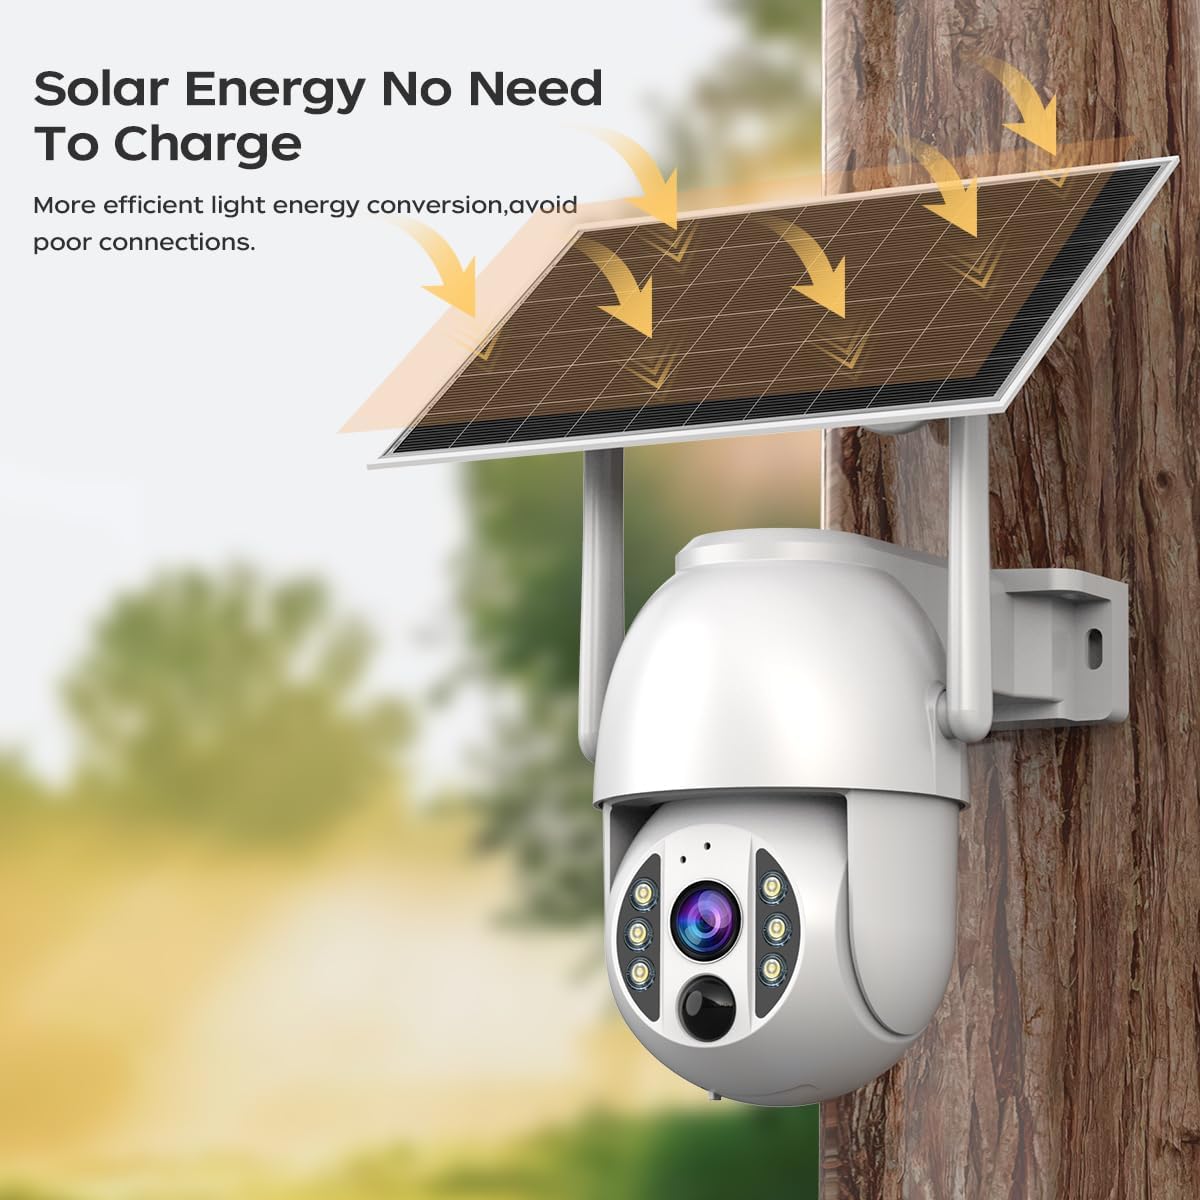
Image 2.1: The JOOAN 4G Solar Security Camera mounted with its solar panel, illustrating its solar energy capability for efficient light energy conversion and avoiding poor connections.
3. Настройка и установка
3.1. Установка SIM-карты и SD-карты
Before mounting, install a 4G SIM card (not included) and an SD card (up to 256GB, not included) into the designated slots on the camera. Ensure the camera is powered off before inserting or removing cards.

Изображение 3.1: Крупный план view of the JOOAN camera's SD card slot, indicating support for cloud storage and a maximum 256GB SD card.
3.2. Этапы монтажа
- Позиционирование и удары: Select a suitable location for the camera and solar panel. Mark the drilling points on the wall. Use a drill to create holes at the marked positions.
- Вставьте распорные винты: Gently tap the expansion screws into the drilled holes until they are flush with the surface.
- Установите камеру: Align the camera bracket with the expansion screws and secure it using the provided screws.
- Полная установка: Attach the solar panel to the camera bracket or mount it separately in a location with ample sunlight. Ensure all connections are secure.

Image 3.2: Visual guide showing the four installation steps: 1. Positioning and punching, 2. Inserting expansion screws, 3. Mounting the camera with screws, and 4. Completing the installation with the solar panel.
3.3. Подключение приложения
Download the official JOOAN app from your smartphone's app store. Follow the in-app instructions to add your camera. There are typically two methods:
- Add APP Phone Code: Scan the QR code displayed on your mobile phone APP with the camera lens from a distance of 20-30cm to add the distribution network.
- Add Camera Body Code: Scan the QR code located on the camera body using the mobile phone APP to add the distribution network.

Image 3.3: Illustration of the two connection methods: scanning the APP phone code or scanning the camera body code to establish a network connection.
4. Операция
4.1. Включение и выключение
The camera automatically powers on when sufficient solar power is available or when connected to a power source. To power off, disconnect the power source and allow the battery to deplete, or use the app if a power-off function is available.
4.2. Жить View и запись
Once connected to the app, you can access the live video feed. The camera supports continuous recording to the SD card or cloud storage (subscription may be required). You can also manually record video or capture screenshots from the live view.
4.3. Обнаружение движения и оповещения
Configure motion detection sensitivity and alert settings within the app. The camera will send notifications to your smartphone when motion is detected. Recorded events can be reviewed in the app's playback section.
4.4 Режимы ночного видения
The camera offers three night vision modes, selectable via the app:
- Инфракрасное ночное видение: Обеспечивает четкие черно-белые изображения в полной темноте.
- Полноцветное ночное видение: Использует встроенные прожекторы для получения цветных изображений в условиях низкой освещенности.
- Интеллектуальное цветное ночное видение: Automatically switches from infrared to full-color vision upon detection of motion or specific events.

Image 4.1: Comparison of the three night vision modes: Infrared night vision, Full color night vision, and Smart color night vision, demonstrating the camera's ability to pick out details in darkness up to 10 meters away.
5. Техническое обслуживание
- Очистка объектива: Регулярно протирайте объектив камеры мягкой сухой тканью, чтобы обеспечить чёткое изображение. Избегайте использования абразивных чистящих средств.
- Очистка солнечной панели: Keep the solar panel free from dust, dirt, and debris to maximize charging efficiency. Clean with a damp ткань по мере необходимости.
- Обновления прошивки: Check the app periodically for available firmware updates to ensure optimal performance and security.
- Состояние аккумулятора: Ensure the solar panel receives adequate sunlight to maintain battery charge. Prolonged periods without sunlight may require temporary charging via a USB power adapter (not included).
6. Поиск Неисправностей
6.1. Камера не подключается к сети 4G
- Убедитесь, что SIM-карта правильно вставлена и активирована с действующим тарифным планом.
- Проверьте уровень сигнала 4G в месте установки камеры.
- Перезагрузите камеру, кратковременно отключив и снова подключив ее питание.
6.2. No Video Feed or Poor Quality
- Verify the camera has sufficient power.
- Check the 4G signal strength.
- Очистите объектив камеры.
6.3. Солнечная панель не заряжает
- Убедитесь, что солнечная панель расположена таким образом, чтобы получать прямой солнечный свет в течение нескольких часов ежедневно.
- Clean any dirt or obstructions from the solar panel surface.
- Проверьте соединительный кабель между солнечной панелью и камерой.
6.4. SD-карта не записывает.
- Убедитесь, что SD-карта правильно вставлена и отформатирована в приложении.
- Проверьте, достаточно ли свободного места на SD-карте.
- Проверьте настройки записи в приложении.
7. Технические характеристики
| Особенность | Деталь |
|---|---|
| Бренд | JOOAN |
| Модель | B0GCFGYCLX |
| Источник питания | На солнечной энергии |
| Протокол подключения | 4G Cellular (SIM card required), Wi-Fi (for initial setup/local access if applicable) |
| Рекомендуемое использование | Внутреннее/наружное видеонаблюдение |
| Специальная характеристика | Легко установить |
| Хранилище | Supports up to 256GB SD card, Cloud Storage (subscription may apply) |
8. Гарантия и поддержка
For warranty information and technical support, please refer to the JOOAN official webили обратитесь в службу поддержки напрямую. Сохраните чек в качестве подтверждения покупки.
Для получения дополнительной помощи посетите: Магазин JOOAN на Amazon