
1. Введение
Thank you for choosing the EasySMX X05PRO PC Controller. This manual provides detailed instructions for setting up, operating, and maintaining your controller. The X05PRO offers versatile connectivity options, advanced features, and multi-platform compatibility for an enhanced gaming experience.
2. Содержимое упаковки
- EasySMX X05PRO PC Controller
- 2.4G беспроводной приемник
- Кабель USB-C для зарядки/передачи данных
- Руководство пользователя (этот документ)
3. Макет продукта
Familiarize yourself with the buttons and components of your EasySMX X05PRO controller.
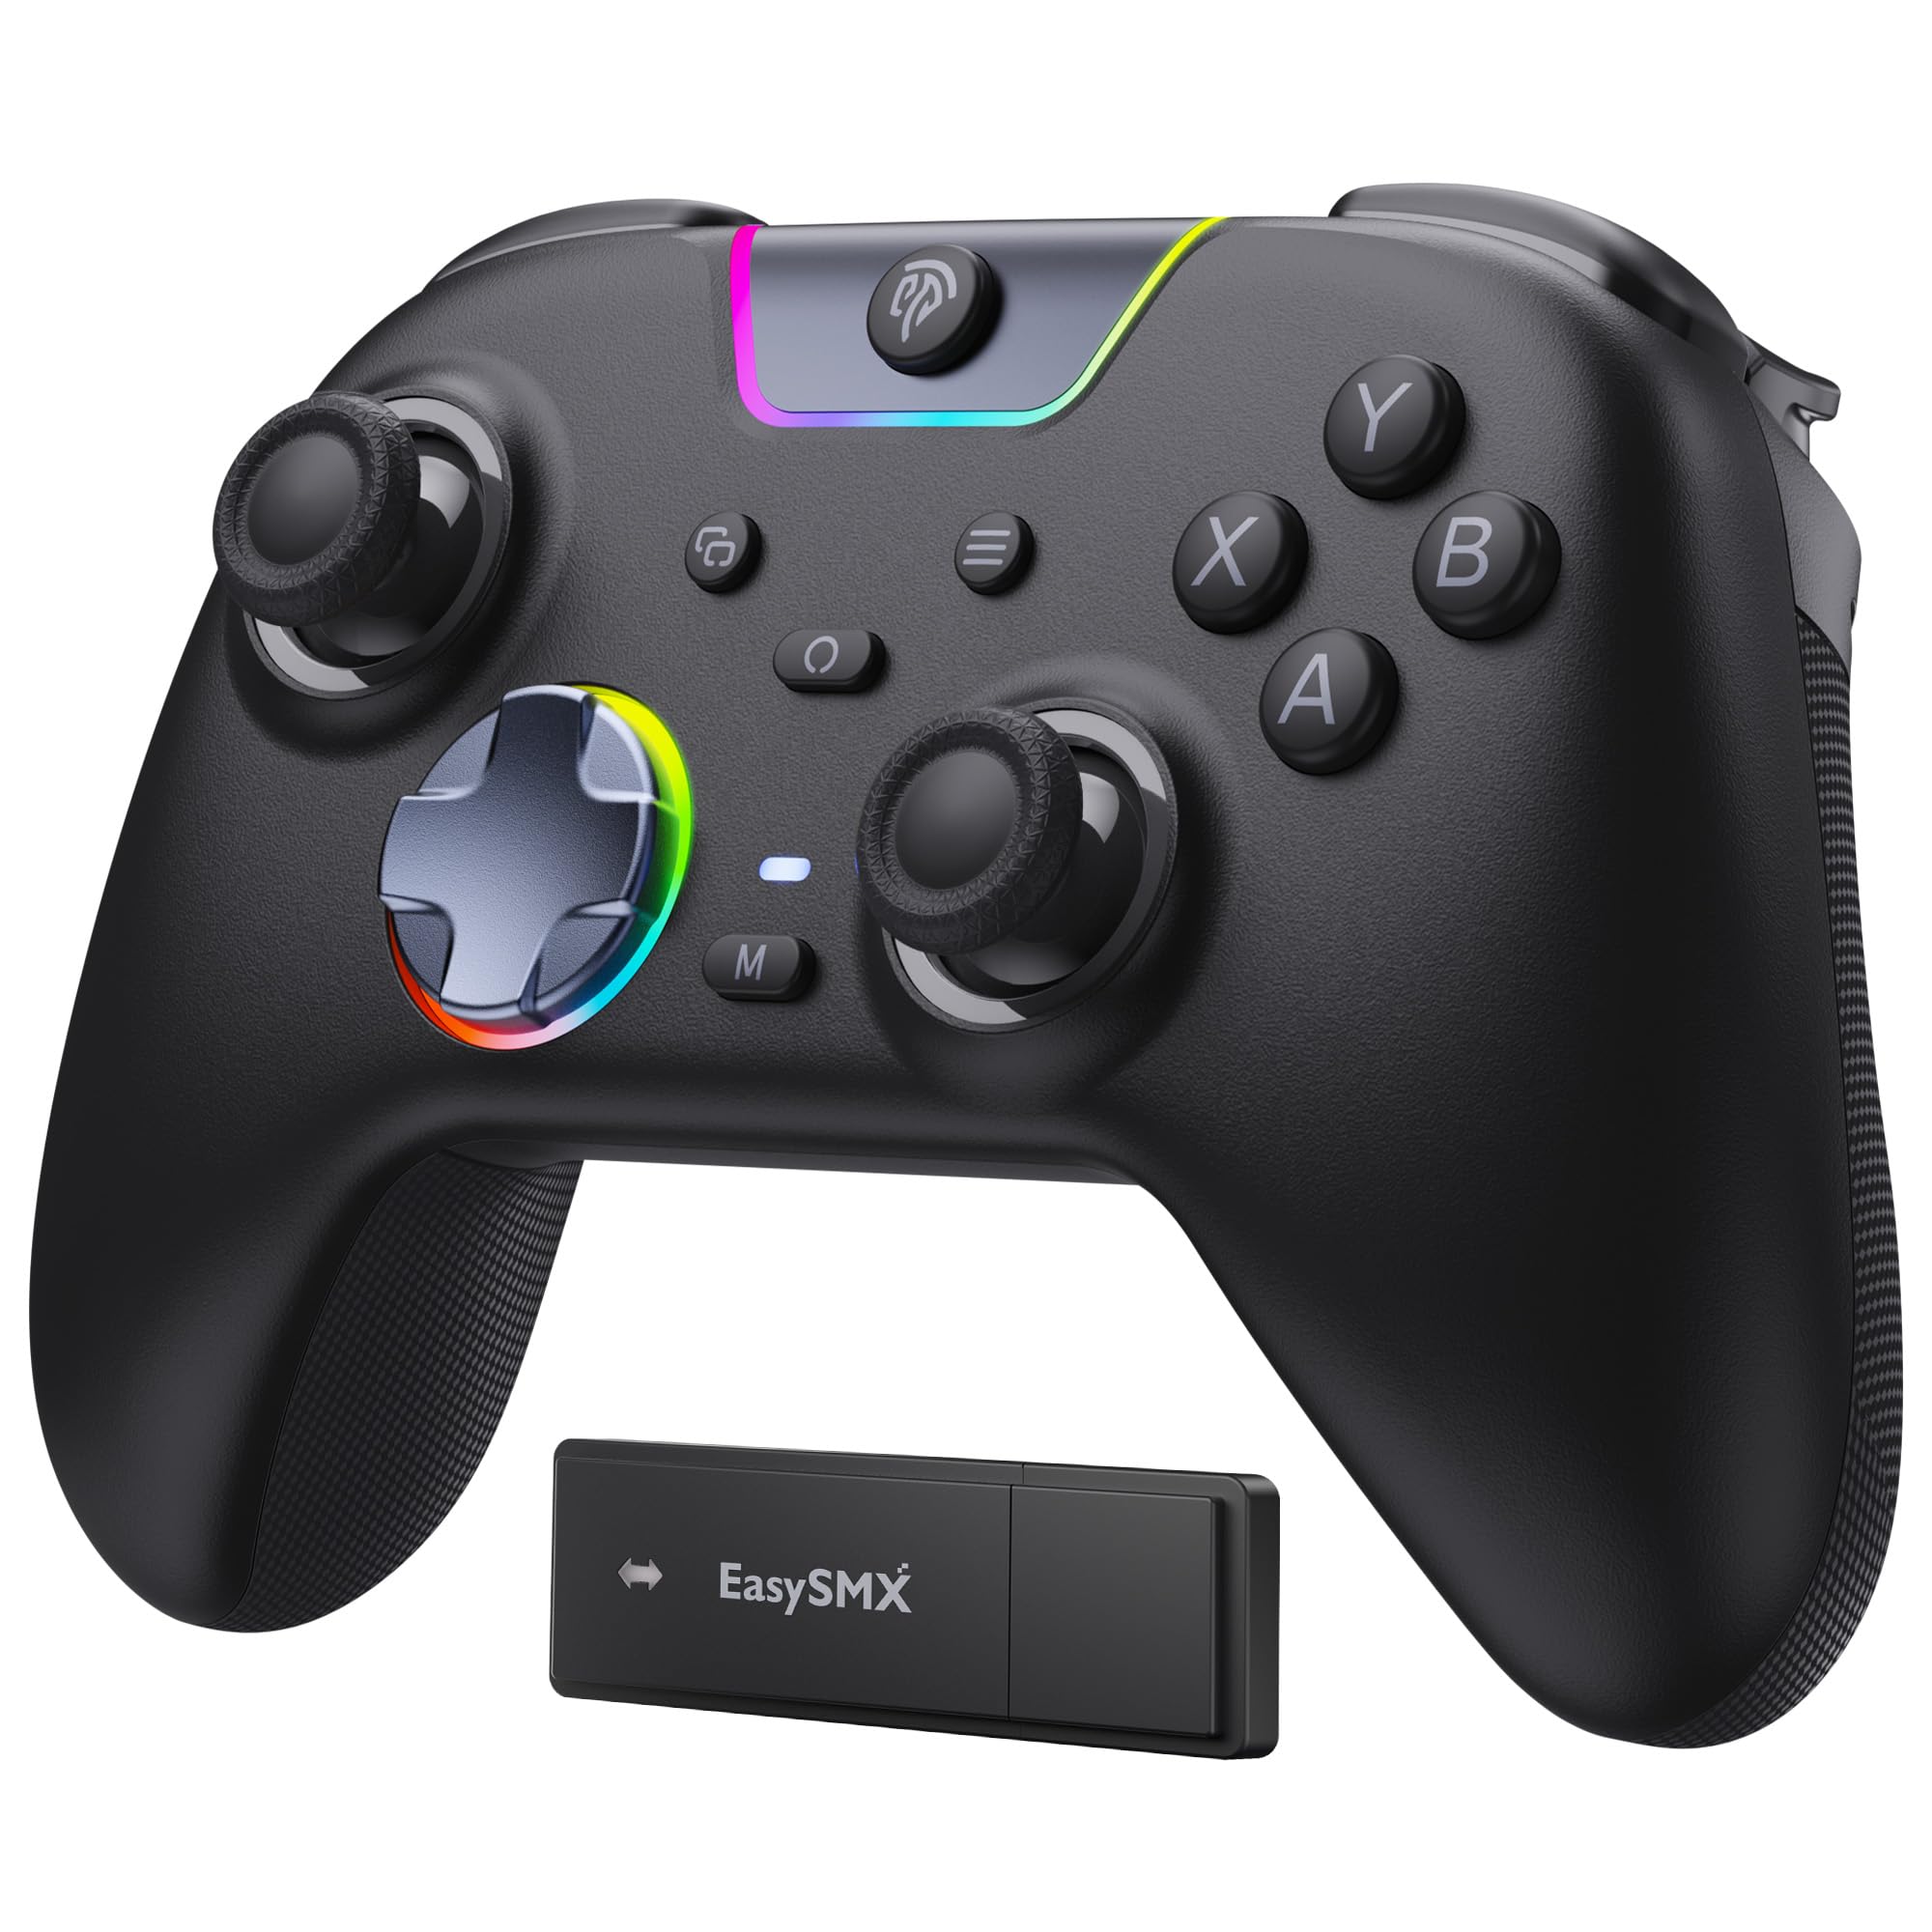
Figure 1: EasySMX X05PRO Controller Overview
- Кнопки A/B/X/Y: Стандартные кнопки действий.
- Крестовина: 8-направленный цифровой вход.
- Левый/правый аналоговые джойстики: Для точного перемещения и управления камерой.
- Кнопки LB/RB: Кнопки левого и правого бампера.
- Триггеры LT/RT: Left and Right Analog Triggers with two-stagе функциональность.
- Главная кнопка: Включает/выключает контроллер и обеспечивает доступ к системным меню.
- Кнопки START/SELECT: Функции, специфичные для игры.
- Кнопки M1/M2: Programmable buttons on the top of the controller.
- Порт USB-C: Для проводного подключения и зарядки.
- Переключатель режимов: For selecting connection modes (if applicable).
4. Настройка и подключение
4.1. 2.4G Wireless Connection (PC Windows)
- Вставьте беспроводной приемник 2.4 ГГц в свободный USB-порт вашего компьютера.
- Press and hold the HOME button on the controller until the indicator lights turn on, indicating it's powered on.
- The controller will automatically connect to the receiver. Once connected, the indicator light will stabilize.
4.2. Bluetooth Connection (Switch, Android, iOS)
- Убедитесь, что Bluetooth на вашем устройстве включен.
- On the controller, press and hold the HOME button along with the appropriate mode button (refer to the controller's specific button combination for Bluetooth pairing, usually a small button near the USB port or a combination with HOME).
- Индикаторные лампочки будут быстро мигать, указывая на режим сопряжения.
- On your device, search for new Bluetooth devices and select "EasySMX X05PRO" (or similar) to pair.
- После сопряжения индикатор на контроллере стабилизируется.
4.3. Wired Connection (PC, Switch, Steam Deck)
- Connect the USB-C end of the cable to the controller and the USB-A end to your device (PC, Switch dock, Steam Deck).
- The controller will automatically be recognized by your device and switch to wired mode.
- This mode is ideal for competitive gaming due to minimal input lag and also allows charging while playing.

Figure 2: Multi-platform Connectivity
5. Инструкция по эксплуатации
5.1. Бесшумные кнопки
The X05PRO features a redesigned full-button structure with silicone dampers, providing ultra-quiet operation. This is ideal for late-night gaming sessions without disturbing others.

Figure 3: Silent Button Design
5.2. Два-Stagэлектронные триггеры Холла
The adjustable trigger locks allow you to switch between short (3mm) and long (9mm) trigger strokes. Short strokes are optimized for rapid firing in FPS games, while long strokes provide precise control for racing games.

Рисунок 4: Два-Stagэлектронные триггеры Холла
5.3. Upgraded 8-Direction D-Pad
The D-pad features a dome switch and concave pivot design, enabling smooth diagonal inputs and precise 8-direction operation, ideal for fighting games and retro titles.

Figure 5: Upgraded 8-Direction D-Pad
5.4. Dynamic RGB Backlight
Customize your gaming experience with dynamic RGB lighting effects. The controller offers various lighting modes and 7 color combinations. Refer to the manual for detailed settings.

Рисунок 6: Динамическая RGB-подсветка
5.5. Программируемые кнопки (M1/M2)
The two additional customizable buttons (M1 and M2) located on the top of the controller are designed to prevent accidental presses during intense gameplay, a common issue with back paddles. These buttons can be programmed to various functions. Consult the full manual for programming instructions.

Рисунок 7: Программируемые кнопки M1/M2
5.6. 1000Hz Polling Rate & Hall Effect Sticks
Experience virtually no input delay with a 1000Hz polling rate in both wired and 2.4G wireless modes. The high-precision 11-bit Hall effect sensors ensure drift-free accuracy and extended lifespan for the joysticks and triggers.

Figure 8: Hall Effect Technology and 1000Hz Polling Rate
5.7 Вибрационная обратная связь
The controller features a 2+2 internal rumble motor system, providing realistic feedback for impacts, drifts, and collisions. Vibration intensity can be adjusted to your preference.

Figure 9: 4-Zone Vibration Feedback
5.8. Функция Турбо
The controller supports a manual Turbo function for rapid, repeated button presses. This feature can be configured for specific action buttons (A/B/X/Y/LB/RB/LT/RT) and offers 3 speed levels.
5.9. Эргономичный захват
The soft-touch silicone coating provides a sweat-resistant, non-slip grip, ensuring comfort during extended gaming sessions.

Figure 10: Ergonomic Grip
6. Зарядка
The controller is equipped with a built-in 1000mAh rechargeable battery, ensuring long playtimes. To charge, connect the controller to a power source using the provided USB-C cable. Charging typically takes approximately 3 hours. An indicator light will show charging status (e.g., red for charging, green for fully charged).
7. Технические характеристики
| Особенность | Описание |
|---|---|
| Номер модели | X05PRO |
| Связность | Проводное подключение (USB-C), беспроводное подключение 2.4 ГГц, Bluetooth. |
| Скорость опроса | 1000 Гц (проводное подключение и 2.4G), 125 Гц (Bluetooth) |
| Емкость аккумулятора | Литий-ионный 1000 мАч |
| Время зарядки | Приблизительно 3 часов |
| Вибрация | 4-zone adjustable rumble motors |
| Триггеры | Два-сtage Hall Effect Triggers (3mm/9mm) |
| Джойстики | Джойстики на эффекте Холла |
| D-Pad | Upgraded 8-direction with dome switch and concave pivot |
| Освещение | Dynamic RGB Backlight (customizable) |
| Программируемые кнопки | М1, М2 |
| Размеры | 18.1 х 14.4 х 7.4 см |
| Масса | 390 г |
| Поддерживаемые платформы | PC (Windows), Steam Deck, Switch, Android, iOS |
8. Техническое обслуживание
- Поддерживайте чистоту контроллера, протирая его сухой мягкой тканью.
- Не подвергайте контроллер воздействию экстремальных температур, влажности или прямых солнечных лучей.
- Не пытайтесь разбирать контроллер, так как это может привести к аннулированию гарантии.
- Когда контроллер не используется, храните его в безопасном месте, чтобы предотвратить его повреждение.
9. Поиск Неисправностей
- Контроллер не подключается:
Ensure the controller is charged. For 2.4G, verify the receiver is properly inserted. For Bluetooth, ensure the device's Bluetooth is on and the controller is in pairing mode. Try restarting both the controller and the device. - Задержка ввода в беспроводном режиме:
Ensure there are no obstructions between the controller and the receiver/device. Move closer to the receiver/device. For critical gaming, consider using a wired connection. - Кнопки или джойстики не реагируют:
Check if the controller is properly connected. If using wired, try a different USB port or cable. If the issue persists, perform a factory reset (refer to the full manual for specific instructions, usually a small reset button or button combination). - Вибрация не работает:
Ensure vibration is enabled in the game settings and on the controller. Some games may require specific in-game support for trigger vibration. - RGB lights not working/customizing:
Refer to the full manual for specific button combinations to adjust RGB modes and colors. Ensure the controller is powered on. - D-Pad diagonal inputs are difficult:
The upgraded D-pad is designed for precision. Practice with the new design. If issues persist, ensure the controller firmware is up to date (check EasySMX support webсайт).
10. Гарантия и поддержка
EasySMX products come with a standard warranty. For specific warranty terms, technical support, or any issues not covered in this manual, please contact EasySMX customer service or visit the official EasySMX website. Please have your product model (X05PRO) and purchase information ready when contacting support.

Figure 11: Technical Compliance Information