
1. Введение
The CamScanner P1 Pro is a portable thermal printer designed for convenient, ink-free printing of documents up to US Letter size (8.5 x 11 inches). It offers versatile connectivity options, including Bluetooth for mobile devices and USB for computers, making it suitable for various environments such as home, office, and travel.
Key features include 300 dpi high-definition output for clear black-and-white prints, a 2600mAh built-in battery for extended use, and support for both roll and folded thermal paper. The printer operates without ink or toner, reducing ongoing costs and maintenance.
2. Что в коробке
Убедитесь, что в комплект поставки вашего товара входят все перечисленные ниже предметы:
- 1x Portable Printer
- 1 х Фланелевая сумка для хранения
- 1x US Letter Size Thermal Roll Paper (inside the Printer)
- 1x зарядный кабель USB-C
- 1x Руководство пользователя

Image: The package contents include the CamScanner P1 Pro printer, a flannel storage bag, a roll of thermal paper, a USB-C charging cable, and a user manual.
3. Настройка
3.1. Загрузка бумаги
The CamScanner P1 Pro supports both roll and folded thermal paper. Ensure you use CamScanner-certified thermal paper for optimal results.
Loading Roll Paper:
- Press the two open cover buttons located on the sides of the printer to open the top cover.
- Insert the thermal paper roll into the designated compartment, ensuring the printing side (usually the smoother side) faces upwards.
- Pull a small length of paper out through the output slot.
- Закройте верхнюю крышку, пока она не защелкнется.

Image: The CamScanner P1 Pro printer with its top cover open, illustrating the correct placement of a thermal paper roll inside the compartment.
Loading Folded Paper:
- Ensure the printer's top cover is closed.
- Gently insert the first sheet of folded thermal paper into the paper entry slot at the back of the printer.
- The printer will automatically feed the paper once it detects it.

Image: The CamScanner P1 Pro printer with a stack of folded thermal paper being fed into the rear paper entry slot.
3.2. Включение и зарядка.
To power on the printer, press and hold the power button for approximately 3 seconds until the indicator light illuminates.
To charge the printer, connect the provided USB-C cable to the printer's charging port and the other end to a 5V/2A power adapter (not included). A full charge typically takes about 3 hours and provides power for up to 188 pages (at 12.5% coverage) or 24-hour standby.

Image: Close-up of the CamScanner P1 Pro printer highlighting the USB-C charging port and indicating a 2600mAh battery capacity, 3-hour full recharge time, and ability to print 200 sheets on a full charge.
3.3. Установка и подключение приложения
The CamScanner P1 Pro printer can be connected via Bluetooth to mobile devices (iOS and Android) or via USB to computers (Windows and macOS).
Для мобильных устройств (Bluetooth):
- Download the CamScanner App from the App Store (iOS) or Google Play Store (Android).
- Убедитесь, что Bluetooth включен на вашем мобильном устройстве.
- Open the CamScanner App, navigate to the printer connection section, and select your P1 Pro printer (CSTPA4300F) from the list of available devices to pair.

Image: The CamScanner P1 Pro printer wirelessly connected via Bluetooth to a smartphone displaying the CamScanner app, ready for printing.
For Computers (USB):
- Visit the CamScanner website (camscanner.com/download) to download and install the appropriate printer driver for your Windows or macOS operating system.
- Подключите принтер к компьютеру с помощью прилагаемого кабеля USB-C.
- Once the driver is installed and the printer is connected, it should appear as an available printer in your computer's print dialogue.
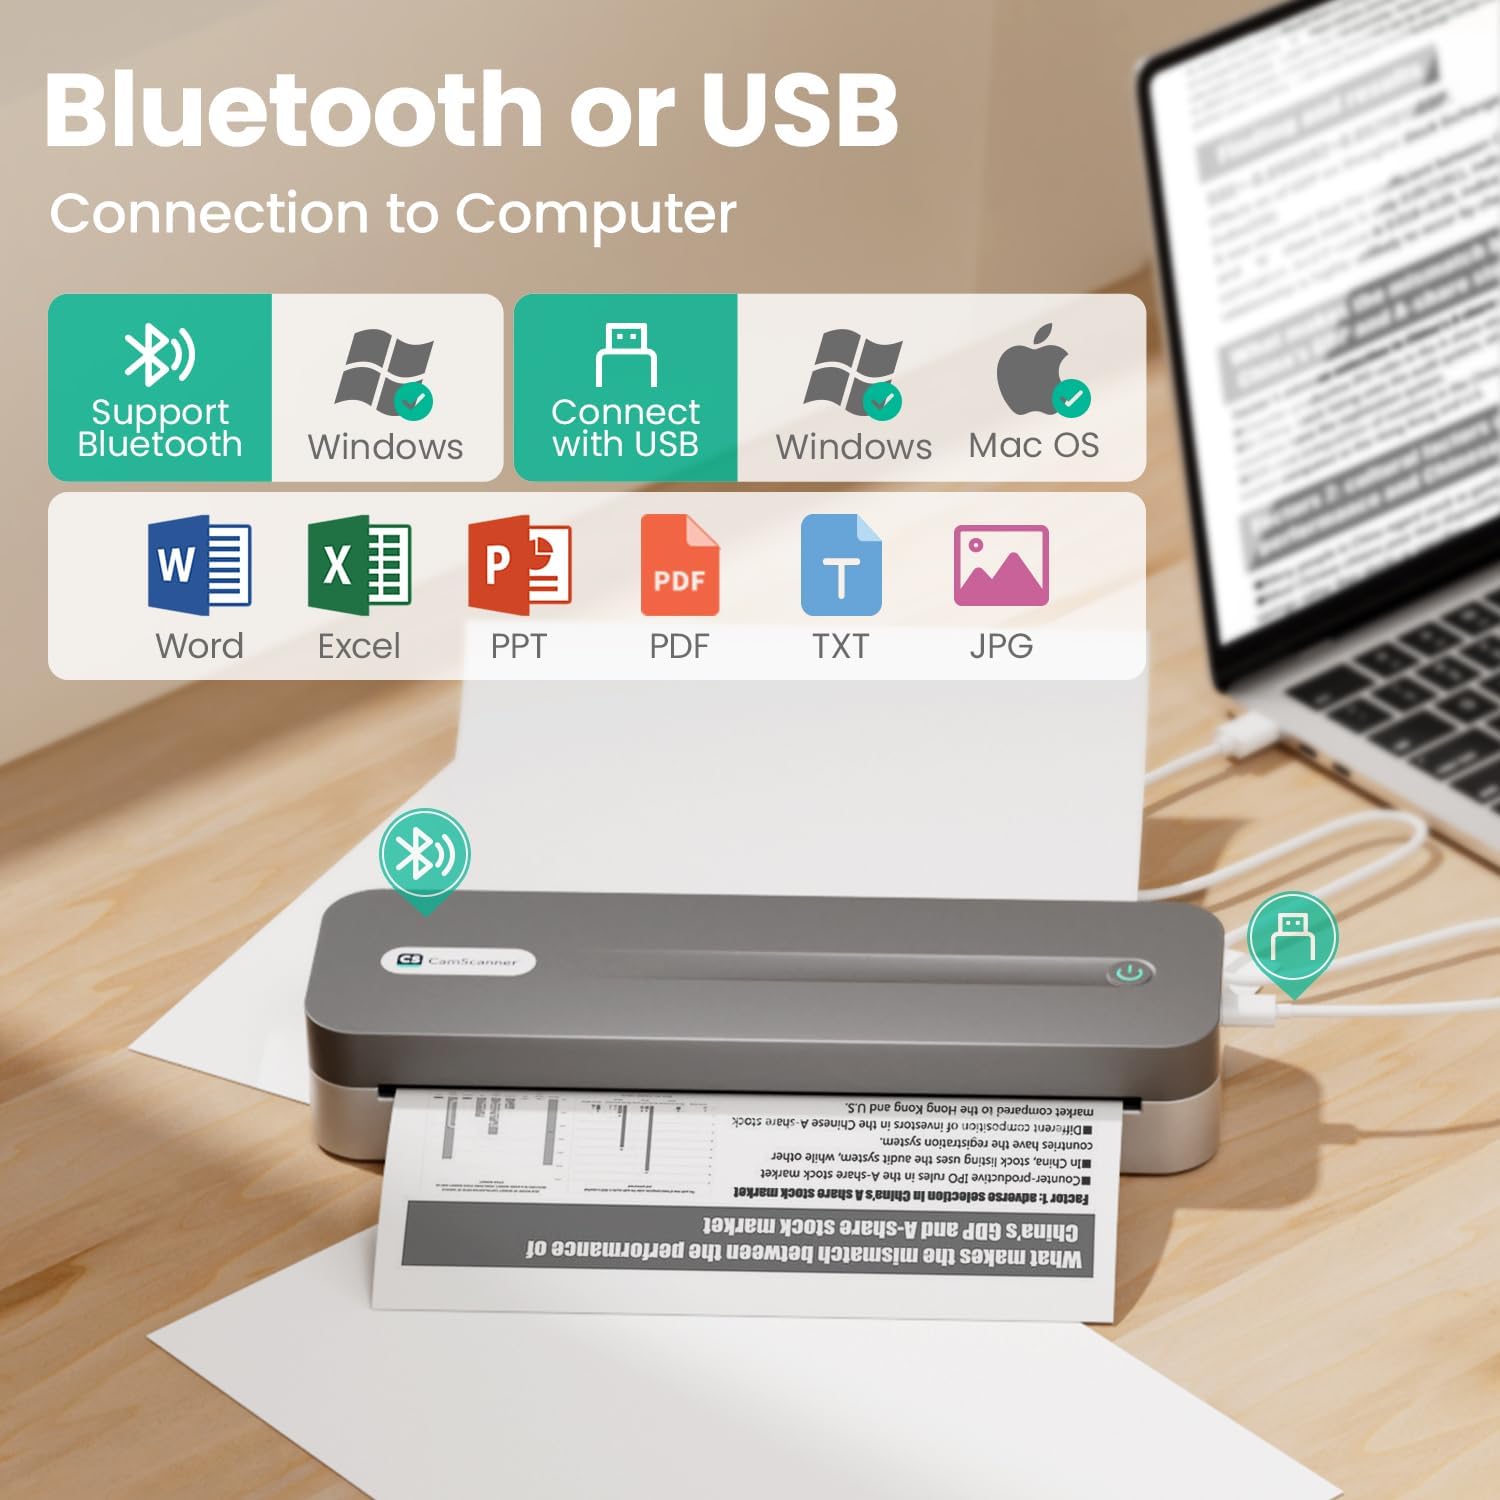
Image: The CamScanner P1 Pro printer connected via USB to a laptop, demonstrating its compatibility with various operating systems and document types.
4. Инструкция по эксплуатации
4.1. Printing from Mobile Device
After successfully connecting your printer via Bluetooth to the CamScanner App:
- Open the CamScanner App and select the document or image you wish to print.
- Tap the 'Print' option within the app.
- Adjust print settings such as page range, number of copies, and print density (light, medium, heavy) as desired.
- Confirm your settings and tap 'Print' to send the job to the printer.
4.2. Printing from Computer
After successfully installing the driver and connecting your printer via USB to your computer:
- Откройте документ или file Вы хотите распечатать на своем компьютере.
- Перейти к 'File' > 'Print' (or use the keyboard shortcut Ctrl+P/Cmd+P).
- In the print dialogue box, select 'CamScanner P1 Pro' (CSTPA4300F) as your printer.
- Adjust any necessary print preferences (e.g., page orientation, scaling) and click 'Print'.
4.3. Official Product Video: How to Print with CamScanner Printer
Video: This official CamScanner video demonstrates the process of printing using the CamScanner P1 Pro Thermal Printer, covering mobile and computer printing methods.
5. Техническое обслуживание
To ensure the longevity and optimal performance of your CamScanner P1 Pro Thermal Printer, follow these maintenance guidelines:
- Уборка: Регулярно протирайте корпус принтера мягкой сухой тканью. Избегайте использования агрессивных химикатов или абразивных материалов.
- Уход за печатающей головкой: If print quality degrades, gently clean the thermal print head with an alcohol swab. Ensure the printer is off and cooled down before cleaning.
- Хранение бумаги: Храните термобумагу в прохладном, сухом месте, вдали от прямых солнечных лучей и источников тепла, чтобы предотвратить преждевременное выцветание или повреждение.
- Уход батареи: For optimal battery life, avoid fully discharging the printer frequently. Charge the device when the battery level is low.
6. Поиск Неисправностей
Вот решения распространенных проблем, с которыми вы можете столкнуться:
| Проблема | Решение |
|---|---|
| Poor Print Quality / Faint Prints | Adjust the print density setting in the CamScanner App (Light, Medium, Heavy). Ensure you are using CamScanner-certified thermal paper. Clean the print head if necessary. |
| Принтер не подключается через Bluetooth. | Ensure Bluetooth is enabled on your mobile device and the printer is powered on. Restart both the printer and your mobile device. Try re-pairing the device through the CamScanner App. |
| Printer Not Connecting via USB | Verify the USB cable is securely connected to both the printer and the computer. Ensure the correct printer driver is installed on your computer. Restart both the printer and the computer. |
| Замятие бумаги | Power off the printer. Open the top cover and carefully remove any jammed paper. Ensure paper is loaded correctly and is not wrinkled or torn. |
| Аккумулятор не заряжается | Ensure you are using the original USB-C cable and a 5V/2A power adapter. Check if the charging port is clean and free of debris. If the indicator light does not turn on, charge for 1 hour and try again. |
7. Технические характеристики
| Особенность | Спецификация |
|---|---|
| Название модели | CSTPA4300F |
| Бренд | CamScanner |
| Технология печати | Термальный |
| Технология связи | Bluetooth, USB |
| Максимальный размер носителя | Формат письма (8.5 x 11 дюймов) |
| Максимальное разрешение черно-белой печати | 300 х 300dpi |
| Максимальная емкость входного листа | 22 (for roll paper) |
| Вес товара | 1.6 фунта |
| Размеры продукта | 10.35 x 1.81 x 3.07 дюйма |
| Аккумулятор | 2600 мАч (в комплекте 1 нестандартная батарея) |
| Вывод на принтер | Монохромный |
| Специальная характеристика | Портативный |
8. Гарантия и поддержка
The CamScanner P1 Pro Thermal Printer comes with a Limited Warranty. For specific terms and conditions, please refer to the warranty information provided with your product or contact CamScanner customer support.
If you require technical assistance, troubleshooting, or have questions regarding your product, please visit the official CamScanner website or contact their customer support team for further assistance.