1. Введение
This manual provides detailed instructions for the installation, operation, and maintenance of your ELUSH 60Amp MPPT Solar Charge Controller. This device is designed to efficiently manage power from your solar panels to charge various battery types, including LiFePO4, AGM, and Gel batteries, in 12V, 24V, and 48V systems.
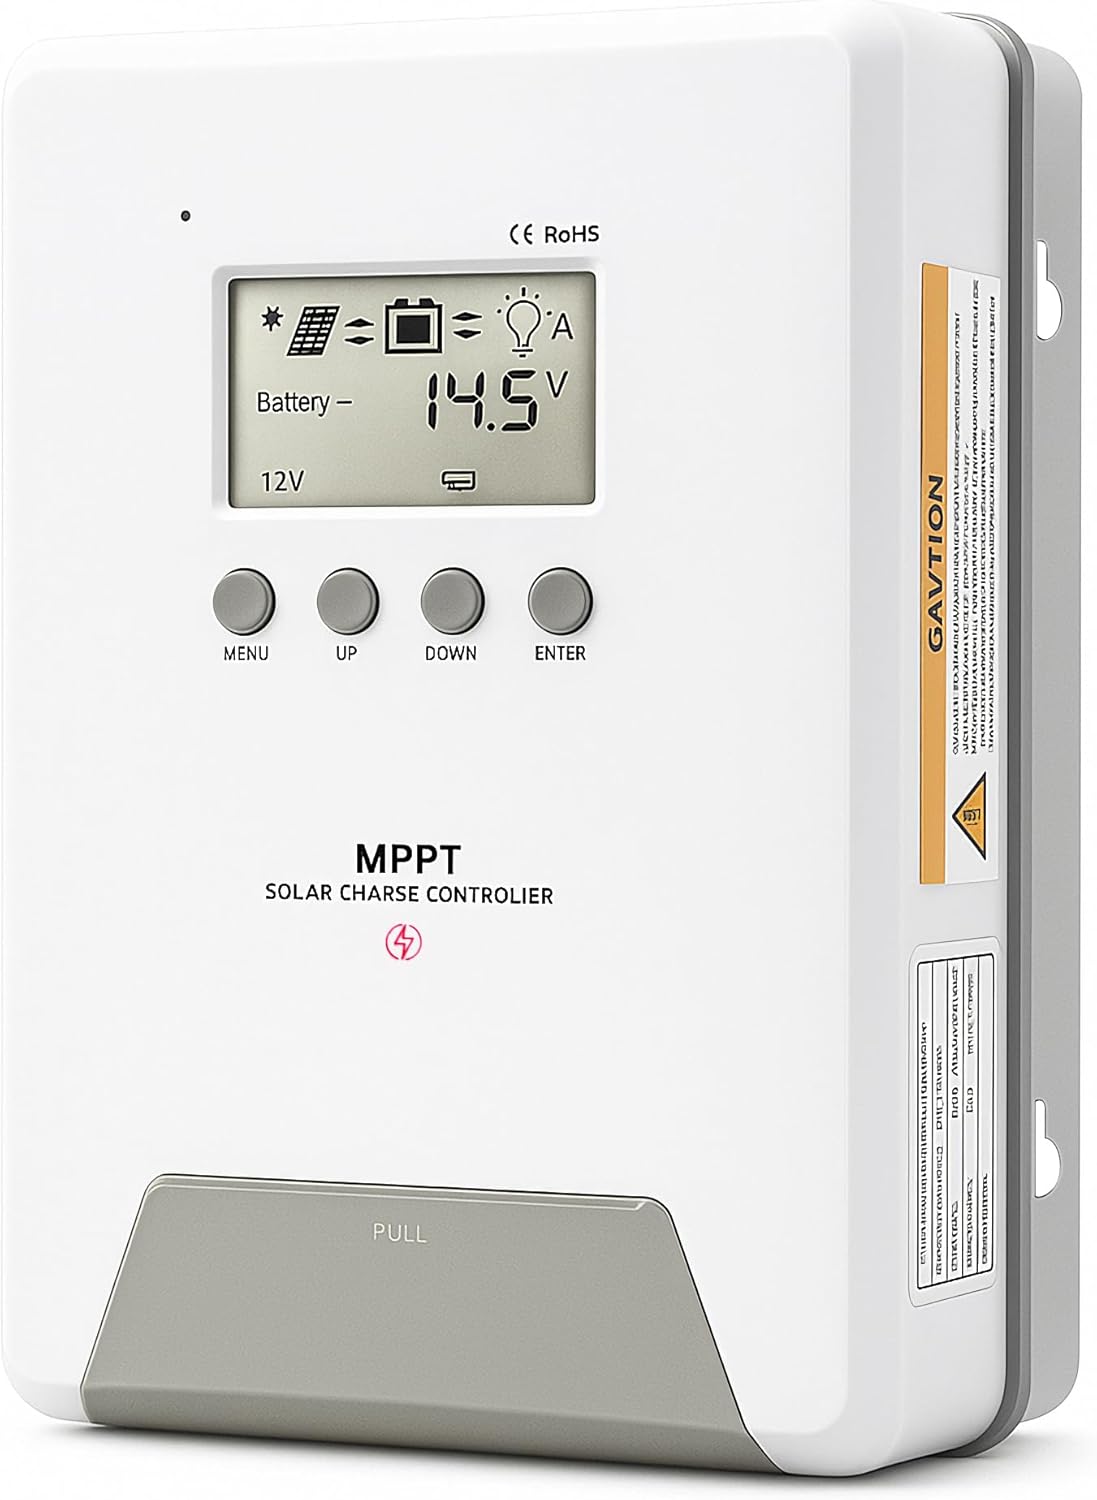
Image 1.1: ELUSH 60Amp MPPT Solar Charge Controller.
2.Основные характеристики
- Усовершенствованная технология MPPT: Maximizes energy harvest from solar panels with tracking efficiency no less than 99% and peak conversion efficiency up to 98%.
- System Auto-Detection: Automatically detects 12V, 24V, and 48V DC system voltages upon startup.
- Широкая совместимость с различными типами батарей: Supports Sealed (AGM), Gel, Flooded lead-acid batteries, and Lithium batteries (LiFePO4, Ternary Lithium/Li-ion).
- Четкий ЖК-дисплей: Обеспечивает мониторинг фотоэлектрической мощности в режиме реального времени.tagе, объем аккумулятораtage/current, charging power, accumulated energy generation, and load status.
- Essential Built-in Protections: Includes safeguards against overvoltagе, сверхток, пониженное напряжениеtagт. е. и высокой температурой.
- Эффективное рассеивание тепла: Features a high-quality aluminum heatsink for stable operation and optimal performance.

Image 2.1: MPPT Technology highlighting 99% tracking efficiency and 98% peak conversion efficiency.
3. Safety Information and System Protection
The ELUSH MPPT Solar Charge Controller is equipped with multiple protection features to ensure safe and reliable operation of your solar power system. Always adhere to local electrical codes and safety guidelines during installation and operation.
- Over-discharging Protection: Prevents batteries from being discharged below a safe voltagуровень е.
- Защита от перегрузки: Safeguards against excessive current draw from the load terminals.
- Short-circuiting Protection: Protects against short circuits in the solar panel, battery, or load circuits.
- Защита от обратной полярности: Prevents damage from incorrect battery or solar panel connections.
- Защита от перезарядки: Ensures batteries are not overcharged, extending their lifespan.
- Температурная компенсация: Adjusts charging parameters based on battery temperature for optimal charging.
- Защита от обратного тока: Предотвращает обратный ток от батареи к солнечной панели в ночное время.

Image 3.1: Visual representation of the controller's system protection features.
4. Установка и подключение
Правильная установка имеет решающее значение для безопасной и эффективной работы вашего контроллера заряда солнечных батарей. Внимательно следуйте этим шагам.
4.1 Последовательность подключения
Во избежание повреждений всегда подключайте компоненты в следующем порядке:
- Подключить аккумулятор: Connect the battery to the controller's battery terminals. Ensure correct polarity (+ to + and - to -). The battery terminals should be installed with safety fuses. Ensure the distance does not exceed 150mm.
- Подключите нагрузку: Подключите нагрузки постоянного тока к клеммам нагрузки контроллера.
- Connect the solar panel: Connect the solar panel to the controller's solar energy terminals. Ensure correct polarity.
- Power on the controller: The controller will automatically power on once all connections are secure.
Примечание: If you want to connect an inverter, connect it directly to the battery, not to the load terminal of the controller.

Image 4.1: Diagram showing the connection points for solar energy, battery, and load.

Image 4.2: Step-by-step visual guide for connecting the system components.
4.2 Hidden Installation Wiring
For a clean and secure installation, the wiring can be routed and hidden. After all connections are properly made and tested, tighten the screws on the terminals and close the bottom cover of the controller to complete the installation. This protects the wiring and provides a neat appearance.
5. Инструкция по эксплуатации
The controller features an intuitive LCD display and buttons for monitoring and configuration.
5.1 ЖК-дисплей и кнопки
The LCD screen provides real-time information about your system. The buttons allow you to navigate menus and adjust settings.
- Датчик температуры: Located on the controller, it measures ambient temperature for accurate charging compensation.
- ЖК-дисплей: Shows PV voltagе, объем аккумулятораtage, charging current, load status, and other system parameters.
- Кнопка МЕНЮ: Used to enter and exit menu settings.
- Кнопка ВВЕРХ: Navigates upwards through menu options or increases values.
- Кнопка ВНИЗ: Navigates downwards through menu options or decreases values.
- Кнопка ENTER: Подтверждает выбор или входит в подменю.
Image 5.1: The controller's LCD display and button layout for user interaction.
5.2 Автоматическая громкостьtage Recognition and Battery Compatibility
The controller automatically detects the system voltage (12V, 24V, or 48V) upon startup. It is compatible with a wide range of battery types, ensuring efficient and safe charging for your specific setup.
- Lithium-ion batteries (Li): For standard lithium-ion chemistries.
- Lithium Iron Phosphate batteries (LiFePO4): Specifically designed for LiFePO4 batteries.
- Lead-acid batteries (BAT): Includes Sealed (AGM), Gel, and Flooded types.

Image 5.2: Illustration of automatic voltage recognition and compatibility with various battery types.
6. Технические характеристики
| Бренд | ELUSH |
| Номер модели | DM60A |
| Текущий рейтинг | 60А |
| Том системыtage | 12V/24V/48V Auto Detection |
| Максимальный входной объем PVtage | 150В |
| Материал | Алюминий |
| Тип дисплея | ЖК-дисплей |
| Цвет | Черный |
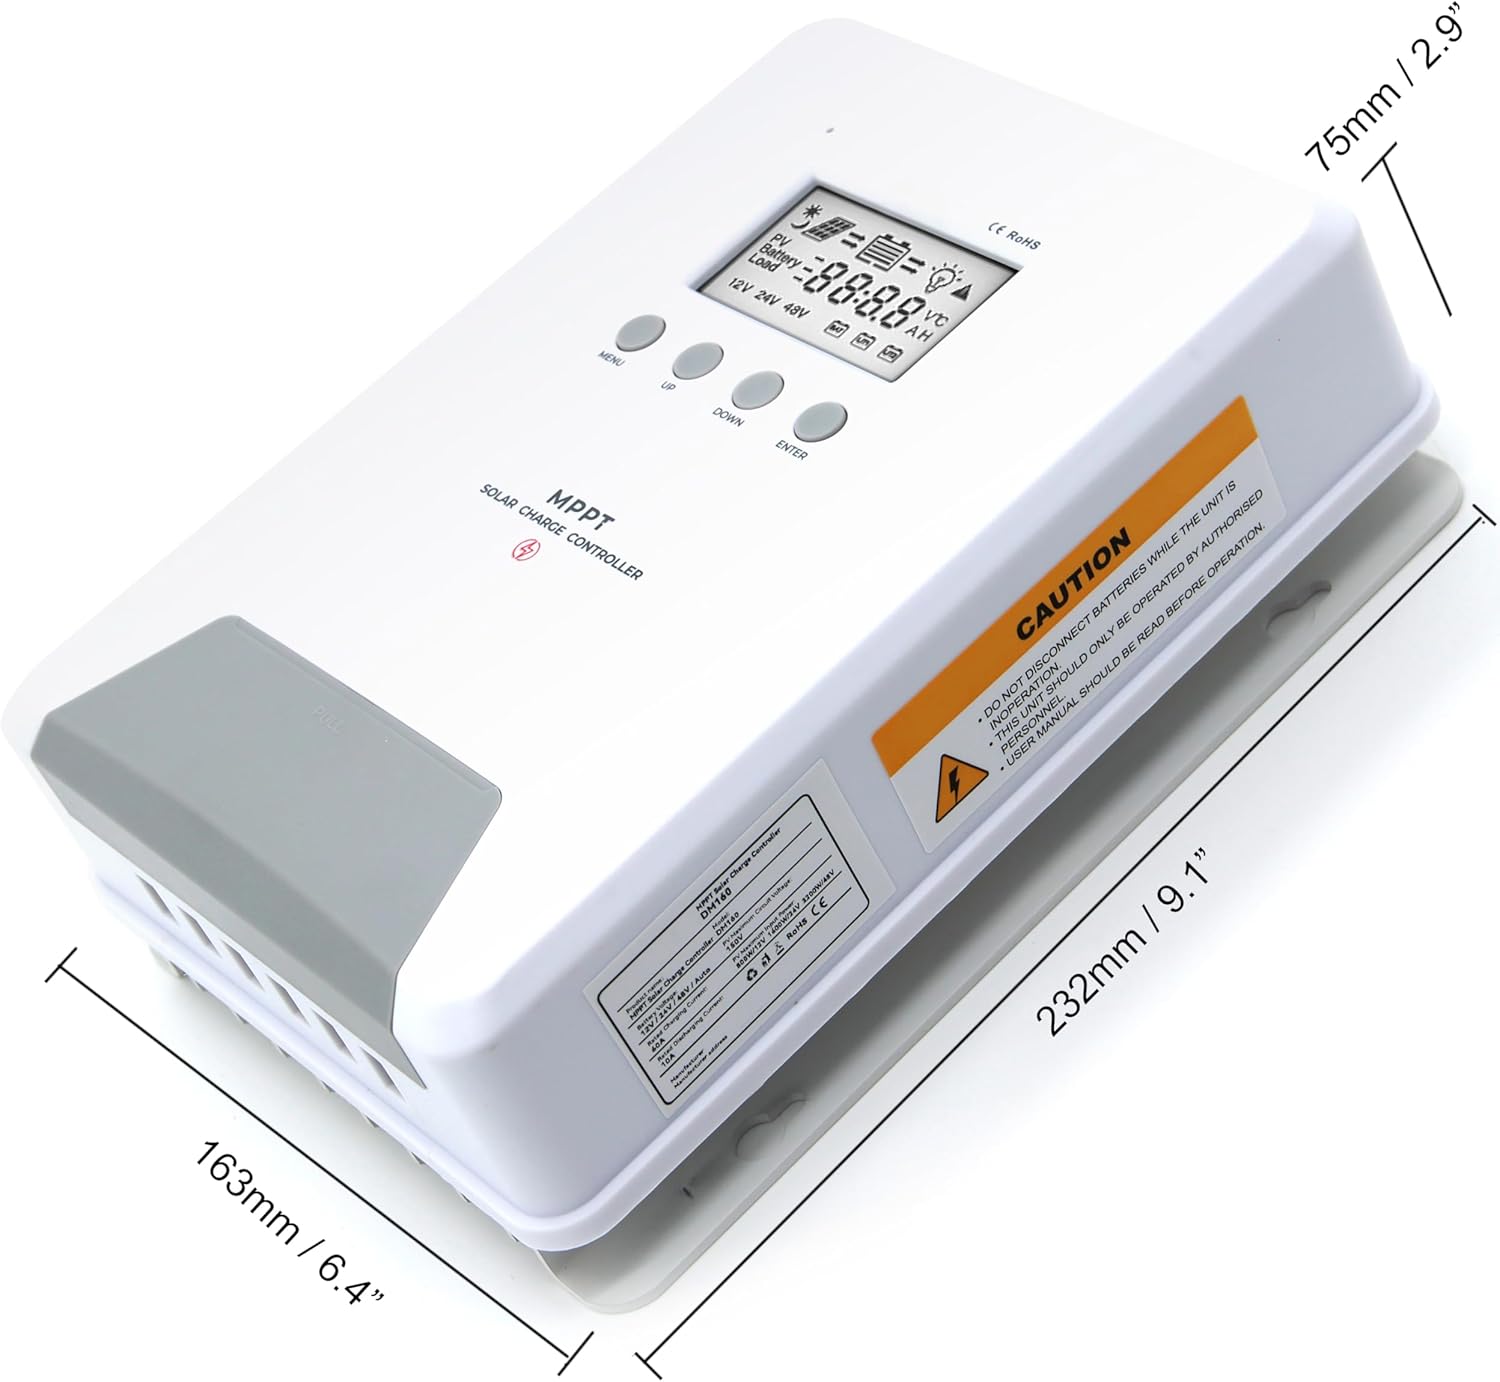
Image 6.1: Physical dimensions of the ELUSH 60Amp MPPT Solar Charge Controller.
7. Техническое обслуживание
Для обеспечения оптимальной производительности и долговечности вашего контроллера заряда солнечных батарей рекомендуется регулярное техническое обслуживание:
- Проверьте соединения: Периодически проверяйте надежность всех соединений проводки и отсутствие коррозии. Неплотные соединения могут привести к перегреву и повреждению.
- Очистите контроллер: Содержите контроллер в чистоте, без пыли и мусора. Протирайте внешнюю поверхность сухой тканью. Убедитесь, что вентиляционные отверстия не заблокированы.
- Производительность монитора: Regularly check the LCD display for normal operating parameters. Note any unusual readings or error codes.
- Состояние аккумулятора: Обеспечьте надлежащий уход за батареями в соответствии с рекомендациями производителя.
8. Поиск Неисправностей
If you encounter issues with your ELUSH MPPT Solar Charge Controller, refer to the following basic troubleshooting steps:
- Нет дисплея/нет питания: Проверьте соединения аккумулятора и убедитесь, что уровень заряда аккумулятораtage is within the controller's operating range. Verify fuses are intact.
- Аккумулятор не заряжается: Confirm solar panel connections and polarity. Check for sufficient sunlight and ensure solar panel voltage находится выше уровня заряда батареи.tage. Verify battery type settings are correct.
- Загрузка не работает: Check load connections and ensure the load current does not exceed the controller's rating. Verify load output settings on the controller.
- Коды ошибок: If the LCD displays an error code, consult the full product manual (if available) or contact technical support for specific guidance.
- Перегрев: Ensure the controller is installed in a well-ventilated area, away from direct sunlight or heat sources. Check for any obstructions to the heatsink.
9. Гарантия и поддержка
ELUSH provides professional technical support for its products. If you have any questions, require assistance with installation, operation, or troubleshooting, please feel free to contact us. Refer to your purchase documentation for specific warranty terms and contact information.