Введение
The Sper Scientific 2 Channel Digital Lab + Kitchen Timer Model 810002 is a versatile device featuring two independent countdown/count-up timers. It is designed for precise time management in various environments, including laboratories, kitchens, and educational settings. The timer includes a large display, audible alarms, and color-coded LED indicators for clear and reliable notifications.
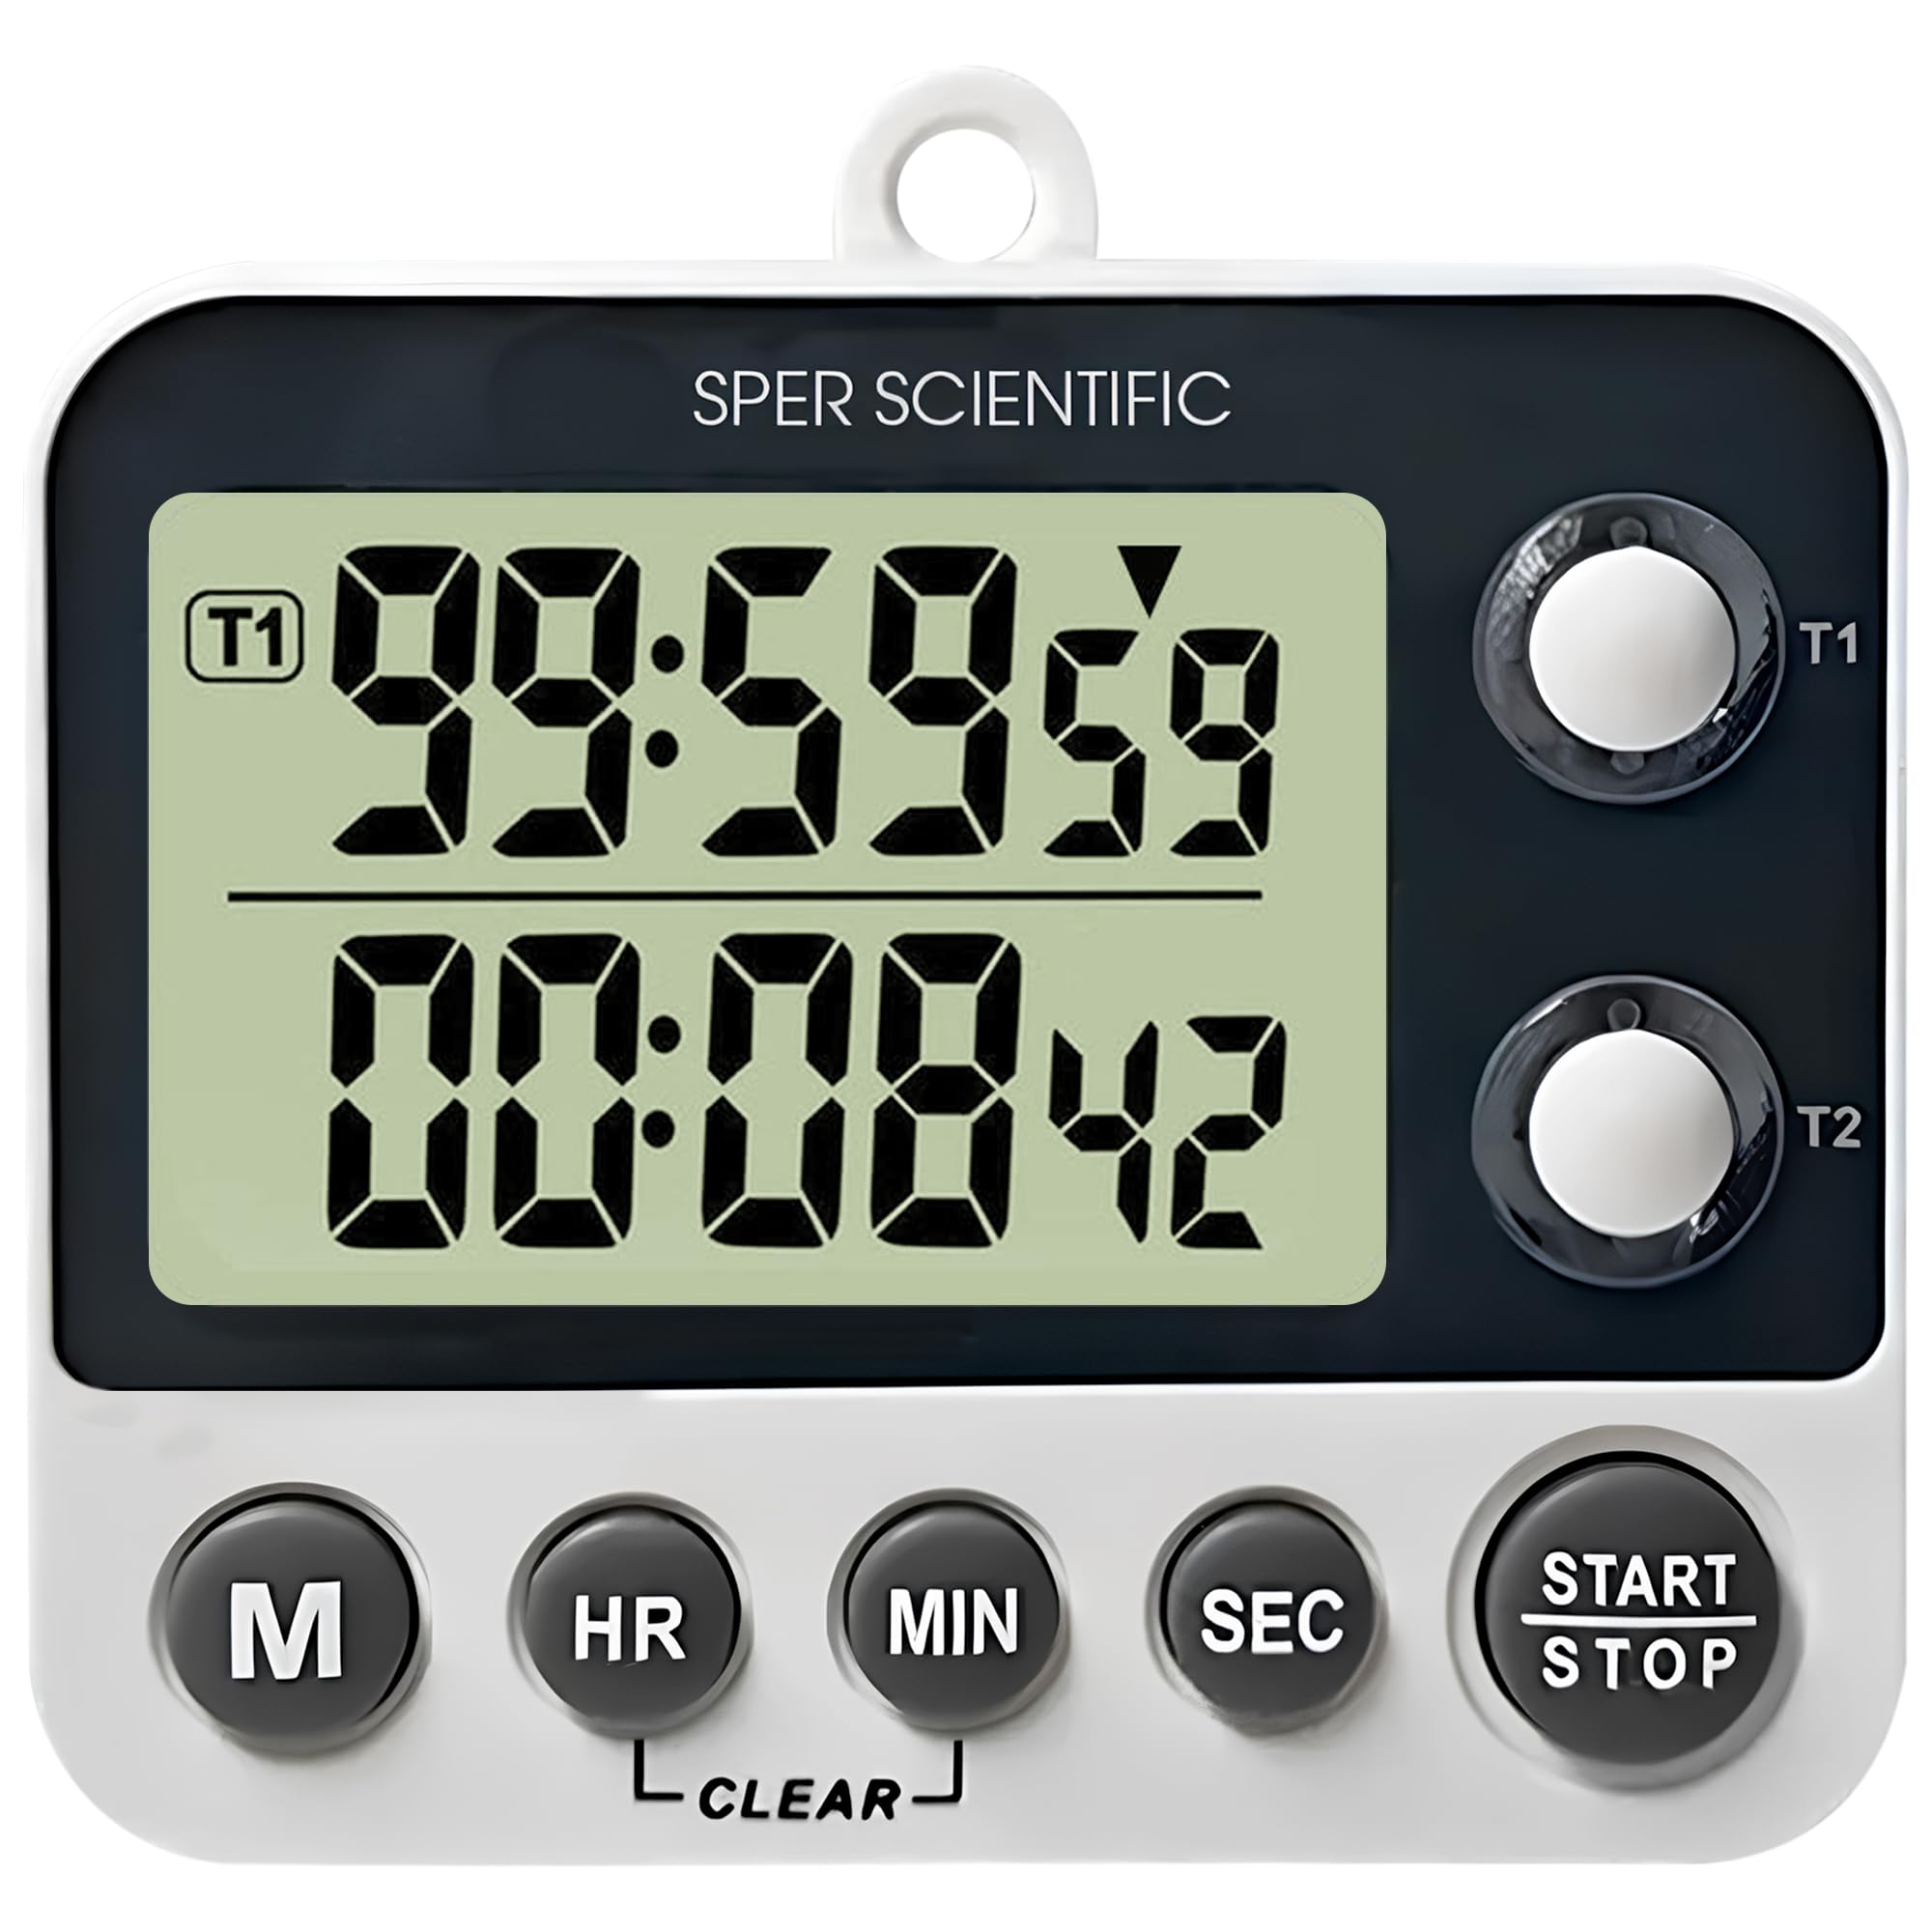
Figure 1: Sper Scientific 2 Channel Digital Timer Model 810002
Основные характеристики
- Функция двойного таймера: Two independent countdown/count-up timers allow simultaneous tracking of multiple tasks.
- Легко читаемый дисплей: A large LCD screen with 0.75-inch digits ensures clear visibility.
- Loud Alarm & LED Alerts: Provides audible alarms and color-coded LED indicator lights for distinct notifications.
- Несколько вариантов монтажа: Features a folding stand, magnetic back, and a wall hanger for flexible placement.
- Timer & Clock Modes: Easily switch between timer and clock functions for enhanced versatility.

Рисунок 2: Болееview of the timer's key features including large display, loud alarm, timer & clock modes, and magnetic back.

Рисунок 3: Подробная информация view of the timer's easy-to-read display, showing its 0.75-inch digit size and overall product dimensions.

Figure 4: Illustration of the timer's loud alarm and color-coded LED alerts, indicating active timers and notifications.

Figure 5: Demonstration of the timer's multiple mounting options, including magnets, a wall hanger, and a folding stand.
Настраивать
Установка аккумулятора
- Найдите отсек для батареек на задней панели таймера.
- Откройте крышку батарейного отсека.
- Вставьте две батарейки типа ААА, соблюдая правильную полярность (+ и -).
- Плотно закройте крышку батарейного отсека.
Варианты монтажа
- Складная подставка: Pull out the integrated stand on the back of the timer to place it on a flat surface.
- Магнитная спинка: The timer features magnets on its back for attachment to metallic surfaces like refrigerators or lab equipment.
- Wall Hanger: Use the built-in hook to hang the timer on a nail or screw on a wall.
Инструкция по эксплуатации
Включение/выключение питания
The timer powers on automatically when batteries are inserted. There is no dedicated power button. To turn off, remove the batteries.
Switching Modes (Timer/Clock)
Press the 'M' button to cycle between Timer 1, Timer 2, and Clock modes.
Установка таймеров (обратного отсчета)
- In Timer 1 or Timer 2 mode, press the 'HR', 'MIN', or 'SEC' buttons to set the desired countdown time. Each press increases the value. Hold the button for faster adjustment.
- Press the 'START/STOP' button to begin the countdown.
- To pause the countdown, press 'START/STOP' again. Press it once more to resume.
- When the timer reaches zero, an audible alarm will sound, and the corresponding LED will flash.
- Нажмите любую кнопку, чтобы выключить будильник.
- To clear the set time, press the 'CLEAR' button.
Count-Up Function
- Ensure the timer is in Timer 1 or Timer 2 mode and the display shows '00:00:00'. If not, press the 'CLEAR' button.
- Press the 'START/STOP' button to begin counting up from zero.
- To pause the count-up, press 'START/STOP' again. Press it once more to resume.
- To reset the count-up timer to zero, press the 'CLEAR' button.
Setting Clock Mode
- In Clock mode, press and hold the 'M' button until the hour digits begin to flash.
- Для установки времени используйте кнопку «ЧСС».
- Press the 'M' button again to select the minute digits, then use the 'MIN' button to adjust the minutes.
- Press the 'M' button once more to confirm the time setting.
Обслуживание
Уборка
Протрите таймер мягкой, damp Протирайте тканью. Не используйте абразивные чистящие средства, растворители и не погружайте устройство в воду.
Замена батареи
If the display becomes dim or the timer functions erratically, replace the batteries. Always use fresh AAA batteries and dispose of old batteries responsibly.
Поиск неисправностей
- Таймер не включается: Ensure batteries are correctly installed and are not depleted. Replace batteries if necessary.
- Дисплей тусклый или пустой: Обычно это указывает на низкий уровень заряда батареи. Замените батареи.
- Сигнализация не срабатывает: Check if the timer is in a mode where the alarm is expected. Ensure the timer is not muted (if applicable, though this model has a loud alarm).
- Отображается некорректное время: Reset the clock following the 'Setting Clock Mode' instructions.
Технические характеристики
| Особенность | Деталь |
|---|---|
| Модель | 810002 |
| Бренд | Sper Scientific |
| Размеры продукта (Д x Ш x В) | 0.87" x 3.25" x 2.63" |
| Вес товара | 0.12 Килограмма |
| Размер экрана | 0.75 дюйма |
| Number of Operational Settings | 3 |
| СКП | 816366026574 |
Гарантия и поддержка
For warranty information, technical support, or service inquiries, please contact Sper Scientific directly. Refer to the official Sper Scientific webАктуальную контактную информацию и условия гарантии можно найти на сайте или на упаковке продукта.
You can visit the Sper Scientific store for more information: Sper Scientific Store