1. Введение
The CAFELFFE MK606 is a versatile 5-in-1 coffee machine designed to brew a variety of coffee beverages. It supports Nespresso original capsules, Dolce Gusto capsules, K-Cup capsules, ESE pods, and ground coffee. Featuring a 19-bar pressure pump and options for both hot and cold extraction, this machine offers convenience and flexibility for your coffee preferences.

Image 1.1: The CAFELFFE MK606 coffee machine showcasing its 5-in-1 compatibility with different coffee systems.
2. Инструкции по технике безопасности
- Автоматическое отключение: The machine automatically turns off after 15 minutes of inactivity to conserve energy and enhance safety.
- Dry Protection: The machine is equipped with dry protection to prevent damage if the water tank runs empty during operation.
- Бак для воды: The removable water tank has a capacity of 600 ml and is BPA-free. Ensure it is properly seated before use.
- Источник питания: Use with AC 220-240 V, 60 Hz power standards.
- Размер чашки: Accommodates cups or glasses up to 9.5 cm in height when the drip tray is removed.
3. Компоненты продукта
The CAFELFFE MK606 coffee machine includes the main unit, a removable water tank, and various adapters for different coffee types. A milk frother is also included for preparing milk-based beverages.
- Основной блок кофемашины
- Removable Water Tank (600ml)
- Nespresso Capsule Adapter
- Dolce Gusto Capsule Adapter
- K-Cup Capsule Adapter
- ESE Pods Adapter
- Адаптер для молотого кофе
- Вспениватель молока
- Cleaning Punch Pen

Image 3.1: The five different adapters for various coffee systems, including Nespresso, Dolce Gusto, K-Cup, ESE pods, and ground coffee.
4. Настройка
4.1 Начальная подготовка
- Unpack the coffee machine and all its components.
- Wash the water tank and drip tray with warm, soapy water, then rinse thoroughly.
- Наполните резервуар для воды свежей чистой водой.
4.2 First Use (Priming the Machine)
Before brewing coffee for the first time, it is essential to prime the machine to ensure the internal circuit is filled with water.
- Insert the provided pipe into the water entrance of the machine.
- Fill the water tank and inject water from the pipe into the machine until the internal circuit is full.
- Perform a rinse cycle without any coffee capsule or ground coffee. Place a cup under the dispenser, press the power button, and let water run through. Repeat this process 2-3 times.

Image 4.1: Priming the machine by injecting water into the internal circuit before first use.
5. Инструкция по эксплуатации
5.1 Включение
Press the On/Off button to power on the machine. The indicator lights will illuminate.
5.2 Selecting Coffee Type and Adapter
Choose the appropriate adapter for your desired coffee type (Nespresso, Dolce Gusto, K-Cup, ESE pod, or ground coffee). Open the adapter accessory, insert the capsule or ground coffee, and then insert the adapter into the machine. Press the handle down to secure it.
5.3 Setting Brewing Volume
The machine offers 7 preset brewing volumes. Observe the suggested water volume on your capsule (if applicable) or adjust according to your preference. Use the volume selection buttons to choose the desired amount of coffee.

Image 5.1: Reference guide for 7 preset brewing volumes, indicating suggested times for various capsule types.

Image 5.2: Detailed chart showing 7 water volume levels and corresponding coffee recipes.
5.4 Режим горячего заваривания
- Ensure the machine is powered on. The hot brew mode is the default.
- The machine will preheat for approximately 35 seconds.
- Place your coffee cup under the dispenser.
- Press the coffee button to start brewing.
5.5 Режим холодного заваривания
- With the machine powered on, press and hold the On/Off button for 2 seconds to enter cold brew mode. The cold brew indicator light will illuminate.
- Add ice cubes to your cup first, if desired.
- Поставьте чашку под диспенсер.
- Press the coffee button to start brewing. The machine will brew directly without preheating.

Image 5.3: Instructions for activating Hot Drink Mode and Cold Drink Mode.
5.6 Preparing Milk-Based Beverages (Latte/Cappuccino)
To create a latte or cappuccino, use the included milk frother to prepare milk foam. Brew your coffee first, then add the frothed milk.
- Brew your coffee using the desired capsule or ground coffee.
- Pour whole milk into the milk frother.
- Press the button on the milk frother to create dense milk bubbles.
- Once the milk is frothed, pour it into your brewed coffee.
- Optionally, sprinkle with cocoa powder for garnish.

Image 5.4: Visual guide for making a mellow latte or cappuccino.
Video 5.1: A short demonstration of the CAFELFFE MK606 coffee machine's 5-in-1 compatibility, brewing process, and milk frothing for a latte.
6. Техническое обслуживание и чистка
6.1 Cleaning the Dolce Gusto (DG) Adapter
If you notice that the DG capsule adapter is not extracting coffee properly, the nozzle may be clogged.
- Use the provided punch pen to clean the pouring nozzle on the DG adapter.
- Carefully insert the pen into the nozzle to clear any blockages.

Image 6.1: Instructions for cleaning the DG adapter's pouring nozzle using the cleaning pen.
6.2 Удаление накипи
Regular descaling is important to maintain machine performance and extend its lifespan.
- Add a mixture of water and a standard descaling liquid for coffee machines to the water tank.
- Поставьте большую ёмкость под дозатор кофе.
- Press the coffee volume button to run the descaling solution through the machine.
- Repeat this process several times until the water tank is empty.
- Rinse the water tank and run several cycles with fresh water to remove any descaling residue.
6.3 Генеральная уборка
- Протрите внешнюю часть машины средством для мытья посуды.amp ткань.
- Регулярно опорожняйте и чистите поддон для сбора капель.
- Wash the water tank and adapters after each use or as needed.
7. Поиск Неисправностей
| Проблема | Возможная причина | Решение |
|---|---|---|
| Без экстракции кофе | Water tank empty; Adapter nozzle clogged; Machine not primed. | Fill water tank; Clean DG adapter nozzle with punch pen; Perform initial priming steps. |
| Кофе холодный | Cold brew mode activated; Insufficient preheating. | Ensure cold brew mode is off for hot coffee; Allow 35 seconds for preheating in hot brew mode. |
| Машина не включается | Не подключено к сети. Проблема с розеткой. | Проверьте подключение к электросети; попробуйте другую розетку. |
| Слабый кофе | Incorrect water volume selected; Old coffee grounds/capsule. | Adjust water volume to a lower setting; Use fresh coffee. |
8. Технические характеристики
| Особенность | Деталь |
|---|---|
| Бренд | КАФЕЛФФЕ |
| Номер модели | АС-516Ф |
| Цвет | Черный |
| Размеры (Д x Ш x В) | 27.5 x 11 x 26.5 см (10.83 x 4.33 x 10.43 дюймов) |
| Масса | 3.07 Килограмма |
| Власть | 1450 Вт |
| Давление | 19 бара |
| Емкость резервуара для воды | 600 мл |
| Особые возможности | Automatic Shut-off, Removable Water Tank, Hot/Cold Brew Mode |
| Тип кофеварки | Эспрессо-машина |
| Режим работы | Полностью автоматический |
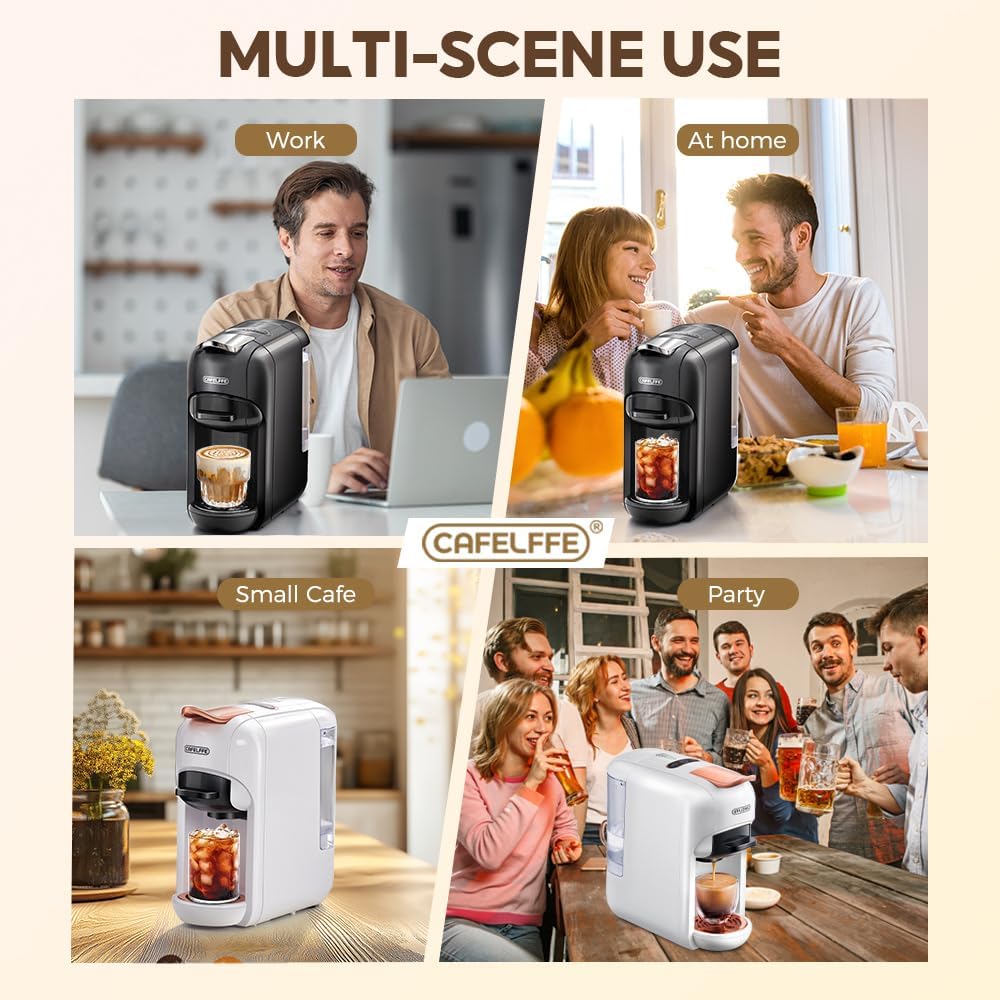
Image 8.1: Product dimensions of the CAFELFFE MK606 coffee machine.
9. Гарантия и поддержка
For any questions, assistance, or warranty claims regarding your CAFELFFE MK606 coffee machine, please contact CAFELFFE customer support. Refer to your purchase documentation for specific warranty terms and contact information.