
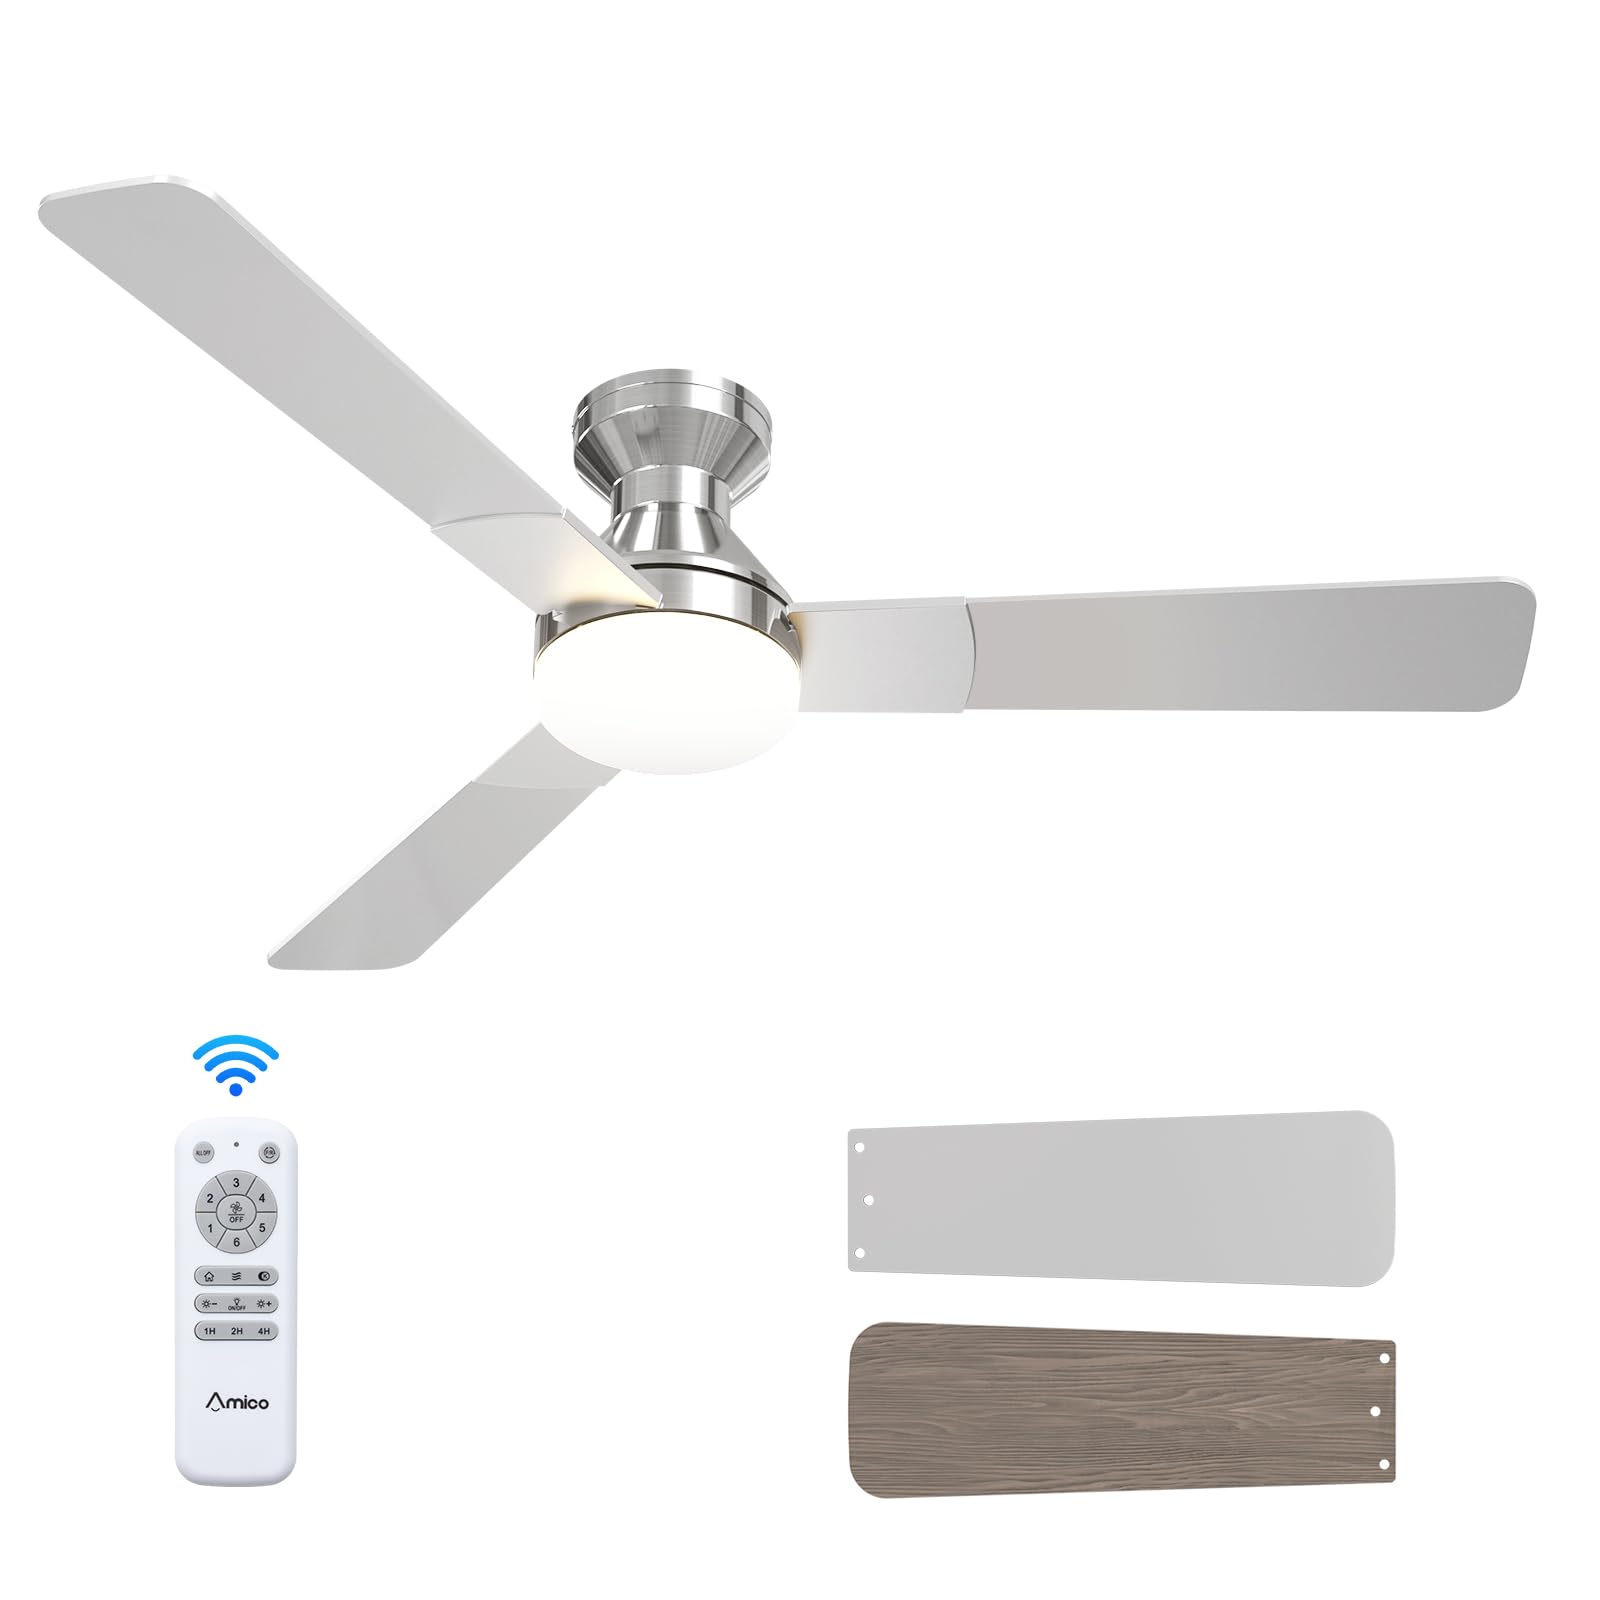
1. Информация по технике безопасности
Before beginning installation, ensure the power supply is disconnected at the circuit breaker. All wiring must comply with national and local electrical codes. If you are unfamiliar with electrical wiring, consult a qualified electrician. Ensure the mounting structure can support the fan's weight. Maintain a minimum clearance of 7 feet from the floor to the fan blades and 18 inches from the wall to the blade tips. Do not connect the fan to a dimmer switch or fan speed switch, as this can cause operational malfunctions.
2. Содержимое упаковки
Перед началом установки убедитесь в наличии всех компонентов:
- Потолочный вентилятор
- АБС Лampоттенок
- Light Kit (LED)
- Монтажное оборудование
- Дистанционное управление
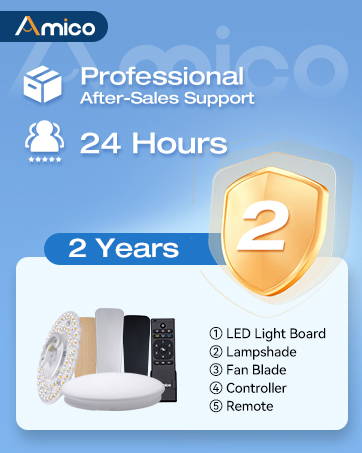
Illustration of various ceiling fan components included in the package.
Распаковка и проверка компонентовview
Это видео дает болееview of the Amico ceiling fan components as they are unboxed, highlighting the included parts and instructions for easy installation.
3. Технические характеристики продукта
| Бренд | Дружище |
| Номер модели | KFM52PLY3B02R1 |
| Размер | 52 дюймов |
| Цвет | никель |
| Размеры продукта | 52"Д x 52"Ш x 15.7"В |
| Источник питания | Вход 120 В переменного тока, двигатель постоянного тока |
| Количество лезвий | 3 |
| Материал лезвия | Инженерная древесина |
| Тип света | Светодиод (сменный) |
| Количество скоростей | 6 |
| Уровень шума | 35 децибел |
| Метод контроля | Дистанционное управление |
| Использование внутри и снаружи помещений | В помещении, на открытом воздухе (D)amp (Рейтинг) |
4. Установка
Follow these steps for a safe and efficient installation of your Amico ceiling fan. It is recommended to have a second person assist during certain stagЭс установки.
4.1 Проверки перед установкой
- Ensure the power is OFF at the circuit breaker before starting.
- Confirm your ceiling junction box is securely mounted and capable of supporting the fan's weight (at least 35 lbs).
- Подготовьте необходимые инструменты: отвертку, инструмент для зачистки проводов, изоленту, лестницу.

Image illustrating the mounting bracket and electrical wiring connections for installation.
4.2 Установка кронштейна
Attach the mounting bracket to the ceiling junction box using the provided screws. Ensure it is firmly secured to prevent wobbling.

Diagram showing the ceiling fan mounting directly to a standard ceiling junction box for easy DIY installation.
4.3 Подключение
Connect the fan's electrical wires to the household wiring according to the color codes: Black (Live), White (Neutral), Yellow/Green (Earth). Use wire nuts to secure connections. Ensure all connections are tight and insulated. Important: Do not connect to dimmer switches or fan speed switches to prevent operational malfunctions.

Illustration showing compatible conventional wall switches and incompatible dimmer/fan speed switches.
4.4 Attaching Motor and Blades
Carefully lift the fan motor assembly and attach it to the mounting bracket. Secure it with the designated screws. Then, attach the three fan blades to the motor housing. The blades are reversible, with a nickel finish on one side and an oak grain on the other, allowing you to choose the aesthetic that best suits your decor.

Крупный план view of the fan motor assembly with reversible blades, showing the nickel and oak grain sides.
4.5 Установка комплекта освещения
Connect the LED light kit to the fan's wiring. Secure the light kit to the fan motor assembly using the provided screws. Ensure the connections are firm.
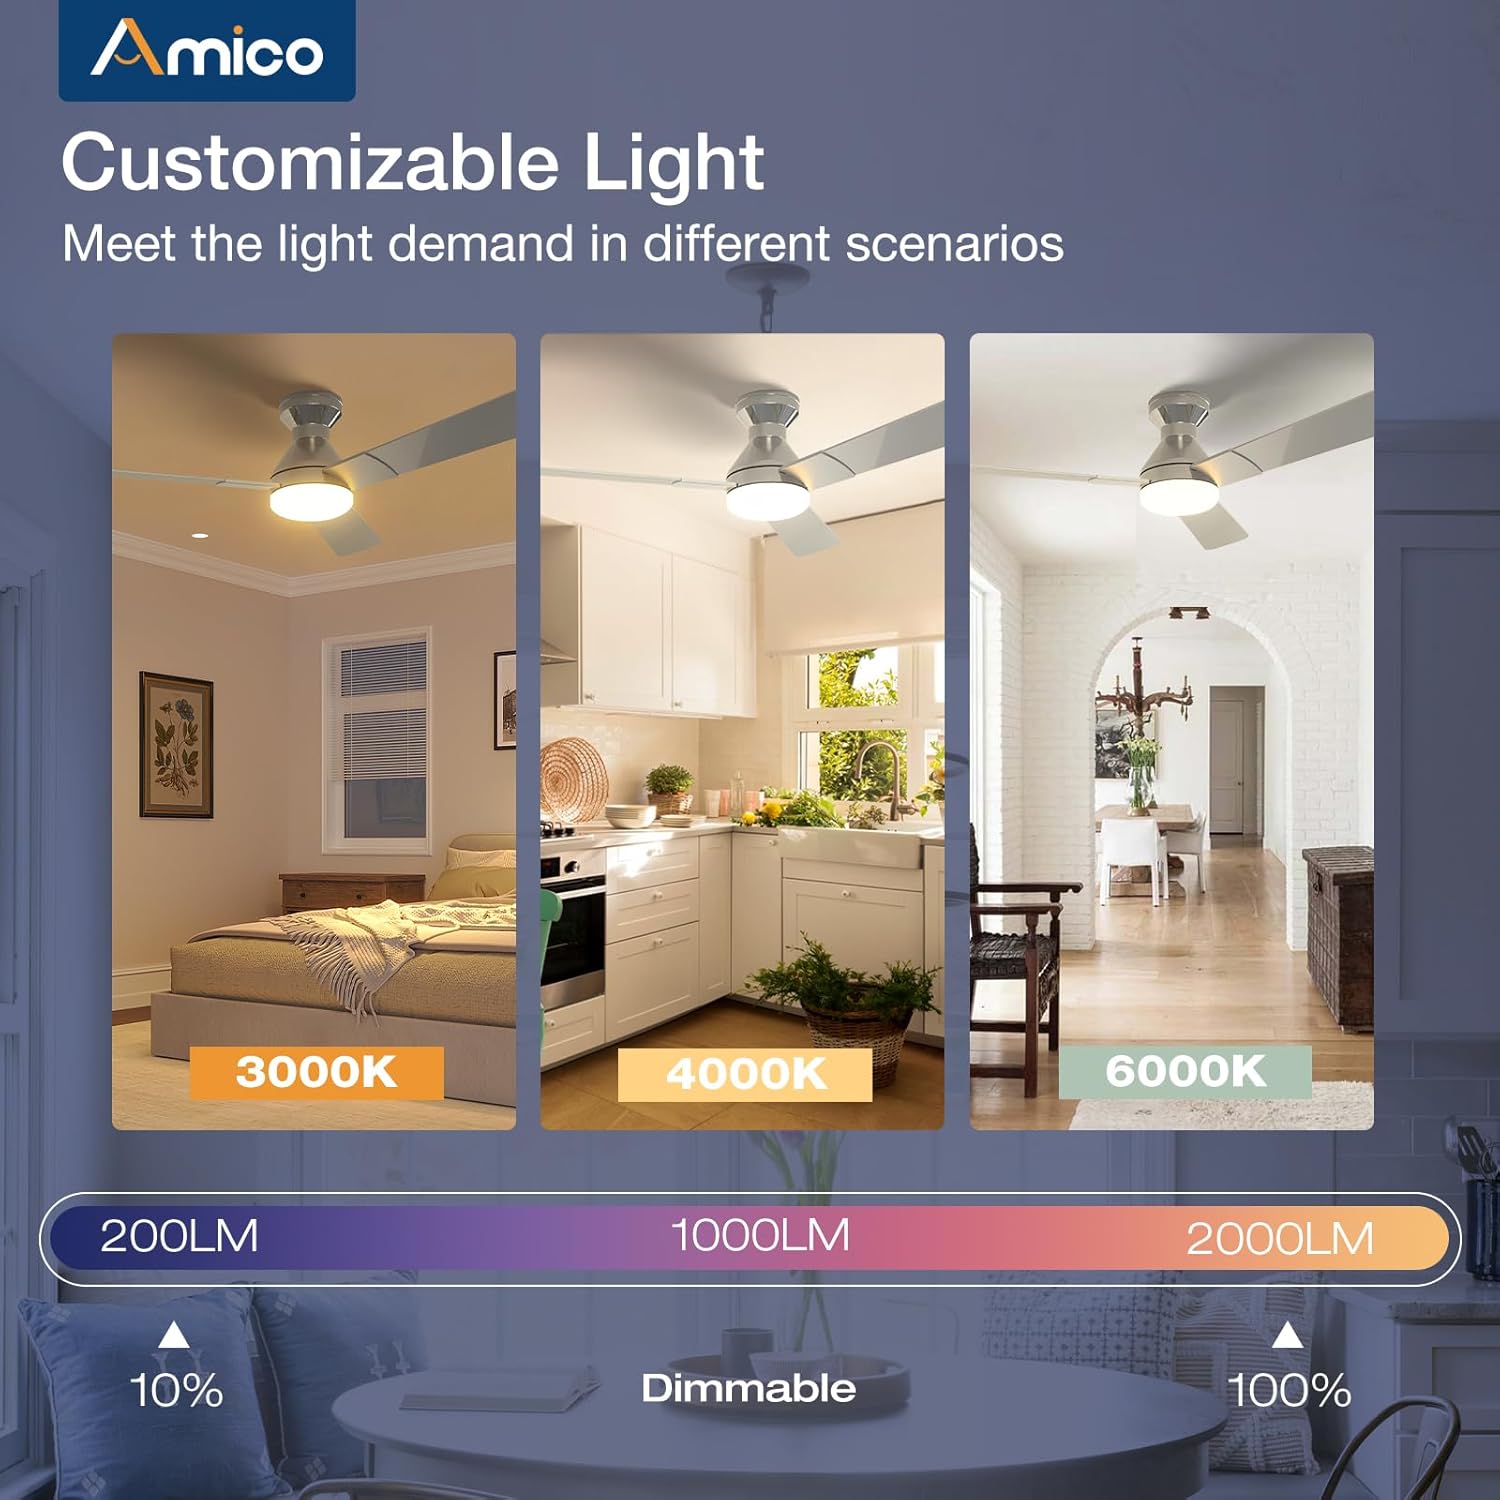
Image detailing the installation of the LED light kit onto the ceiling fan.
4.6 Окончательная сборка
Прикрепите lampshade or light cover to the light kit, twisting or securing it into place as per the design. Restore power at the circuit breaker and test the fan and light functions using the remote control.

Image showing the final step of attaching the light cover to the ceiling fan.
Видеоруководство по установке
This video demonstrates the installation process, highlighting how easy it is to set up the Amico ceiling fan, even for remodels.
5. Инструкция по эксплуатации
Your Amico ceiling fan is designed for ease of use with a comprehensive remote control.
5.1 Функции дистанционного управления

Image of the remote control with labeled buttons for various functions.
- Кнопка питания: Включает/выключает вентилятор и свет.
- Скорость вращения вентилятора (1-6): Adjusts fan speed from gentle breeze (1) to strong wind (6).
- Обратная функция: Changes the direction of blade rotation for summer (downward airflow) or winter (upward airflow) use.
- Включение / выключение света: Позволяет независимо включать и выключать свет.
- Яркость света (+/-): Dims or brightens the light (10%-100%).
- Цветовая температура: Cycles through 3000K (warm white), 4000K (natural white), and 6000K (cool white).
- Таймер (1Ч, 2Ч, 4Ч): Sets the fan and/or light to turn off automatically after the selected duration.
Демонстрация дистанционного управления
This video demonstrates the various functions of the remote control, including fan speed, light temperature, and dimming capabilities.
5.2 Fan Speed and Airflow
The fan offers 6 adjustable speeds to suit your comfort needs, from a gentle, comfortable breeze to a strong cooling wind. The DC motor ensures powerful yet quiet operation.

Diagram illustrating the 6 adjustable fan speeds and their corresponding wind levels.
5.3 Customizable Light
The integrated LED light is dimmable from 10% to 100% and offers three color temperature options: 3000K (warm), 4000K (natural), and 6000K (cool). Adjust the light to match your activity or mood.
Image showing the three color temperature options (3000K, 4000K, 6000K) and dimmable range of the fan light.
5.4 Реверсивный двигатель постоянного тока
The reversible DC motor allows you to change the direction of the fan blades. In summer, set the fan to rotate counter-clockwise for a downward airflow that creates a cooling effect. In winter, set it to rotate clockwise for an upward airflow that helps circulate warm air trapped near the ceiling.

Diagram illustrating the summer (cooling) and winter (warming) modes of the reversible DC motor.
5.5 Настройка таймера
Utilize the timer function to automatically turn off the fan and/or light after 1, 2, or 4 hours, promoting energy efficiency and convenience, especially during sleep.

Graphic showing the 1-hour, 2-hour, and 4-hour timer settings for the fan.
5.6 Функция памяти
The fan and light feature memory functions. Once you select your desired light brightness, color temperature, and fan speed, these settings will be retained even after turning the unit off and on via the wall switch. This avoids the need to reset your preferences each time.

Illustration demonstrating how the fan and light settings are remembered after being turned off and on.
5.7 Тихая работа
Engineered for minimal noise, the fan operates at a low 35dB, comparable to the sound of falling leaves, ensuring a quiet living environment suitable for bedrooms and nurseries.

Graphic comparing the fan's low noise level (35dB) to common ambient sounds.
6. Техническое обслуживание
Регулярное техническое обслуживание обеспечит оптимальную производительность и долговечность вашего потолочного вентилятора.
- Уборка: Периодически протирайте лопасти вентилятора и корпус двигателя мягкой тряпкой.amp Ткань. Не используйте абразивные чистящие средства или растворители.
- Световой чехол: The ABS lampshade can be removed and cleaned with mild soap and water. Ensure it is completely dry before reattaching.
- Винты для лезвий: Check all blade attachment screws periodically to ensure they are tight.
- Комплект светодиодного освещения: The LED light kit is replaceable. If replacement is needed, contact customer support for compatible parts.
7. Поиск Неисправностей
If you encounter any issues with your Amico ceiling fan, refer to the following common troubleshooting steps:
- Вентилятор не запускается:
- Check that power is supplied to the fan.
- Убедитесь, что все проводные соединения надежны.
- Убедитесь, что батарейки в пульте дистанционного управления исправны и правильно вставлены.
- Свет не работает:
- Check the light kit's electrical connections.
- Убедитесь, что функция подсветки на пульте дистанционного управления активирована.
- Колебания вентилятора:
- Ensure the mounting bracket is securely fastened to the ceiling junction box.
- Check that all blade screws are tightened.
- Verify blades are not bent or damaged.
- Пульт дистанционного управления не отвечает:
- Замените батарейки в пульте дистанционного управления.
- Убедитесь, что между пультом дистанционного управления и приемником вентилятора нет никаких препятствий.
8. Гарантия и поддержка
Amico is committed to customer satisfaction. Your ceiling fan comes with a 24-месячная гарантия без заботМы также предоставляем 24-часовая техническая поддержка to assist with any issues during use or installation.
Контактная информация:
- Электронная почта: support@amicolight.com
- Телефон: +1 (888) 676-1042 (Monday - Friday from 9:00 AM - 5:00 PM PT)

Graphic detailing Amico's after-sales support and warranty information.