1. Введение
This instruction manual provides essential information for the safe and efficient installation, operation, and maintenance of your EVURU XTM024 3 Phase 4 Wire Digital Energy Meter. Please read this manual thoroughly before installation and keep it for future reference. This device is designed to accurately measure active energy consumption in three-phase four-wire AC power networks.
2. Информация по технике безопасности
- Монтаж и техническое обслуживание должны выполняться исключительно квалифицированными электриками.
- Ensure the power supply is completely disconnected before any installation, wiring, or maintenance procedures.
- Убедитесь, что томtage and current ratings of the meter match the electrical system specifications.
- Do not operate the meter in environments exceeding its specified operating temperature and humidity ranges.
- Avoid exposing the meter to direct sunlight, rain, or excessive dust.
- Do not disassemble or modify the meter. Doing so will void the warranty and may lead to electric shock or fire.
3. Продукт закончилсяview
The EVURU XTM024 is a digital energy meter designed for precise measurement of electrical energy. It features a clear LCD display and is suitable for DIN rail mounting.

Рисунок 3.1: Общий view of the EVURU XTM024 Digital Energy Meter, showing both the front display and the side profile with the DIN rail mounting mechanism.
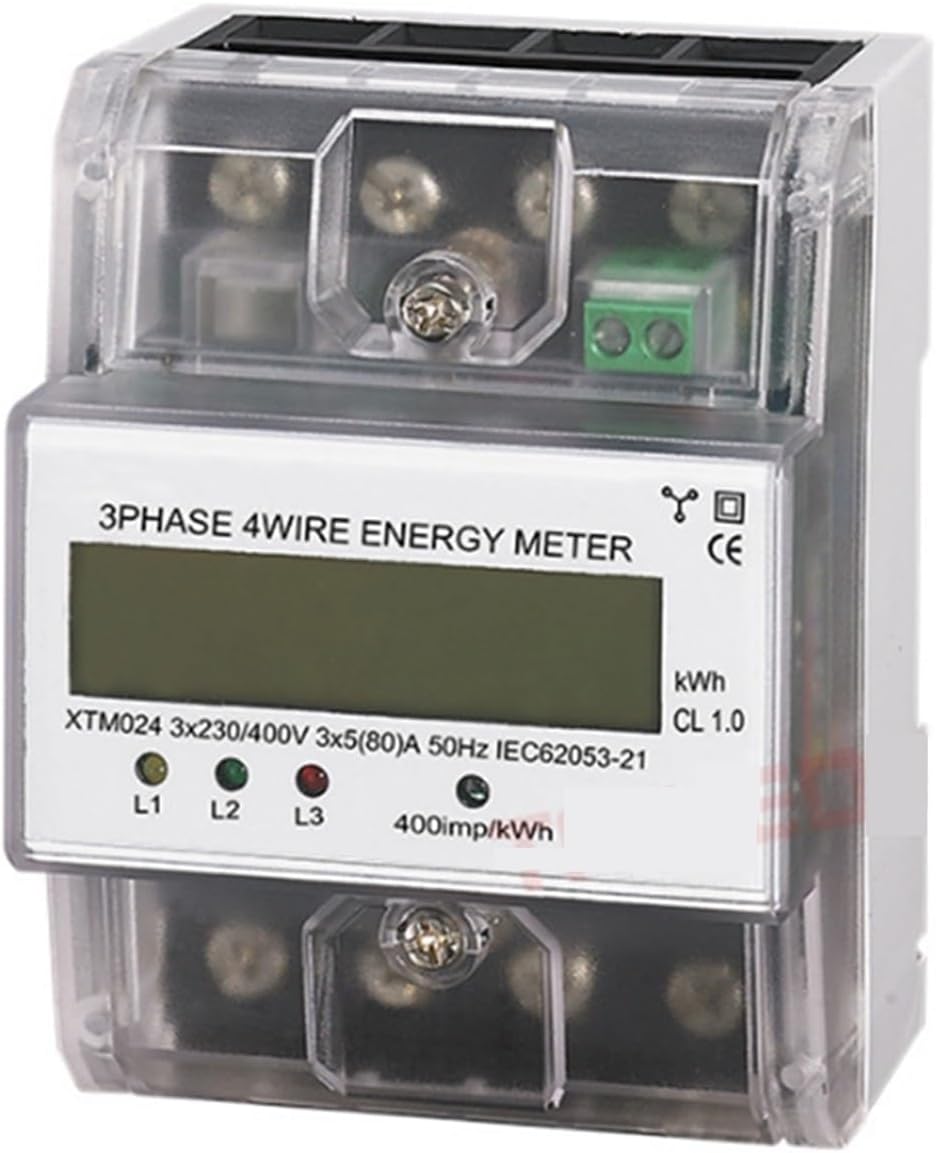
Рисунок 3.2: Close-up of the meter's front panel, highlighting the LCD display, phase indicators (L1, L2, L3), and pulse output LED (400imp/kWh).
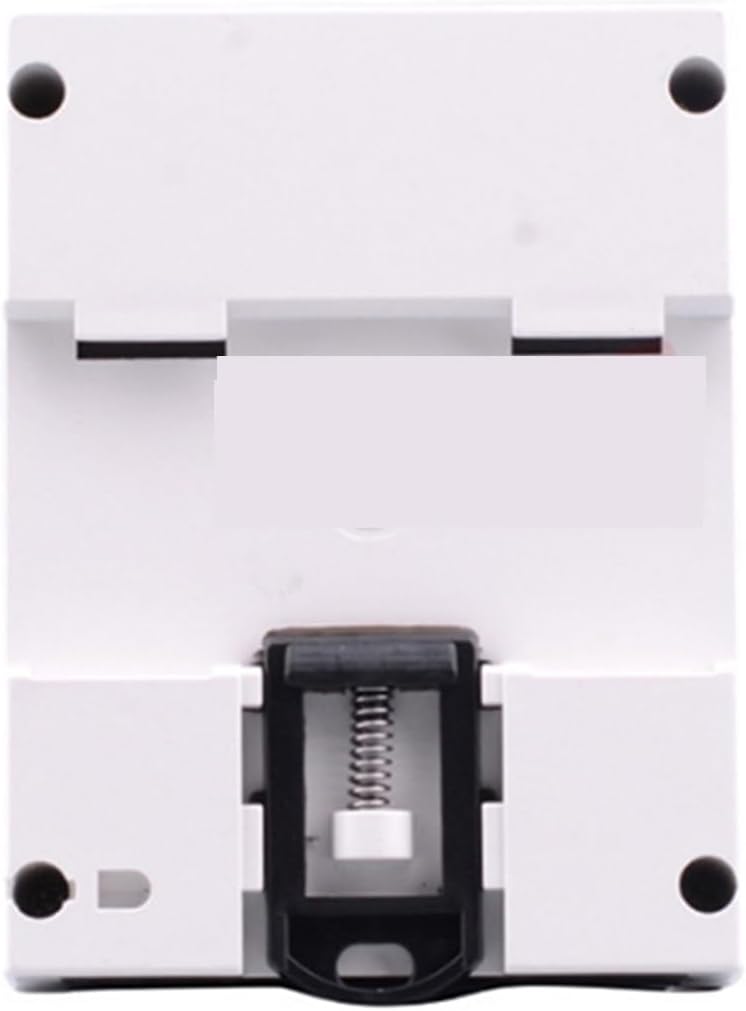
Рисунок 3.3: Задний view of the EVURU XTM024 Digital Energy Meter, illustrating the integrated clip for secure DIN rail mounting.
Основные характеристики:
- Three-phase four-wire measurement.
- LCD 6+2 digit display for energy consumption.
- DIN rail installation.
- High accuracy level (Class 1.0).
- Pulse output for remote monitoring (400imp/kWh).
4. Установка
The EVURU XTM024 meter is designed for DIN rail mounting. Ensure all safety precautions are followed before proceeding with installation.
4.1 Монтаж
- Отключите основное электропитание в месте установки.
- Locate a standard 35mm DIN rail within an appropriate electrical enclosure.
- Align the meter's DIN rail clip with the rail and press firmly until it clicks into place.
- Ensure the meter is securely fastened and cannot move freely.
4.2 Wiring (3 Phase 4 Wire)
Refer to the wiring diagram typically found on the meter's terminal cover or in accompanying documentation. The following is a general guide:
- Connect the three phase lines (L1, L2, L3) to their respective input terminals.
- Connect the neutral line (N) to its input terminal.
- Connect the load's three phase lines (L1, L2, L3) to their respective output terminals.
- Connect the load's neutral line (N) to its output terminal.
- Убедитесь, что все соединения надежно и плотно затянуты, чтобы предотвратить ослабление контактов и перегрев.
- If applicable, connect the pulse output terminals to a compatible data acquisition system.
Примечание: Incorrect wiring can cause damage to the meter, electrical system, or pose a safety hazard. Always consult a qualified electrician for installation.
5. Операция
5.1 Включение
Once correctly installed and wired, restore power to the circuit. The meter's LCD display should illuminate, and the phase indicator LEDs (L1, L2, L3) will light up if the corresponding phases are active.
5.2 Чтение показаний дисплея
- The LCD displays the total active energy consumption in kilowatt-hours (kWh). The format is typically 6 digits for integer kWh and 2 digits for decimal kWh (e.g., 000000.00 kWh).
- The pulse indicator LED (often labeled 400imp/kWh) will flash proportionally to the energy being consumed. A faster flash rate indicates higher power consumption.
- The L1, L2, L3 LEDs indicate the presence of voltage on each respective phase.
6. Техническое обслуживание
- Уборка: Содержите измерительный прибор в чистоте и не допускайте попадания пыли. Для чистки используйте мягкую сухую ткань. Не используйте абразивные чистящие средства или растворители.
- Инспекция: Periodically inspect the wiring connections for tightness and signs of wear or damage. Ensure the meter is securely mounted.
- Среда: Для продления срока службы счетчика необходимо поддерживать температуру и влажность в пределах заданных диапазонов.
No user-serviceable parts are inside the meter. For any internal issues, contact qualified service personnel.
7. Поиск Неисправностей
| Проблема | Возможная причина | Решение |
|---|---|---|
| No display / Meter not powering on | Отсутствие питания; неправильная проводка; внутренняя неисправность. | Проверьте основной источник питания. Проверьте подключение проводов. Если проблема не устранена, обратитесь в службу поддержки. |
| Incorrect energy reading | Incorrect wiring; meter fault; external interference. | Re-check wiring against diagram. Ensure meter is correctly rated for the circuit. Contact support if readings are consistently inaccurate. |
| Индикатор импульса не мигает | No load connected; very low power consumption; LED fault. | Ensure there is an active load. Check if the main display is accumulating energy. |
8. Технические характеристики
| Параметр | Ценить |
|---|---|
| Модель | ХТМ024 |
| Тип | Three Phase Four Wire Electronic Type |
| Справочный томtage | 3 x 220/380 В переменного тока, 3 x 230/400 В переменного тока |
| Номинальный объемtage | Переменный ток 220В/400В |
| Reference Current (Base/Max) | 3 X 5(80A), 3 X 1.5(6A), 3 X 30(100A) |
| Уровень точности | 1.0 (МЭК 62053-21) |
| Номинальная частота | 50 Гц |
| Постоянный импульс | 400 имперских/кВтч |
| Отображать | LCD 6 + 2 digits |
| Потребляемая мощность | 2 Вт, 10 ВА |
| Пусковой ток | 0.004Ib |
| Рабочая температура | -20°С ~ 55°С |
| Температура хранения | -25°С ~ 70°С |
| Рабочий объемtage | 0.9-1.1 Рейтинговая громкостьtage |
| Максимальная громкостьtage | 0.8-1.15 Рейтинговая громкостьtage |
| Average Humidity Value of Year | 75% |
| Диапазон влажности | 20-80% |
| Метод установки | DIN-рейка |
| Размеры | Approx. 10.1 X 7.6 X 6.5cm / 3.97 X 2.99 X 2.55in |
| Масса | Приблизительно 500 г |
9. Гарантия и поддержка
For warranty information or technical support, please refer to the documentation provided with your purchase or contact your retailer/manufacturer directly. Keep your purchase receipt as proof of purchase.