
1. Введение
This manual provides detailed instructions for the proper use and maintenance of your CAMMHD D1 Body Camera. Please read this manual thoroughly before operating the device to ensure correct functionality and to prevent damage.
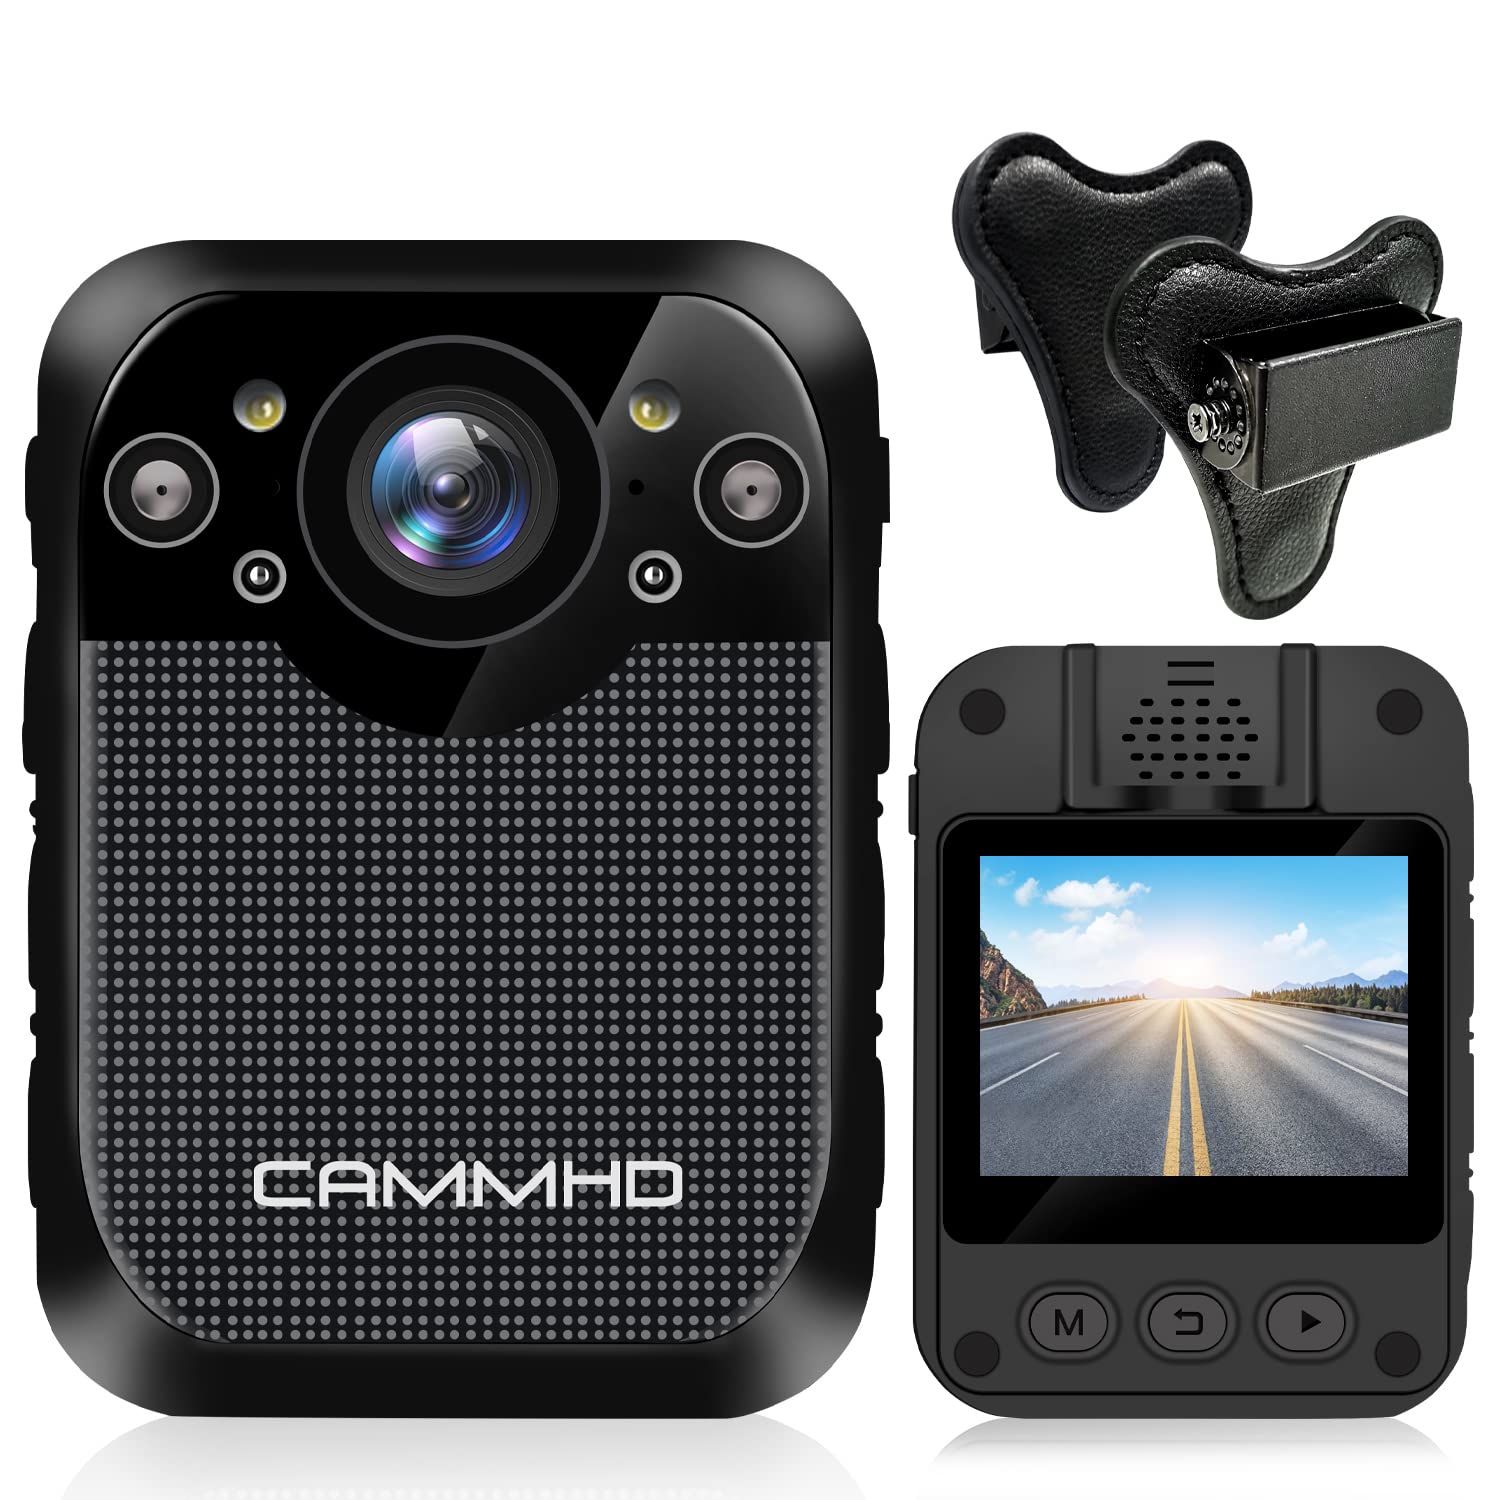
Изображение: Спереди view of the CAMMHD D1 Body Camera.
2. Содержимое упаковки
Убедитесь, что все перечисленные ниже предметы входят в комплект. Если какие-либо предметы отсутствуют или повреждены, обратитесь в службу поддержки клиентов.
- CAMMHD D1 Body Camera
- Магнитное крепление
- USB-зарядное устройство
- USB-кабель
- 360° Rotating Shoulder Clip
- Руководство пользователя

Image: All components included in the CAMMHD D1 Body Camera package.
3. Продукт закончилсяview
Familiarize yourself with the camera's buttons and ports.

Image: Labeled diagram of the CAMMHD D1 Body Camera's external features and controls.
- Тревожная кнопка
- Красная и синяя вспышка
- Кнопка видео
- Night Vision Indicator
- Светодиодный свет
- USB-интерфейс
- Кнопка фото
- Аудио кнопка
- Кнопка включения/выключения питания
4. Настройка
4.1 Зарядка аккумулятора
Before first use, fully charge the camera's built-in 3000mAh lithium battery. Connect the camera to the USB charger using the provided USB cable. A full charge typically takes approximately 3 hours. The camera can record for up to 8 hours (at 1080p resolution) on a full charge.

Image: Visual representation of the camera's 3000mAh battery, 8-hour recording capability, and 3-hour charging time.
4.2 Установка камеры
The CAMMHD D1 Body Camera comes with a magnet mount and a 360° rotating shoulder clip for secure attachment.
Using the Magnet Mount:
The magnet mount allows for flexible positioning and angle adjustment.
Image: The adjustable 45-degree angle clips for the body camera mount.
Attaching with the Shoulder Clip:
Follow these steps to attach the camera using the shoulder clip:
- Separate the two parts of the clip.
- Insert the body camera into the 'outside' clip.
- Place the 'inside' clip under your clothing.
- Adjust the screw to set the desired recording angle.

Image: Step-by-step instructions for attaching the body camera with the shoulder clip.
5. Инструкция по эксплуатации
5.1 Включение/выключение питания
- Включение питания: Press and hold the Power On/Off button (9) until the screen illuminates.
- Выключение: Press and hold the Power On/Off button (9) until the device shuts down.
5.2 Видеозапись
The camera supports 1296P HD video resolution with a 160° wide-angle lens.
- Начать запись: Press the Video button (3) once to begin video recording. A red indicator light will typically flash.
- Остановить запись: Нажмите кнопку «Видео» (3) еще раз, чтобы остановить запись.

Image: The camera's display indicating 1296P Full HD video recording capability.
5.3 Фотосъемка
- Сделать фото: Press the Photo button (7) once to capture a still image.
5.4 Аудиозапись
- Start Audio Recording: Press the Audio button (8) once to begin audio-only recording.
- Stop Audio Recording: Press the Audio button (8) again to stop audio recording.
5.5 Ночное видение
The camera features automatic infrared night vision with 4 infrared lamps, capable of capturing clear footage до 10 метров (32 фут) в условиях низкой освещенности.
- Автоматическая активация: Прибор ночного видения автоматически активируется при слабом освещении.
- Ручная активация: You can also press the Night Vision button (4) to manually toggle infrared night vision.

Image: Demonstration of the camera's automatic infrared night vision capability.
5.6 Циклическая запись
The camera includes 32GB of internal memory. When the memory capacity is reached, the camera automatically overwrites the oldest files, чтобы продолжить запись.

Image: Explanation of loop recording and the camera's 32GB internal storage.
5.7 Воспроизведение и File Передача
- Воспроизведение на устройстве: Use the camera's 2-inch display and navigation buttons to review записанные видео и фотографии.
- Computer Playback/Transfer: Подключите камеру к компьютеру с помощью USB-кабеля. Камера отобразится как съемный диск, что позволит вам передавать данные. files.
6. Техническое обслуживание
- Уборка: Для чистки корпуса камеры используйте мягкую сухую ткань. Для чистки объектива используйте специальную салфетку для объективов. Не используйте агрессивные химикаты или абразивные материалы.
- Хранилище: Храните камеру в прохладном, сухом месте, вдали от прямых солнечных лучей и экстремальных температур.
- Уход батареи: Чтобы продлить срок службы аккумулятора, избегайте его частой полной разрядки. Регулярно заряжайте камеру, даже если она не используется в течение длительного времени.
7. Поиск Неисправностей
| Проблема | Возможная причина | Решение |
|---|---|---|
| Камера не включается. | Low battery or faulty battery. | Заряжайте камеру не менее 3 часов. Если проблема не исчезнет, обратитесь в службу поддержки. |
| Невозможно записать видео/сделать фото. | Memory full or recording error. | Ensure loop recording is enabled or transfer files to free up space. Restart the camera. |
| Низкое качество видео в ночное время. | Night vision not active or insufficient ambient light for IR. | Ensure night vision is enabled (auto or manual). Ensure no obstructions block the IR lamps. |
| Камера не отвечает. | Сбой в программном обеспечении. | Для принудительной перезагрузки нажмите и удерживайте кнопку включения/выключения питания в течение 10-15 секунд. |
8. Технические характеристики
| Особенность | Деталь |
|---|---|
| Модель | D1 |
| Разрешение видеозахвата | 1296p, 1080p, 720p |
| Фото Пиксель | 34 миллион пикселей |
| Широкоугольный объектив | 160° |
| Емкость аккумулятора | Литиевая батарея емкостью 3000 мАч |
| Время записи | Up to 8 hours (1080p) |
| Время зарядки | Приблизительно 3 часов |
| Внутренняя память | 32 ГБ (встроенная) |
| Диапазон ночного видения | До 10 м (32 фута) |
| Размер экрана | 2 дюйма |
| Уровень водонепроницаемости | Водонепроницаемый |
| Особые возможности | Обнаружение движения, ночное видение, портативный |
| Технология связи | Беспроводной |
| Стабилизация изображения | Динамичный |
| Тип фокусировки | Ручная фокусировка |
9. Гарантия и поддержка
For warranty information or technical support, please refer to the contact details provided with your purchase documentation or visit the official CAMMHD webсайт. Пожалуйста, сохраните доказательство покупки для гарантийных претензий.