
1. Введение
This manual provides essential information for the installation, adjustment, and maintenance of your maXpeedingrods Height Adjustable Coilovers Suspension Kit. These coilovers are designed for specific vehicle models to enhance handling and allow for ride height customization.
Совместимость:
- Lexus LS400 XF10 (1990, 1991, 1992, 1993, 1994)
- Toyota Celsior (1990, 1991, 1992, 1993, 1994)
Please read this manual thoroughly before attempting any installation or adjustment.
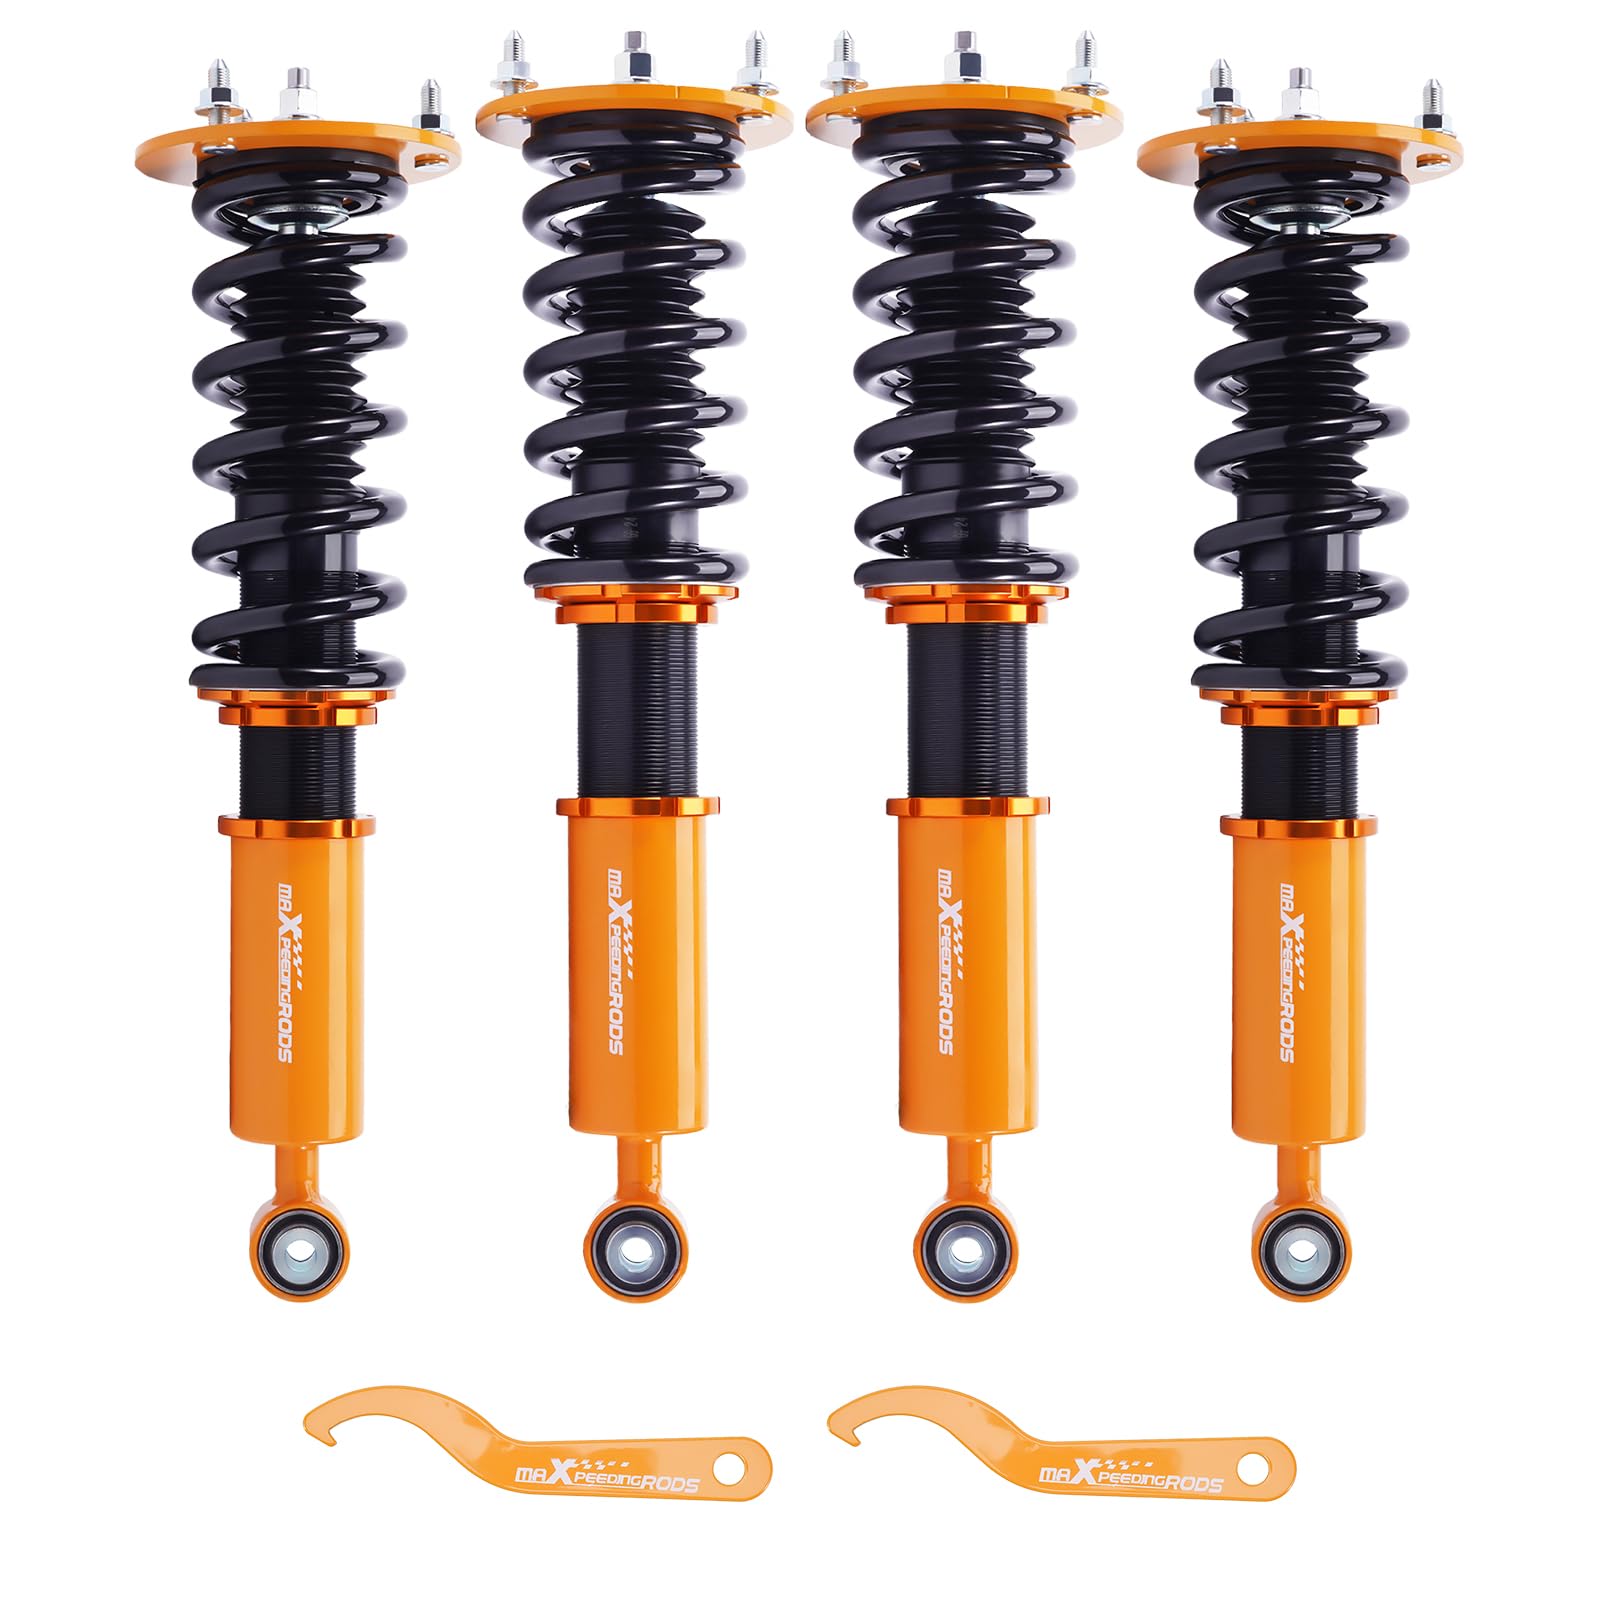
Изображение 1.1: оконченоview of the maXpeedingrods Coilovers kit, including front and rear units.
2. Информация по технике безопасности
Предупреждение: Improper installation or adjustment of suspension components can lead to serious injury or vehicle damage. Professional installation by a qualified technician is highly recommended.
- Всегда используйте соответствующие средства индивидуальной защиты (СИЗ), включая защитные очки и перчатки.
- Перед началом любых работ убедитесь, что автомобиль надежно установлен на подставках или подъемнике. Никогда не полагайтесь исключительно на домкрат.
- Используйте только подходящие для данной задачи инструменты.
- Не вносите никаких изменений в компоненты комплекта регулируемых амортизаторов.
- After installation, perform a wheel alignment to ensure proper vehicle handling and tire wear.
3. Продукт закончилсяview и компоненты
The maXpeedingrods coilover kit includes the following main components:
- Front Coilover Assemblies (2)
- Rear Coilover Assemblies (2)
- C Spanners for Height Adjustment (2)
Основные характеристики:
- Пружины высокой прочности: Front spring rate: 9 kg/mm (504 lbs/in). Rear spring rate: 10 kg/mm (556 lbs/in). These springs are tested for durability, showing less than 0.04% distortion after 600,000 continuous tests.
- Высота Регулируемая: Allows for 1-3 inches of lowering, providing a more aggressive stance. Note: This kit does not maintain original ride height.
- Twin-tube Structure: Offers a longer stroke and higher height adjustment range compared to mono-tube designs, contributing to a more comfortable ride by reducing joint pressure and minimizing friction.
- Прочный материал: Constructed from 6061 aluminum alloy with T6 for increased hardness, high quality precision parts, high strength, and durability.

Image 3.1: Detail of the front rod, featuring a 22mm diameter for extended durability.

Image 3.2: CNC Billet Aluminum Perches and Locking Rings, essential for height adjustment.

Image 3.3: Lightweight rubber top mount designed to reduce noise.

Image 3.4: Illustration of the rubber top mount and radial bearing, contributing to smooth operation.
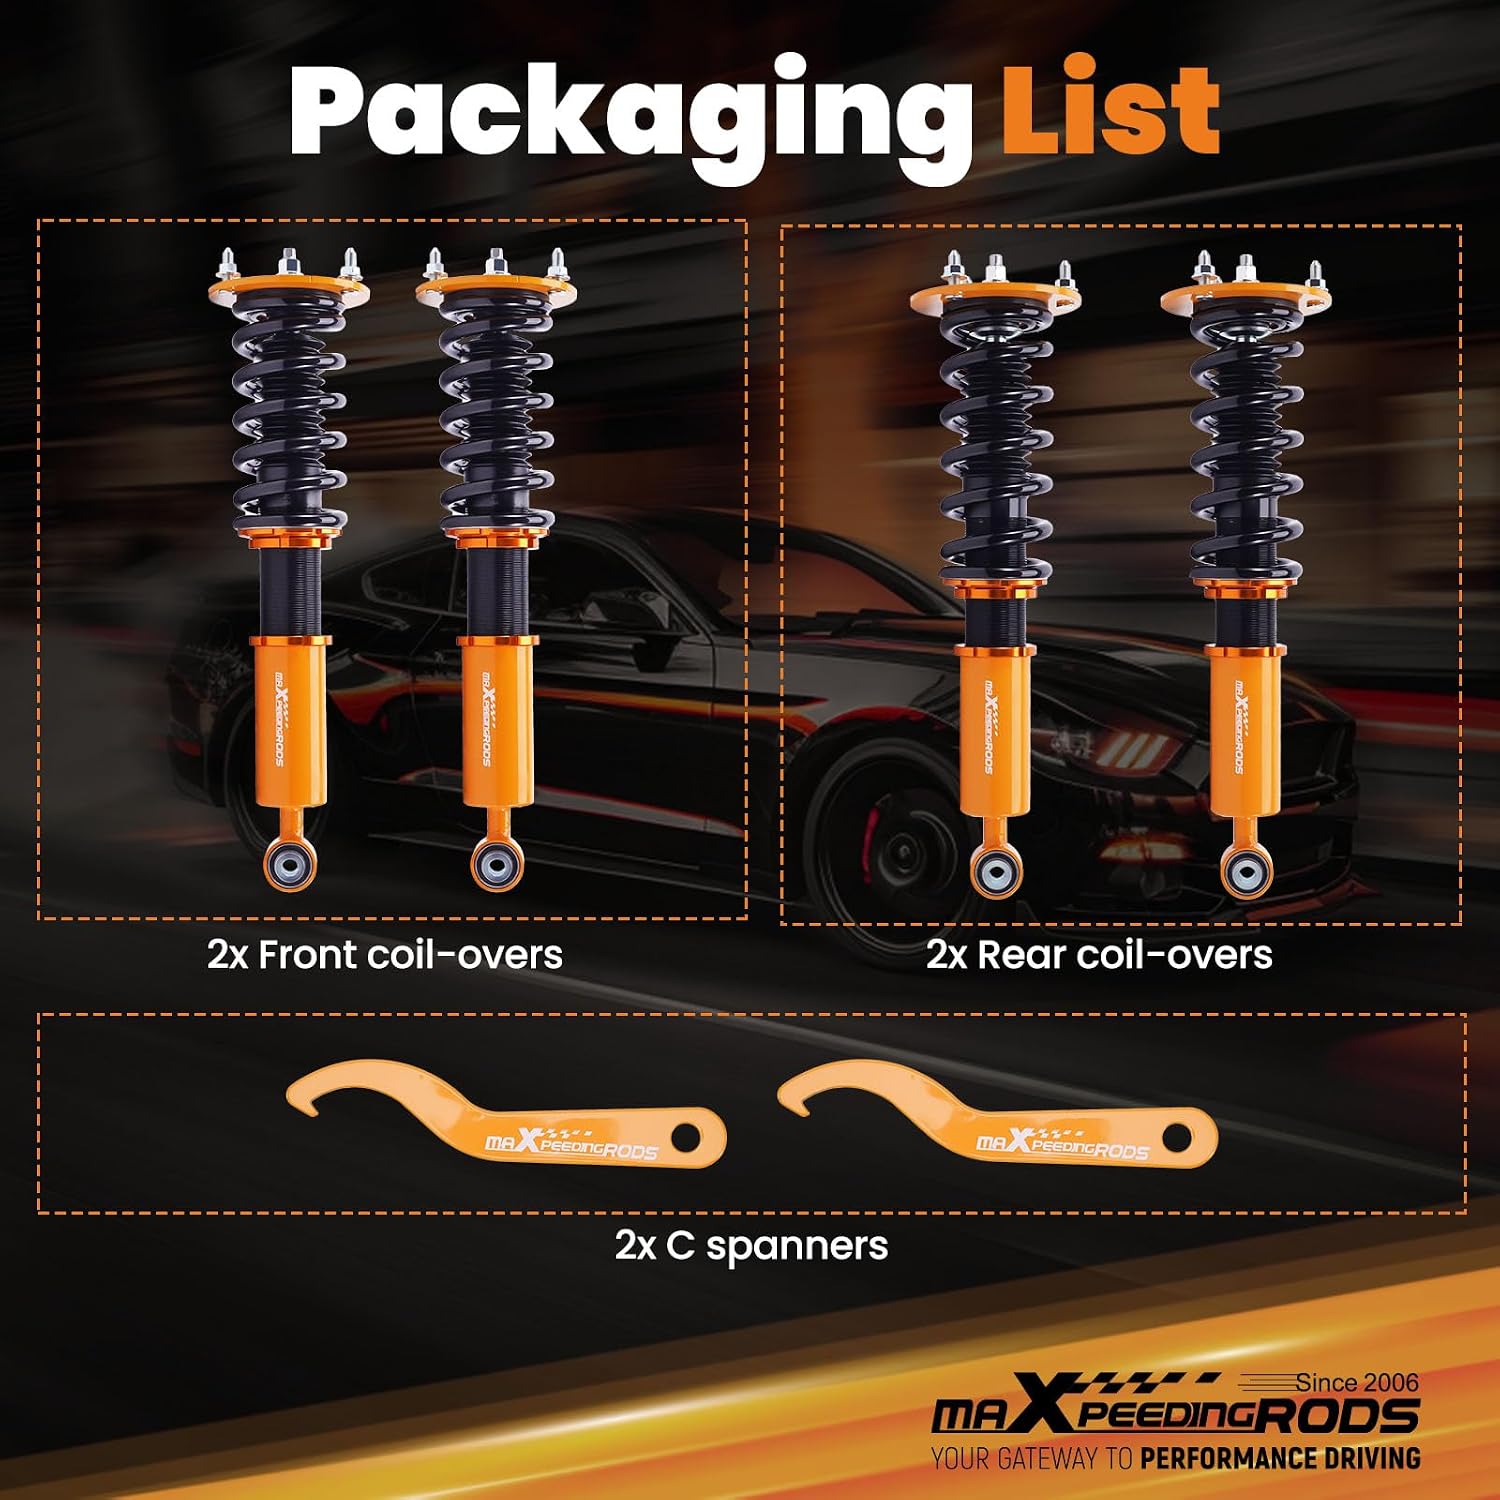
Image 3.5: High rigidity 55CrSi steel cold-bent coil springs, engineered for performance and durability.
4. Настройка и установка
Installation of coilovers requires mechanical expertise and specialized tools. It is strongly recommended that installation be performed by a certified automotive technician.
General Installation Steps (Consult a vehicle-specific service manual for detailed instructions):
- Safely lift and support the vehicle. Remove wheels.
- Remove existing suspension components (struts, springs, etc.).
- Install the new maXpeedingrods coilover assemblies. Ensure all bolts are torqued to manufacturer specifications.
- Adjust the ride height as desired (refer to Section 5).
- Установите колеса на место и опустите автомобиль.
- Perform a professional wheel alignment immediately after installation to prevent premature tire wear and ensure safe handling.
Важный: The coilovers are designed for a lowered stance and will not maintain the original ride height of your vehicle.
5. Эксплуатация и регулировка
Регулировка высоты дорожного просвета:
The coilovers allow for a ride height adjustment range of 1 to 3 inches lower than stock. This adjustment is performed using the provided C spanners to rotate the locking rings on the coilover body.
- Safely lift and support the vehicle to relieve pressure from the suspension.
- Loosen the upper locking ring using a C spanner.
- Rotate the lower spring perch to achieve the desired ride height. Turning clockwise will lower the vehicle; counter-clockwise will raise it.
- Once the desired height is set, tighten the upper locking ring against the lower spring perch to secure the adjustment.
- Repeat for all four coilovers, ensuring consistent height settings across the axle (front left/right, rear left/right).
- Lower the vehicle and bounce the suspension to settle it. Re-check ride height and adjust as necessary.
Примечание: Дamping force of these coilovers is preset and not user-adjustable.

Image 5.1: Diagram illustrating independent ride height and spring tension settings.
6. Техническое обслуживание
Regular inspection and maintenance will ensure the longevity and performance of your coilovers.
- Регулярный осмотр: Periodically inspect all coilover components for signs of wear, damage, or leaks. Check for loose bolts or nuts.
- Уборка: Keep the coilover bodies and springs clean from dirt, salt, and debris, especially after driving in harsh conditions. Use mild soap and water.
- Проверка момента затяжки: After the initial installation and after approximately 500 miles, re-check the torque on all mounting bolts and nuts. Refer to your vehicle's service manual for specific torque values.
- Выравнивание: If you notice uneven tire wear or changes in handling, have a professional alignment performed.
7. Поиск Неисправностей
If you experience any issues with your coilovers, consider the following common troubleshooting steps:
| Симптом | Возможная причина | Решение |
|---|---|---|
| Unusual noises (clunking, squeaking) | Loose mounting bolts, worn bushings, improper installation. | Inspect all mounting points and torque to specifications. Check for damaged bushings. Re-install if necessary. |
| Неравномерная высота дорожного просвета | Неправильная регулировка высоты, неравномерная предварительная нагрузка пружины. | Re-adjust ride height on all four corners, ensuring consistency. |
| Poor handling or steering response | Incorrect wheel alignment, improper tire pressure. | Have a professional wheel alignment performed. Check tire pressures. |
| Leaking shock absorber | Повреждена уплотнительная прокладка или внутренний компонент. | Contact maXpeedingrods customer support for assistance or warranty claim. |
If problems persist after attempting these steps, please contact maXpeedingrods customer support.
8. Технические характеристики
| Особенность | Деталь |
|---|---|
| Совместимость | Lexus LS400 XF10 (1990-1994), Toyota Celsior (1990-1994) |
| Жесткость передней пружины | 9 кг/мм (504 фунта/дюйм) |
| Жесткость задней пружины | 10 кг/мм (556 фунта/дюйм) |
| Диапазон регулировки высоты | 1-3 inches lowering from stock |
| Тип амортизатора | Twin-tube, Preset Damping |
| Материал | 6061 Aluminum Alloy with T6 |
| Внешняя отделка | Алюминий |
| Положение автозапчастей | Front and Rear (Full Kit) |

Image 8.1: Detailed dimensions for front and rear coilover units, including spring rates and lengths.
9. Гарантия и поддержка
Информация о гарантии:
For specific warranty terms and conditions, please refer to the documentation included with your product or visit the official maXpeedingrods website. Generally, products are covered by a manufacturer's warranty against defects in materials and workmanship.
Служба поддержки клиентов:
If you have any questions, require technical assistance, or need to initiate a return or warranty claim, please contact maXpeedingrods customer support. You may find contact information on the maXpeedingrods official webсайте или через точку покупки.
Возврат: This product typically includes a 30-day easy return policy from the seller, maXpeedingrods-us.
Для получения прямой поддержки, пожалуйста, посетите [ссылку]. Магазин maXpeedingrods на Amazon или свяжитесь с отделом обслуживания клиентов.