1. Введение
This manual provides comprehensive instructions for the safe and efficient operation of your Caso Design Hot Brew 10-Cup Coffee Maker, Model 11858. Please read all instructions carefully before first use and retain this manual for future reference.
The Caso Design Hot Brew coffee maker is designed to brew up to 10 cups of hot coffee. Key features include a programmable timer for scheduled brewing, a permanent removable filter for convenience, and a warming plate to keep coffee warm for up to 35 minutes. The filter lid features 17 holes for even water distribution, optimizing coffee extraction.
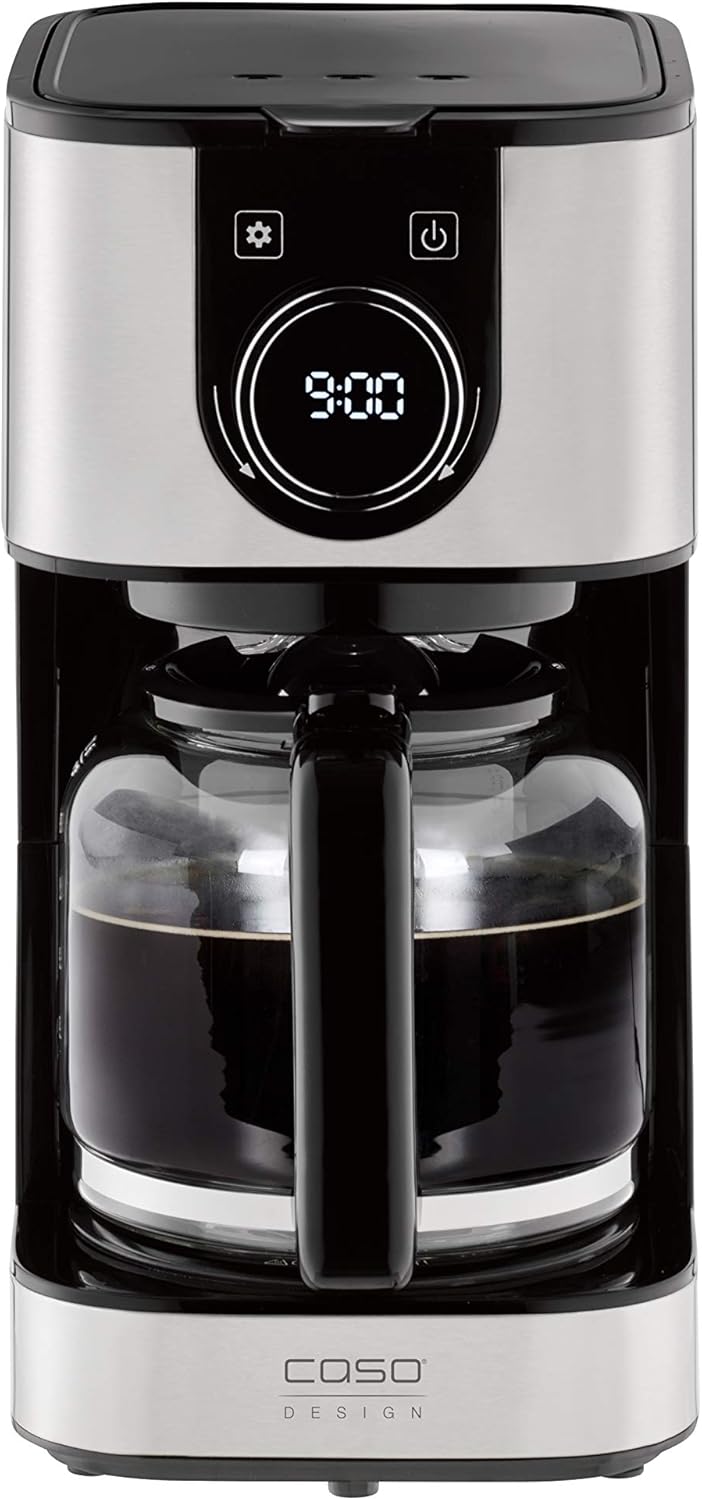
Изображение 1.1: Спереди view of the Caso Design Hot Brew 10-Cup Coffee Maker.
2. Инструкции по технике безопасности
To prevent personal injury or damage to your appliance, always follow these basic safety precautions:
- Перед использованием кофеварки внимательно ознакомьтесь со всеми инструкциями.
- Не прикасайтесь к горячим поверхностям. Используйте ручки или ручки.
- Во избежание возгорания, поражения электрическим током и травм не погружайте шнур, вилки или прибор в воду или другую жидкость.
- Необходимо обеспечить строгий надзор, если какой-либо прибор используется детьми или рядом с ними.
- Отключайте от розетки, когда не пользуетесь и перед чисткой. Дайте остыть перед тем, как устанавливать или снимать детали, а также перед чисткой прибора.
- Не пользуйтесь прибором с поврежденным шнуром или вилкой, а также после того, как прибор вышел из строя или был поврежден каким-либо образом.
- Использование дополнительных принадлежностей, не рекомендованных производителем прибора, может привести к пожару, поражению электрическим током или травмам.
- Не использовать на открытом воздухе.
- Не допускайте свисания шнура с края стола или стойки, а также его соприкосновения с горячими поверхностями.
- Не ставьте на горячую газовую или электрическую плиту или рядом с ней, а также в разогретую духовку.
- Всегда сначала подключайте вилку к прибору, а затем вставляйте шнур в розетку. Для отключения поверните любой элемент управления в положение «Выкл.», затем выньте вилку из розетки.
- Не используйте прибор не по назначению.
3. Компоненты продукта
Familiarize yourself with the parts of your Caso Design Hot Brew Coffee Maker:
- Main Coffeemaker Unit
- Стеклянный графин
- Permanent Removable Filter
- Лопатка для кофе
- Резервуар для воды с индикатором уровня
- Control Panel with Display and Rotary Knob
- Подогреваемая пластина

Изображение 3.1: оконченоview of coffee maker features, including water tank, timer, and permanent filter.
4. Настройка
- Распаковка: Осторожно снимите все упаковочные материалы и осмотрите кофеварку на предмет наличия повреждений.
- Начальная очистка: Before first use, wash the glass carafe and permanent filter in warm, soapy water. Rinse thoroughly and dry. Wipe the exterior of the coffee maker with a damp ткань.
- Размещение: Установите кофеварку на ровную, устойчивую, термостойкую поверхность, подальше от края столешницы. Обеспечьте достаточную вентиляцию вокруг прибора.
- Первый цикл заваривания (очистка): Fill the water reservoir to the MAX (10-cup) level with cold water. Do not add coffee grounds. Run a full brew cycle to clean the internal components. Discard the water from the carafe. Repeat this process once more.

Image 4.1: Water level indicator showing up to 10 cups capacity.
5. Инструкция по эксплуатации
5.1. Приготовление кофе
- Заполните резервуар для воды: Open the top lid and fill the water reservoir with cold, fresh water up to the desired number of cups, indicated by the water level markings. The maximum capacity is 10 cups.
- Добавьте кофейную гущу: Place the permanent filter into the filter basket. Add the desired amount of ground coffee using the provided scoop. A general guideline is one scoop per cup, but adjust to your taste. Close the top lid securely.
- Место Графин: Убедитесь, что стеклянный графин правильно расположен на подогревательной пластине.
- Начать заваривать: Нажимаем кнопку включения (U) on the control panel. The coffee maker will begin brewing. The brewing temperature is approximately 200°F.
- Функция защиты от капель: The drip stop feature allows you to temporarily remove the carafe during brewing to pour a cup of coffee. Replace the carafe within 20 seconds to prevent overflow.
- Функция поддержания тепла: After brewing, the warming plate will automatically activate and keep the coffee warm for 35 minutes. The display will show the remaining time in keep warm mode. After 35 minutes, the coffee maker will automatically shut off.

Image 5.1: Adding coffee grounds to the permanent filter.

Image 5.2: Display indicating the 'Keep Warm' function is active.
5.2. Setting the Programmable Timer
Программируемый таймер позволяет установить определенное время, когда кофеварка начнет автоматически готовить кофе.
- Установить текущее время: Нажмите кнопку настроек (⚙️). The clock icon will appear. Rotate the knob to set the current hour and press the knob to confirm. Rotate the knob again to set the minutes and press to confirm.
- Установить запрограммированное время: Нажмите кнопку настроек (⚙️) again until the timer icon appears. Rotate the knob to set the desired brewing start time (hour) and press to confirm. Rotate the knob again to set the minutes and press to confirm.
- Активировать таймер: After setting the programmed time, ensure the coffee maker is prepared with water and coffee grounds. Press the power button (U) once. The display will show the current time, and a small timer icon will illuminate, indicating the timer is active. The coffee maker will start brewing at the set time.

Image 5.3: Setting the programmable timer for automatic brewing.
5.3. Aroma Plus Function
The Aroma Plus function allows you to adjust the coffee intensity. Refer to the display and rotary knob for selecting your preferred intensity level. This function ensures optimal taste by adjusting the brewing process.
6. Техническое обслуживание и чистка
Регулярная чистка обеспечивает оптимальную производительность и продлевает срок службы вашей кофеварки.
- Всегда отключайте от сети: Перед чисткой всегда отключайте кофеварку от розетки и дайте ей полностью остыть.
- Кувшин и фильтр: The glass carafe and permanent filter can be washed in warm, soapy water. Rinse thoroughly and dry. These parts are also dishwasher safe (top rack recommended).
- Экстерьер: Протрите внешние поверхности кофеварки мягкой тряпкой.amp ткань. Не используйте абразивные чистящие средства или губки для мытья посуды.
- Подогреваемая пластина: Протрите нагревательную пластину чистой тряпкой.amp Ткань. Не используйте абразивные материалы, которые могут поцарапать поверхность.
- Удаление накипи: Over time, mineral deposits (limescale) can build up in your coffee maker, affecting performance. Descale your coffee maker regularly (e.g., every 2-3 months, or more often in hard water areas) using a commercial descaling solution or a mixture of white vinegar and water (1:2 ratio). Follow the descaling product's instructions or run a brew cycle with the vinegar solution, then two cycles with fresh water to rinse.
7. Поиск Неисправностей
Если у вас возникли проблемы с кофеваркой, ознакомьтесь со следующими распространенными проблемами и решениями:
| Проблема | Возможная причина | Решение |
|---|---|---|
| Кофеварка не включается. | Не подключено к сети; питание отключеноtagе; неисправная розетка. | Убедитесь, что шнур питания надёжно подключён к работающей розетке. Проверьте автоматический выключатель. |
| Кофе не заваривается. | Timer not set correctly; insufficient water; filter basket not properly seated. | Check if the programmable timer is active. Ensure enough water is in the reservoir. Verify the filter basket is correctly in place. |
| Кофе слишком слабый или слишком крепкий. | Incorrect coffee-to-water ratio; Aroma Plus setting. | Adjust the amount of coffee grounds. Experiment with the Aroma Plus function for desired strength. |
| Вода переливается через край фильтрующей корзины. | Слишком много кофейной гущи; фильтр засорен; графин установлен неправильно. | Reduce coffee grounds. Clean the permanent filter. Ensure carafe is centered on the warming plate. |
| Кофе недостаточно горячий. | Mineral buildup; warming plate issue. | Perform a descaling cycle. Ensure the warming plate is clean and functioning. |
8. Технические характеристики
| Особенность | Деталь |
|---|---|
| Бренд | Caso Design |
| Название модели | Hot Brew 10 cup Coffee Maker |
| Номер модели товара | 11858 |
| Цвет | Нержавеющая сталь |
| Емкость | 10 чашки |
| Размеры продукта | 12.95"Д x 9.65"Ш x 6.61"В |
| Вес товара | 4.43 фунта |
| Тип кофеварки | Капельная кофемашина |
| Режим работы | Полностью автоматический |
| Специальная характеристика | Programmable Timer, Permanent Filter, Warming Plate, Drip Stop |
| Включенные компоненты | Coffeemaker, Carafe, Manual, Warranty |

Image 8.1: Product dimensions for the Caso Design Hot Brew Coffee Maker.
9. Product Features Video
Video 9.1: Official product features video demonstrating the Caso Design Hot Brew 10-cup Coffee Maker.
10. Гарантия и поддержка
Your Caso Design Hot Brew 10-Cup Coffee Maker comes with a manufacturer's warranty. Please refer to the warranty card included in your product packaging for specific terms and conditions. For technical support, service, or warranty claims, please contact Caso Design customer service through their official webсайт или контактную информацию, указанную в документации к вашему продукту.