1. Введение
The SanJie DA03S-8 Door and Window Alarm Sensor is designed to enhance the security of your home or property. This wireless, easy-to-install device provides an audible alert when a protected door or window is opened, offering peace of mind for various applications including child safety, home security, and monitoring access points.
2. Особенности продукта
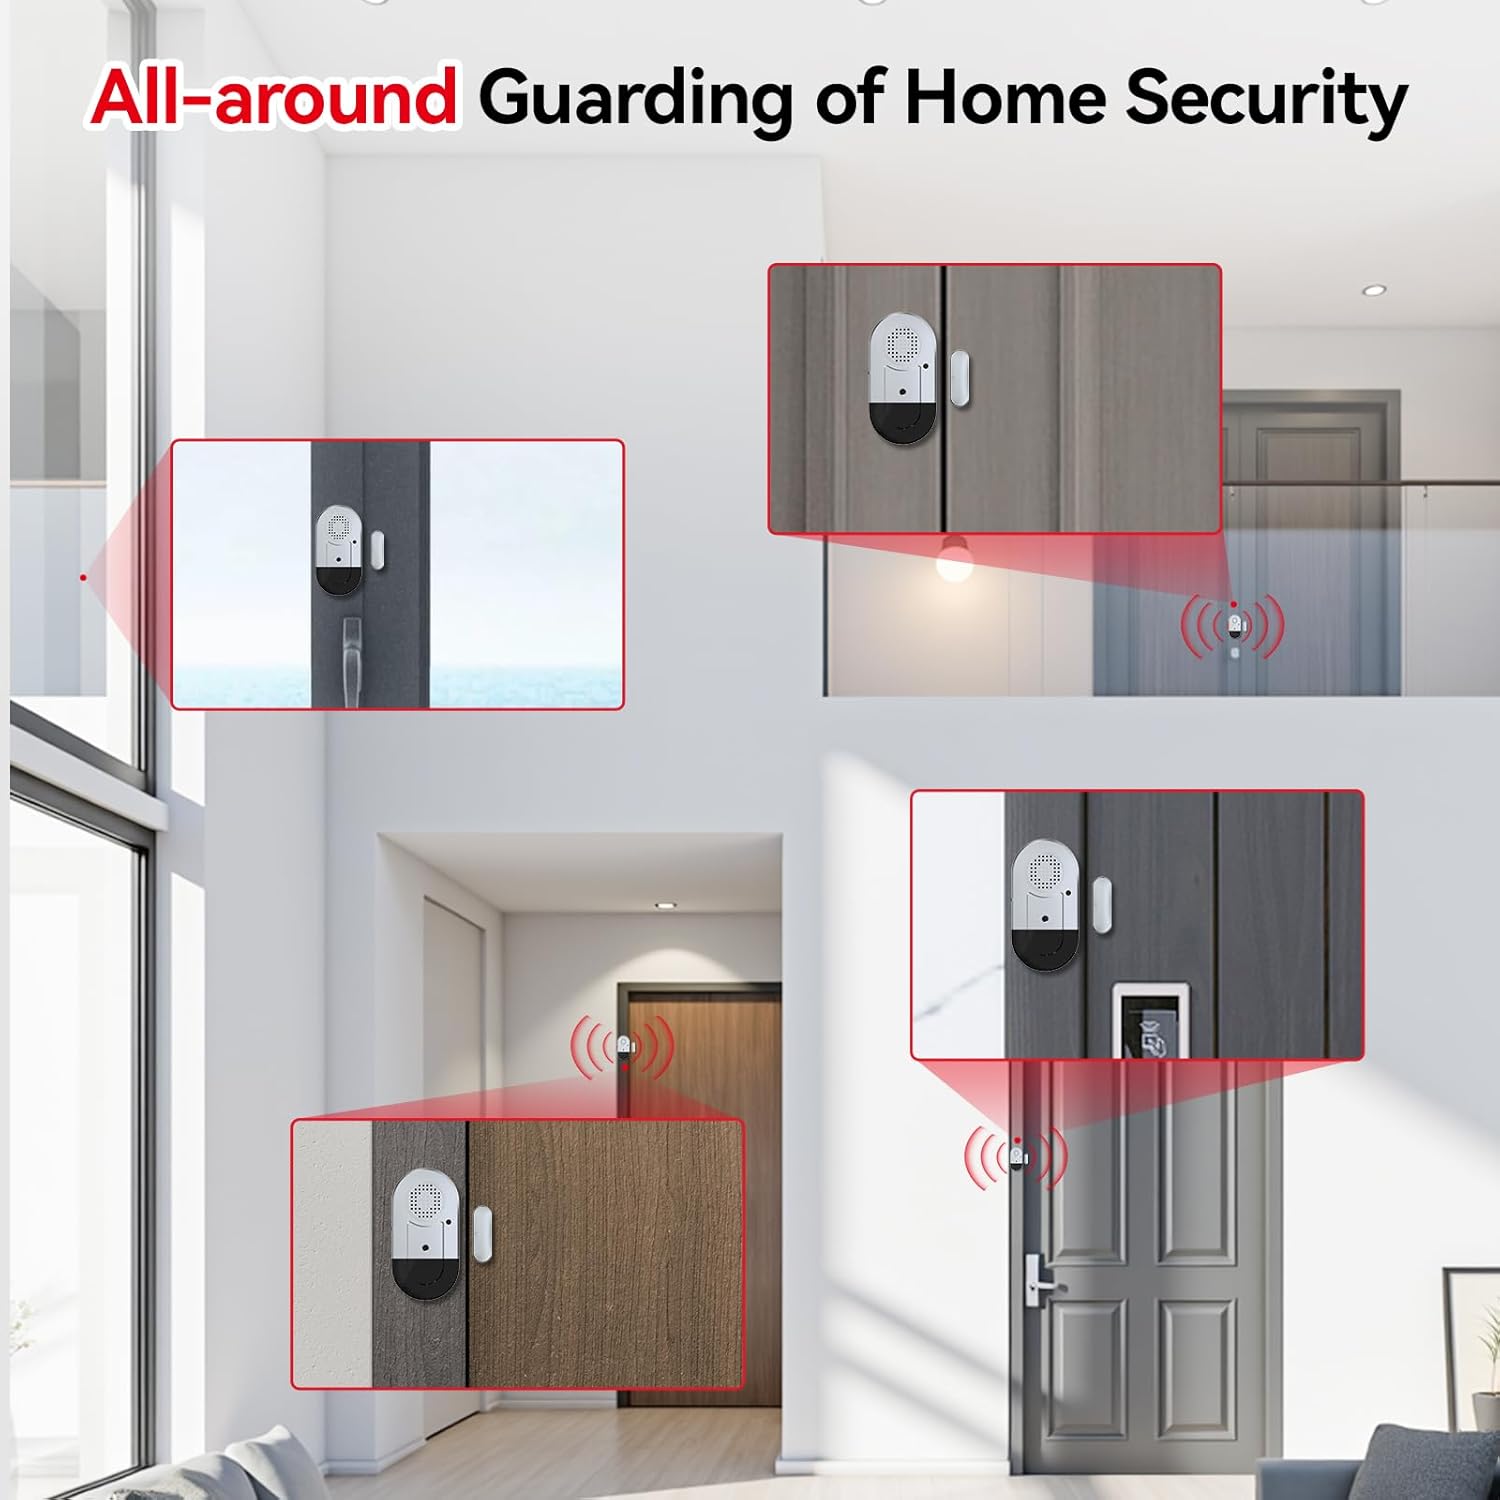
- Душевное спокойствие: Guards your home's security and helps ensure the safety of children and the elderly.
- Широкое использование: Magnetic sensor triggers an alarm or chime when separated. Suitable for pools, homes, apartments, stores, offices, garages, RVs, warehouses, hotels, and can be installed on sliding doors/windows, cabinets, drawers, etc.
- Простота установки: Features 3M double-sided tape for quick, tool-free installation on doors or windows.
- Регулятор громкости: Offers 3 modes: 125dB Alarm (loud), 100dB Alarm, and 100dB Chime (ding-dong 2 times). The alarm sounds continuously for 30 seconds and stops when the door/window is closed.
- Длительный срок службы батареи: Powered by 3 LR44 button batteries (included), providing up to 12 months of normal operation. A low battery indicator light will flash to alert you when replacement is needed.
3. Содержимое упаковки
- SanJie Door and Window Alarm Unit (x8)
- Magnetic Strip (x8)
- LR44 Button Batteries (3 per unit, pre-installed)
- Double-sided Adhesive Tape (pre-applied)
4. Компоненты закончилисьview

- Главный блок сигнализации: Contains the speaker, ON/OFF switch, setup key, and low battery indicator.
- Магнитная полоса: The smaller component that triggers the alarm when separated from the main unit.
- Переключатель ВКЛ / ВЫКЛ: Located on the side of the main unit to power the device.
- Setup Key: A small button on the front of the main unit to cycle through alarm modes.
- Индикатор низкого заряда батареи: An LED light that flashes to indicate low battery.
- Отсек для батареи: Located at the bottom of the main unit for LR44 battery access.
5. Настройка и установка
5.1 Установка аккумулятора
The alarm units come with 3 LR44 button batteries pre-installed. Before first use, ensure any protective tabs are removed from the battery compartment if present. The low battery indicator will flash 5 times when batteries need replacement.
5.2 Установка сигнализации
- Очистите поверхность: Ensure the surface where you plan to install the alarm and magnetic strip is clean, dry, and smooth.
- Подготовьте клей: The units come with double-sided adhesive tape pre-applied. Peel off the protective backing from both the main alarm unit and the magnetic strip.
- Расположите основной блок: Attach the main alarm unit to the fixed part of your door or window frame.
- Position the Magnetic Strip: Attach the magnetic strip to the moving part of the door or window. Ensure the magnetic strip is aligned with the main alarm unit's marked triangle and the gap between them is no more than 0.4 inches (approximately 1 cm) when the door/window is closed.
- Тестовая установка: Open and close the door/window to verify the alarm triggers and stops correctly.

Video 1: Demonstration of easy installation for door and window alarms.
6. Инструкция по эксплуатации
6.1 Включение/выключение питания
Locate the ON/OFF switch on the side of the main alarm unit. Slide the switch to the 'ON' position to activate the alarm, and to the 'OFF' position to deactivate it.
6.2 Выбор режима
The alarm offers three distinct modes. To cycle through these modes, press the 'Setup key' button located on the front of the main alarm unit.
- Mode 1 (125dB Alarm): Provides a very loud alarm sound. Ideal for deterring intruders or alerting to critical access.
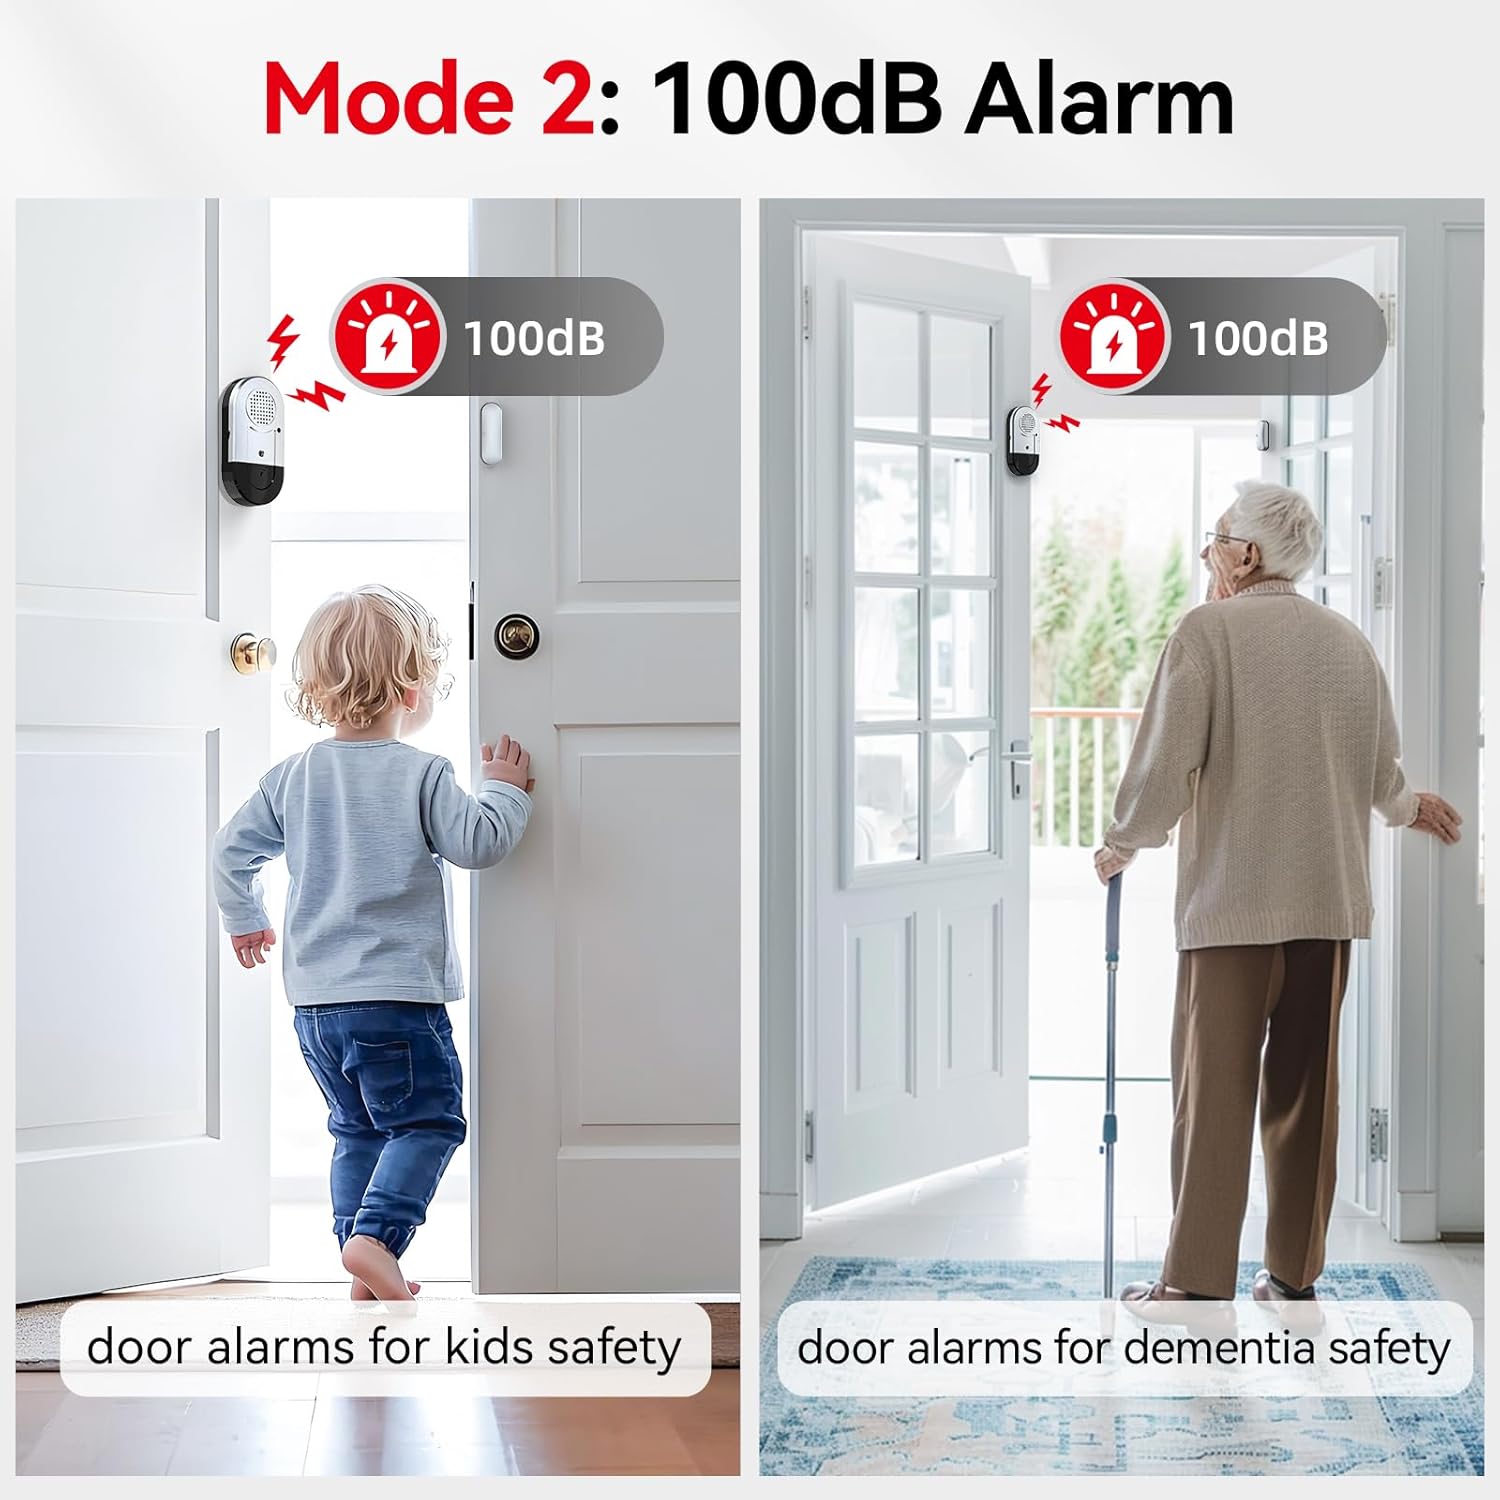
- Mode 2 (100dB Alarm): A loud alarm sound, suitable for general security and alerting to children or the elderly opening doors.
- Mode 3 (100dB Chime): A 'ding-dong' sound (2 times), perfect for notification when someone enters or exits, such as in a shop or for monitoring children without a startling alarm.


Видео 2: Оверview of alarm modes and their applications for safety and security.
7. Техническое обслуживание
7.1. Замена батареи
When the low battery indicator flashes 5 times, it's time to replace the batteries. Open the battery compartment at the bottom of the main unit, remove the old LR44 batteries, and insert 3 new LR44 batteries, ensuring correct polarity. Close the compartment securely.
7.2 Очистка
Wipe the alarm units with a dry, soft cloth. Do not use liquid cleaners or abrasive materials, as this may damage the device.
8. Поиск Неисправностей
- Сигнализация не срабатывает:
- Убедитесь, что переключатель ВКЛ/ВЫКЛ находится в положении «ВКЛ».
- Проверьте правильность установки батареек и убедитесь, что они не разряжены. При необходимости замените их.
- Verify that the main unit and magnetic strip are aligned correctly and the gap is less than 0.4 inches when the door/window is closed.
- Сигнал тревоги звучит непрерывно:
- Ensure the door or window is fully closed and the magnetic strip is within 0.4 inches of the main unit.
- If the issue persists, try repositioning the units slightly.
- Volume too low or mode incorrect:
- Press the 'Setup key' button to cycle through the 3 available modes (125dB Alarm, 100dB Alarm, 100dB Chime) until the desired setting is reached.
9. Технические характеристики
| Номер модели | DA03S-8 |
| Источник питания | 3 батарейки-таблетки LR44 |
| Срок службы батареи | До 12 месяцев (типичное использование) |
| Уровень шума | 100dB - 125dB (depending on mode) |
| Пробел в активации | Separation greater than 0.4 inches (1 cm) |
| Метод установки | Самоклеящиеся |
| Материал | Пластик |
| Цвет | Белый |
| Размеры продукта (основной блок) | 2.9"L x 1.5"H x 0.4"W (approx.) |
10. Гарантия и поддержка
This SanJie product comes with a lifelong warranty, ensuring long-term reliability and customer satisfaction. For any questions, troubleshooting assistance, or warranty claims, please contact SanJie customer support through the retailer's platform or the official SanJie webсайт.
Сохраните чек о покупке в качестве подтверждения покупки для гарантийных целей.