1. Введение
This manual provides detailed instructions for setting up, operating, and maintaining your Epson L485 Wi-Fi Inktank Printer. Please read this manual thoroughly to ensure proper use and to maximize the performance and longevity of your device.
Продукт болееview
The Epson L485 is a versatile all-in-one printer offering print, scan, and copy functionalities with the added convenience of Wi-Fi Direct. It features an innovative ink tank system designed for high-volume printing with impressive page yields and a high print resolution for quality output.

Рисунок 1: Передняя часть view of the Epson L485 Wi-Fi Inktank Printer.
Что в коробке?
- Принтер Epson L485
- CD с программным обеспечением
- Силовой кабель
- Гарантийный талон
- Set of Original Epson Ink Bottles (Black, Cyan, Magenta, Yellow)
Видео 1: Оверview of the Epson L485 Wi-Fi Inktank Printer's features and design.
2. Руководство по установке
Follow these steps to set up your Epson L485 printer for the first time.
Video 2: Step-by-step guide on how to set up your Epson InkTank Printer.
2.1 Initial Printer Preparation
- Распакуйте принтер: Аккуратно извлеките принтер из упаковки. Удалите все защитные ленты и материалы.
- Check Valve Position: Locate the ink tank valve on the side of the printer. Ensure it is in the upright (printing) position.
- Open Ink Tank Unit: Gently unhook the ink tank unit from the side of the printer and open its lid to access the ink tanks.
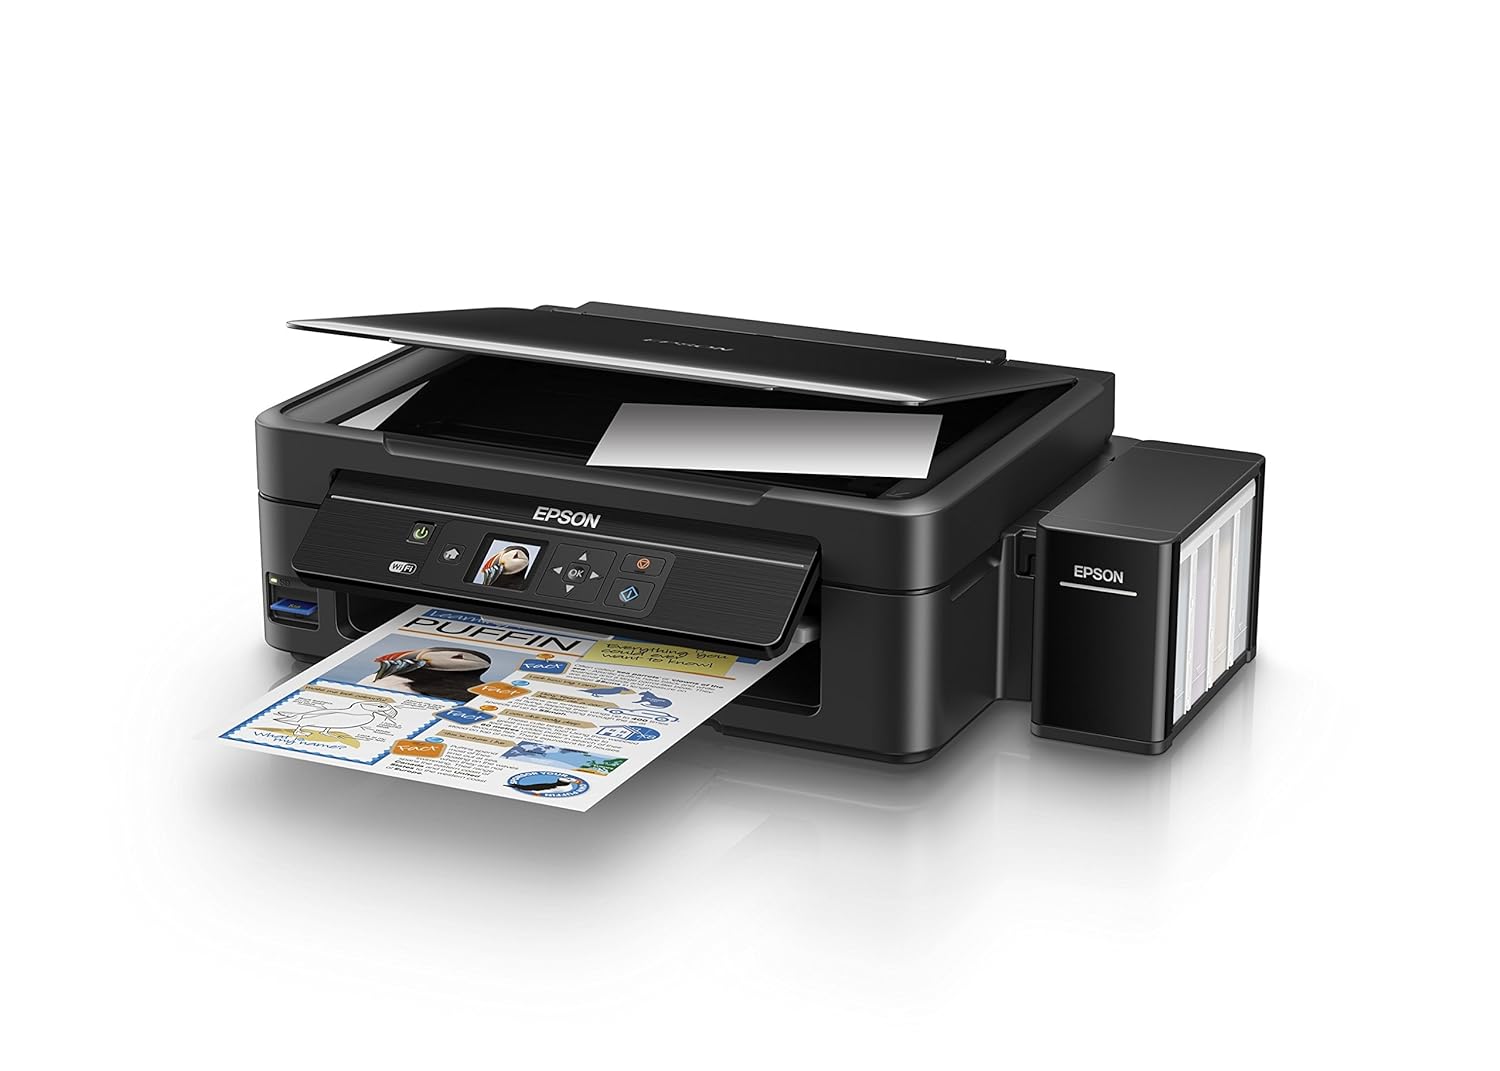
Figure 2: The ink tank unit unhooked and open, showing the ink reservoirs.
2.2 Заполнение чернильниц
- Prepare Ink Bottles: Snap off the tip of each ink bottle and remove the cap.
- Заправка чернильных картриджей: Match the color of the ink bottle with the corresponding ink tank. Carefully pour the entire contents of each ink bottle into its respective tank. Do not overfill.
- Secure Caps: Once all tanks are filled, replace the caps securely on the ink tanks.
- Close Ink Tank Unit: Close the lid of the ink tank unit and re-hook it to the printer.

Figure 3: Demonstrating the process of filling an ink tank with a yellow ink bottle.

Figure 4: The four color ink bottles used for the Epson L485 printer.
2.3 Power On and Ink Charging
- Подключите питание: Plug the power cable into the printer and then into a wall outlet.
- Включите принтер: Нажмите кнопку питания, чтобы включить принтер.
- Initiate Ink Charge: Press and hold the 'Ink Charge' button (usually indicated by a droplet icon) for 3 seconds until the lights start blinking. The initial ink charging process takes approximately 20 minutes. Do not turn off or unplug the printer during this process.
- Завершение: The lights will stop blinking when ink charging is complete.
2.4 Установка драйвера
- Вставьте компакт-диск с программным обеспечением: Insert the provided Software CD into your computer's CD/DVD drive. If your computer does not have a CD drive, download the latest drivers from the official Epson support webсайт.
- Следуйте инструкциям на экране: Follow the prompts on your computer screen to install the printer drivers and utilities. Agree to the license agreement and select 'Start & Connection' for setup.
- Connect USB Cable (if prompted): If setting up via USB, connect the USB cable between the printer and your computer when prompted by the installation software.
2.5 Connectivity Setup
The Epson L485 supports both USB and Wi-Fi connectivity.
USB-подключение
Connect the USB cable from the printer to an available USB port on your computer. The printer should be recognized automatically after driver installation.
Настройка Wi-Fi
The printer features an LCD screen for easy Wi-Fi setup without needing a PC.
- Access Wi-Fi Setup: On the printer's control panel, navigate to the 'Wi-Fi Setup' option using the arrow keys and press 'OK'.
- Выберите сеть: Choose your desired wireless network from the list and enter the password if required.
- Подтвердите подключение: Once connected, the Wi-Fi indicator light will be solid, and the LCD screen will confirm the setup is complete.

Figure 5: Demonstrating wireless printing from a smartphone to the Epson L485 printer.
3. Эксплуатация принтера
3.1 Печать
The Epson L485 delivers high-quality prints with a resolution of 5760 dpi. It offers print speeds of up to 33 ppm for black and 15 ppm for color documents.
- Загрузить бумагу: Загрузите бумагу в задний податчик. Отрегулируйте направляющие в соответствии с форматом бумаги.
- Выберите задание печати: From your computer or mobile device, select the document or image you wish to print.
- Настройте параметры: Choose your print settings (e.g., paper size, print quality, color/black & white) in the print dialog box.
- Печать: Нажмите кнопку «Печать», чтобы отправить задание на принтер.

Figure 6: The Epson L485 printer in action, producing a vibrant print.
3.2 Сканирование
The printer features a sheetfed scanner with an optical resolution of 1200 dpi x 2400 dpi for clear and detailed scans.
- Разместить документ: Lift the scanner lid and place your document face-down on the scanner glass, aligning it with the corner mark.
- Начать сканирование: From your computer, open the Epson Scan software or use the scan function on the printer's control panel.
- Настройте параметры: Select scan settings such as resolution, color mode, and destination folder.
- Начать сканирование: Begin the scanning process.

Figure 7: The scanner bed of the Epson L485 printer with the lid open.
3.3 Копирование
Делайте копии непосредственно с панели управления принтера.
- Разместить документ: Place the document you wish to copy on the scanner glass.
- Выберите функцию копирования: On the printer's LCD screen, navigate to the 'Copy' option.
- Настройте параметры: Select the number of copies, color or black & white, and other copy settings.
- Start Copy: Нажмите кнопку «Старт», чтобы начать копирование.
3.4 Wi-Fi Direct
Wi-Fi Direct allows you to connect your mobile devices directly to the printer without a router, enabling convenient wireless printing.
- Включить Wi-Fi Direct: On the printer's control panel, go to 'Wi-Fi Setup' and select 'Wi-Fi Direct'. Follow the on-screen instructions to enable it and view имя сети и пароль.
- Подключите мобильное устройство: On your mobile device, go to Wi-Fi settings, find the printer's Wi-Fi Direct network, and connect using the provided password.
- Печать: Use an Epson printing app (e.g., Epson iPrint) or your device's native print function to print directly to the printer.
4. Техническое обслуживание
4.1 Заправка чернил
When ink levels are low, refill the tanks using genuine Epson ink bottles. Refer to section 2.2 for detailed ink filling instructions. Always use the correct color ink for each tank.
4.2 Очистка
Регулярная чистка помогает поддерживать качество печати и продлевает срок службы принтера.
- Внешняя очистка: Протрите внешнюю поверхность принтера мягкой тряпкой.amp ткань. Избегайте использования абразивных чистящих средств.
- Очистка печатающей головки: If print quality declines (e.g., missing lines, incorrect colors), perform a print head cleaning using the printer's utility software on your computer or through the printer's control panel menu.
- Проверка дюз: Run a nozzle check pattern to diagnose print quality issues before performing a head cleaning.
5. Поиск Неисправностей
В этом разделе рассматриваются распространенные проблемы, с которыми вы можете столкнуться при работе с принтером Epson L485.
5.1 Принтер не отвечает
- Ensure the printer is powered on and connected securely to the power outlet.
- Check the USB cable connection to both the printer and computer, or verify the Wi-Fi connection status.
- Перезагрузите принтер и компьютер/мобильное устройство.
5.2 Плохое качество печати
- Perform a nozzle check to identify clogged nozzles. If necessary, run a print head cleaning cycle.
- Проверьте уровень чернил и дозаправьте емкости, в которых уровень низкий.
- Ensure you are using genuine Epson ink and appropriate paper types for your print job.
5.3 Замятие бумаги
- Turn off the printer and carefully remove any jammed paper from the paper tray, output tray, or inside the printer.
- Убедитесь, что бумага загружена правильно, не имеет складок и не имеет заломов.urlред.
6. Технические характеристики
| Бренд | Эпсон |
| Название модели | Л485 |
| Технология связи | Wi-Fi |
| Технология печати | Струйный |
| Специальная характеристика | Слот для карты памяти |
| Цвет | Черный |
| Вывод на принтер | Цвет |
| Максимальная скорость печати (цветная) | 15 частей на миллион |
| Максимальная скорость печати (монохромная) | 33 частей на миллион |
| Вес товара | 6001 грамм |
| Тип принтера | Струйный |
| Тип сканера | Листовая |
| Maximum Copy Speed (Black and White) | 33 частей на миллион |
| Тип дисплея | ЖК-дисплей |
| Совместимые устройства | Смартфоны |
| Цвет чернил | Черный, голубой, пурпурный, желтый |
| Разрешение | 5760 х 5760 DPI |
| Дополнительные функции принтера | Многофункциональное устройство (печать, сканирование, копирование) |
| Максимальный размер носителя | A4 |
| Размер бумаги | A4 |
| Двусторонняя печать | Нет |
7. Гарантия и поддержка
Your Epson L485 Wi-Fi Inktank Printer comes with a free installation service and an onsite warranty.
7.1 Free Installation and Onsite Warranty
To avail free installation for your printer, please contact Epson support after receiving your product. The onsite warranty covers manufacturing defects and ensures professional assistance at your location.
7.2 Связаться со службой поддержки
For installation, support, or any technical assistance, please contact Epson customer service:
- Телефон: 1860 3000 1600 (Timings: 9 am - 6 pm)