1. Введение
This manual provides essential information for the safe and efficient operation of your Technaxx Wireless CarPlay & Android Car Monitor TX-361. Please read this manual thoroughly before using the device and retain it for future reference. The TX-361 is designed to integrate modern smartphone connectivity, including Apple CarPlay and Android Auto, into your vehicle without requiring a complex car radio replacement. It also features an integrated DAB digital radio for enhanced audio experience.
2. Информация по технике безопасности
- Всегда используйте устройство ответственно и в соответствии с местными правилами дорожного движения. Отвлечение внимания за рулем может привести к авариям.
- Не пытайтесь разбирать или модифицировать устройство. Это может привести к аннулированию гарантии и создать угрозу безопасности.
- Держите устройство вдали от экстремальных температур, прямых солнечных лучей и влаги.
- Убедитесь, что устройство надежно закреплено и не загораживает вам обзор. view или вмешиваться в управление транспортным средством.
- Используйте только прилагаемый кабель питания и аксессуары.
- If the device malfunctions, disconnect it from the power source and contact customer support.
3. Содержимое упаковки
Убедитесь, что все перечисленные ниже предметы включены в ваш пакет:
- DAB 7-inch CarPlay with Touch Screen TX-361
- Power Supply (USB-A to USB-C, 1.5m cable)
- AUX-кабель (1 м)
- Антенна DAB
- Holder (Mounting Bracket)
- Руководство пользователя
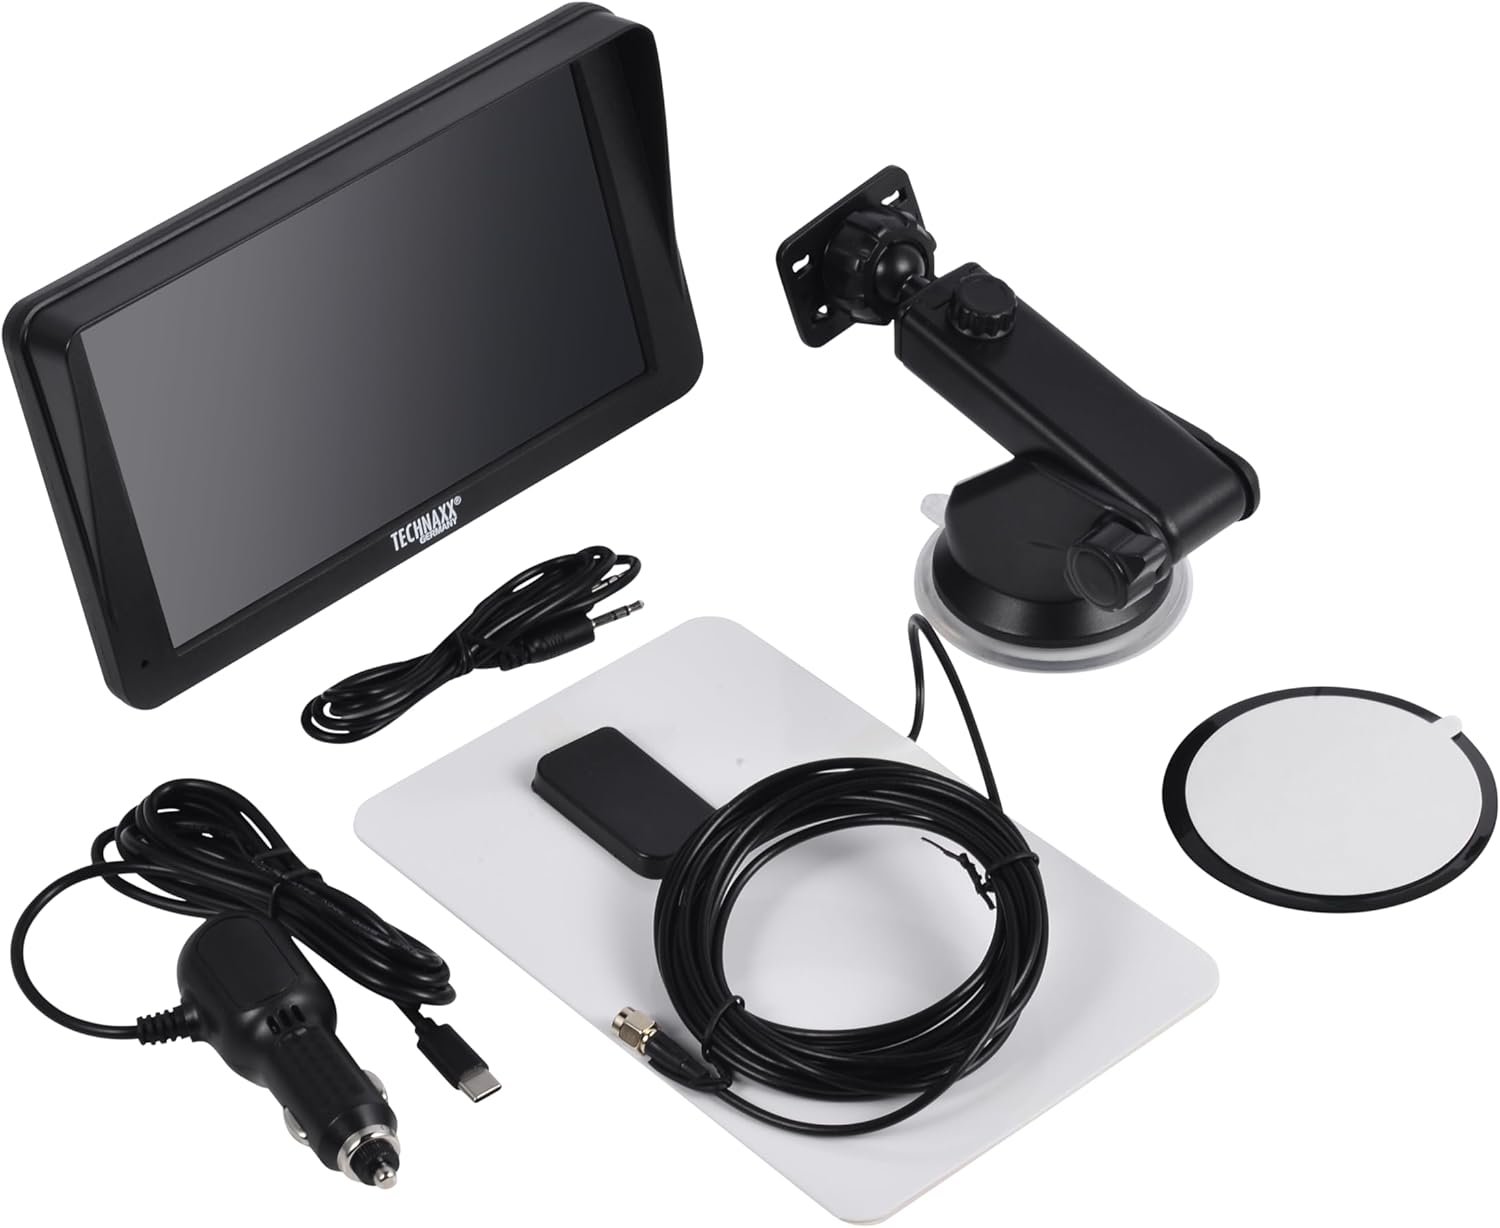
Image: All components included in the Technaxx TX-361 package, neatly laid out.
4. Продукт закончилсяview
Familiarize yourself with the main components of your TX-361 monitor.
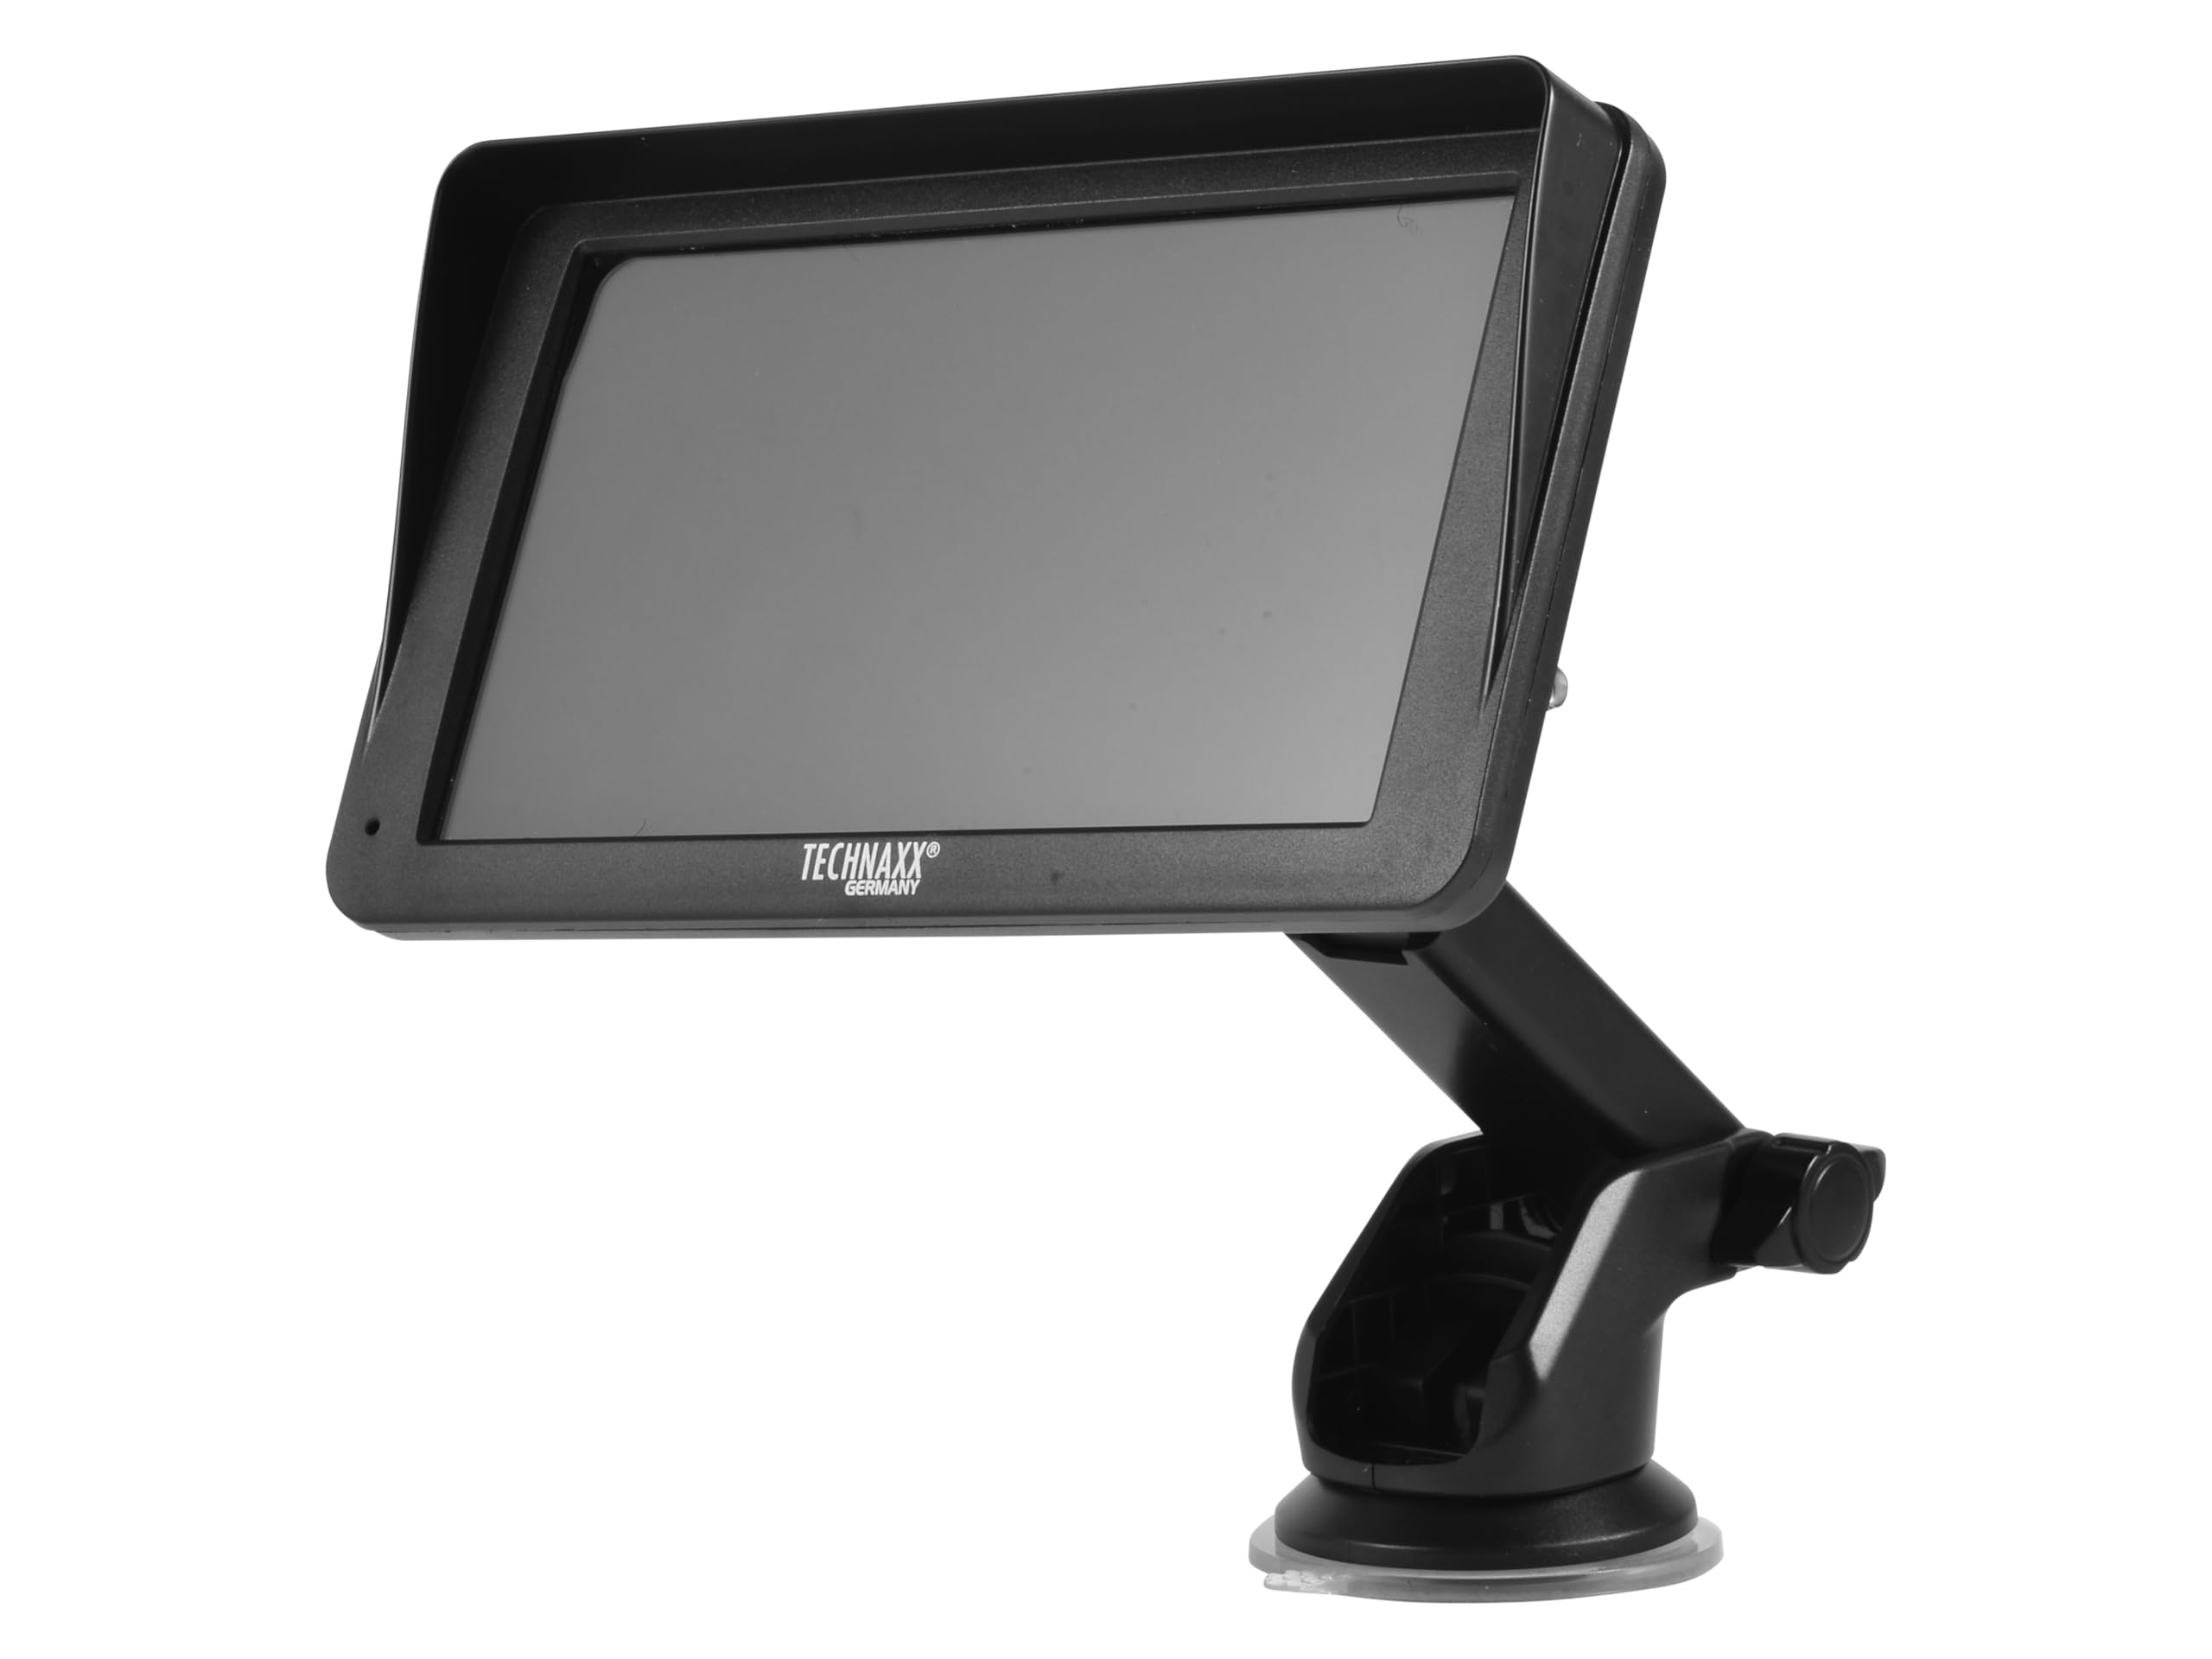
Изображение: Спереди view of the TX-361 monitor with its 7-inch display and 'TECHN AXX GERMANY' branding, attached to the adjustable mounting stand.

Изображение: сзади view of the TX-361 monitor, highlighting the ventilation grilles and the attachment point for the mounting bracket.

Изображение: подробное view of the right side of the TX-361 monitor, showing the power button, reset button, USB-C power input, AUX output, and USB-A port.
4.1. Компоненты устройства
- 7-дюймовый емкостный сенсорный экран: Основной дисплей для всех функций.
- Кнопка питания: Расположен в правом верхнем углу.
- Кнопка сброса: Маленькая кнопка с отверстием для перезагрузки системы.
- Порт USB-C: Для ввода мощности.
- Дополнительный выход: 3.5mm jack for wired audio transmission.
- Порт USB-A: For media playback or charging external devices.
- DAB Antenna Input: Connector for the external DAB antenna.
- Встроенный динамик: Для прямого воспроизведения звука.
5. Настройка
5.1. Установка устройства
The TX-361 can be mounted on your vehicle's windscreen or dashboard using the provided holder.
- Прикрепите монитор к монтажному кронштейну.
- For Windscreen Mounting: Clean the desired area on the windscreen. Press the suction cup firmly against the glass and engage the lever to secure it.
- For Dashboard Mounting: Clean the desired area on the dashboard. If necessary, use the adhesive disc provided for a more secure attachment point for the suction cup. Press the suction cup firmly and engage the lever.
- Отрегулируйте угол монитора для оптимального viewдвигаясь, не мешая вашему вождению view.

Image: The TX-361 monitor securely mounted on a car dashboard, showing its position relative to the driver's view.

Image: The TX-361 monitor mounted on a car windscreen, demonstrating an alternative placement option.
5.2. Подключение питания
- Connect the USB-C end of the power cable to the USB-C port on the monitor.
- Plug the USB-A end of the power cable into the provided 12V/24V cigarette lighter adapter.
- Insert the cigarette lighter adapter into your vehicle's 12V/24V power socket. The device will power on automatically or can be turned on using the power button.
5.3. DAB Antenna Connection
For optimal DAB radio reception, connect the included DAB antenna:
- Connect the DAB antenna cable to the dedicated DAB antenna input on the monitor.
- Mount the DAB antenna on your windscreen or another suitable location, ensuring it has clear line of sight for best signal reception.
6. Инструкция по эксплуатации
6.1. Включение и выключение
- Включение питания: The device typically powers on automatically when connected to the vehicle's power. If not, press and hold the power button on the top right side.
- Выключение: Press and hold the power button until the device shuts down. A short press will turn the screen off/on.
6.2. Initial Setup and Smartphone Connection
The TX-361 supports wireless Apple CarPlay and Android Auto via Wi-Fi and Bluetooth 5.0.
- Убедитесь, что на вашем смартфоне включены Wi-Fi и Bluetooth.
- On the TX-361 monitor, navigate to the CarPlay or Android Auto section.
- The monitor will display a Bluetooth name. On your smartphone, search for and connect to this Bluetooth device.
- Once connected via Bluetooth, the device will prompt you to enable Wi-Fi for CarPlay/Android Auto functionality. Confirm the connection on your phone.
- After successful pairing, Apple CarPlay or Android Auto will launch automatically on the monitor.
6.3. Управление с помощью сенсорного экрана
The 7-inch capacitive touchscreen allows for intuitive control:
- Кран: Выберите элементы или подтвердите действия.
- Проведите пальцем по экрану: Перемещайтесь по меню или спискам.
- Масштабирование сведением пальцев: (Where supported, e.g., in navigation apps) Adjust map zoom levels.
6.4. DAB Digital Radio
To use the integrated DAB digital radio:
- Ensure the DAB antenna is properly connected.
- From the main menu, select the 'DAB Radio' option.
- The device will automatically scan for available DAB stations.
- Выберите нужную станцию из списка.
6.5. FM-радио
For traditional FM radio reception:
- From the main menu, select the 'FM Radio' option.
- Используйте элементы управления на экране для поиска станций или ручной настройки на частоту.
6.6. Параметры аудиовыхода
The TX-361 offers several ways to transmit audio to your vehicle's sound system:
- Встроенный динамик: Audio will play directly from the monitor's built-in speaker.
- AUX-кабель: Connect the provided 3.5mm AUX cable from the monitor's AUX output to your car's AUX input. Select 'AUX' as the input source on your car radio.
- FM-передача: Select an unused FM frequency on the TX-361 and tune your car radio to the same frequency. Audio will be transmitted wirelessly to your car's speakers.
7. Техническое обслуживание
- Уборка: Для очистки экрана и корпуса устройства используйте мягкую сухую ткань. Не используйте абразивные чистящие средства или растворители.
- Хранилище: При длительном хранении устройства отключите его от питания и храните в прохладном, сухом месте.
- Обновления программного обеспечения: Периодически проверяйте информацию производителя. webсайт для получения любых доступных обновлений прошивки для обеспечения оптимальной производительности.
8. Поиск Неисправностей
| Проблема | Возможное решение |
|---|---|
| Устройство не включается. |
|
| Не удаётся подключиться к CarPlay/Android Auto. |
|
| Poor DAB/FM radio reception. |
|
| Нет аудиовыхода. |
|
9. Технические характеристики
| Особенность | Спецификация |
|---|---|
| Номер модели | 5361 |
| Отображать | 7-дюймовый емкостный сенсорный экран |
| Технология связи | Wi-Fi (Dual-band 2.4 / 5 GHz), Bluetooth 5.0 |
| Особые возможности | Wireless CarPlay & Android Auto, DAB Digital Radio, FM Radio, Touchscreen Display |
| Диапазон частот DAB | Band III: 174-240 MHz |
| Аудиовыход | AUX, FM Transmission, Integrated Speaker |
| Источник питания | 12V/24V via Cigarette Lighter |
| Размеры продукта (Д x Ш x В) | 18.8D x 10.8W x 3.5H сантиметров |
| Вес товара | 0.58 фунта (приблизительно 263 граммов) |
10. Гарантия и поддержка
Technaxx products are covered by a manufacturer's warranty. For detailed warranty information, please refer to the warranty card included with your product or visit the official Technaxx website. For technical support, troubleshooting assistance, or service inquiries, please contact Technaxx customer support through their official channels.
Дополнительные ресурсы, ответы на часто задаваемые вопросы и контактную информацию часто можно найти на сайте. Technaxx official webсайт.